Support for your Dyson Purifier Humidify+Cool Autoreact
Here you can find helpful tips, video guides, maintenance advice, your user manual and more.
Register your machine
You can get support that's tailored to you, owner exclusives and more when you register your machine.
Getting started
Watch our getting started video to help you get up and running quickly.
Using your machine
-
Airflow modes
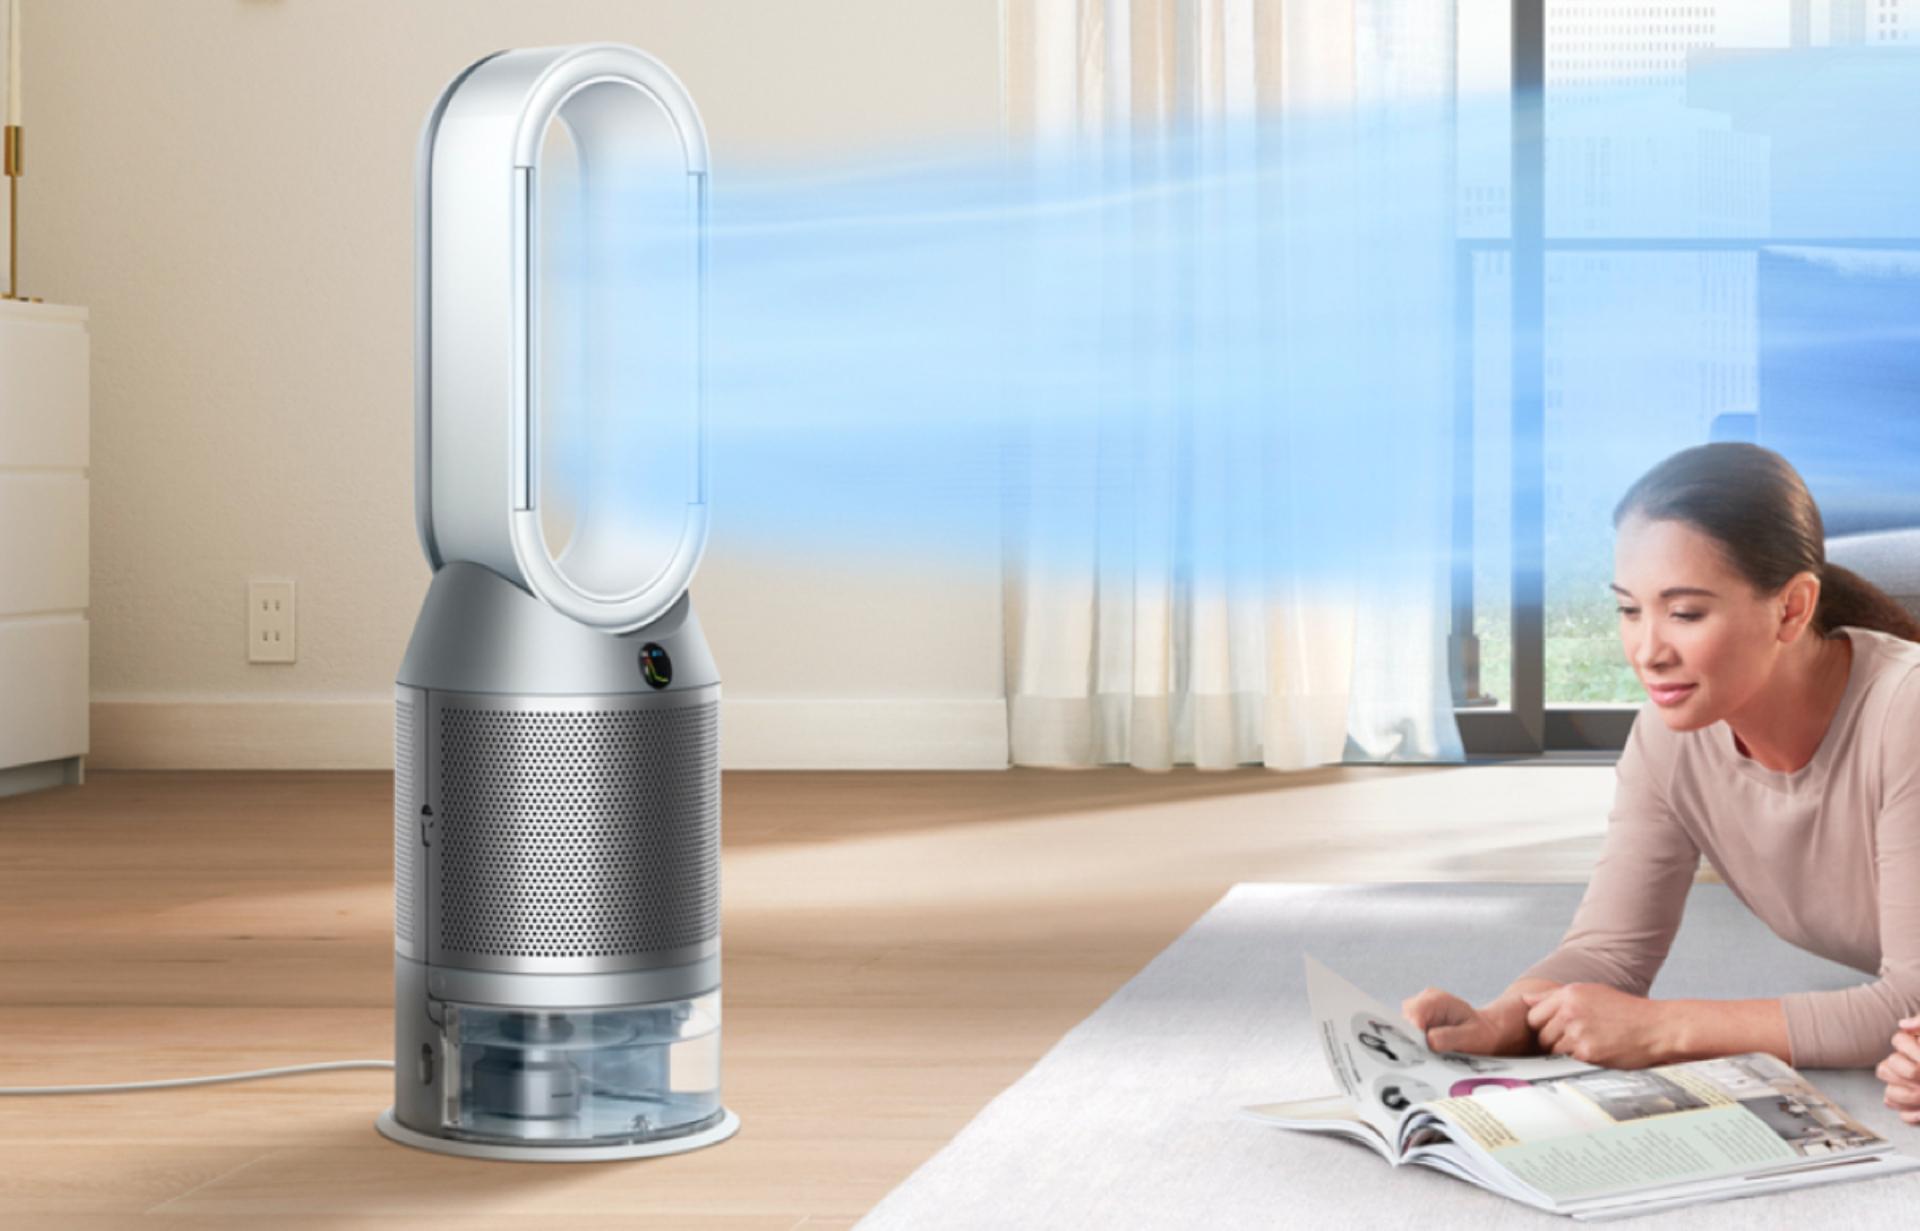
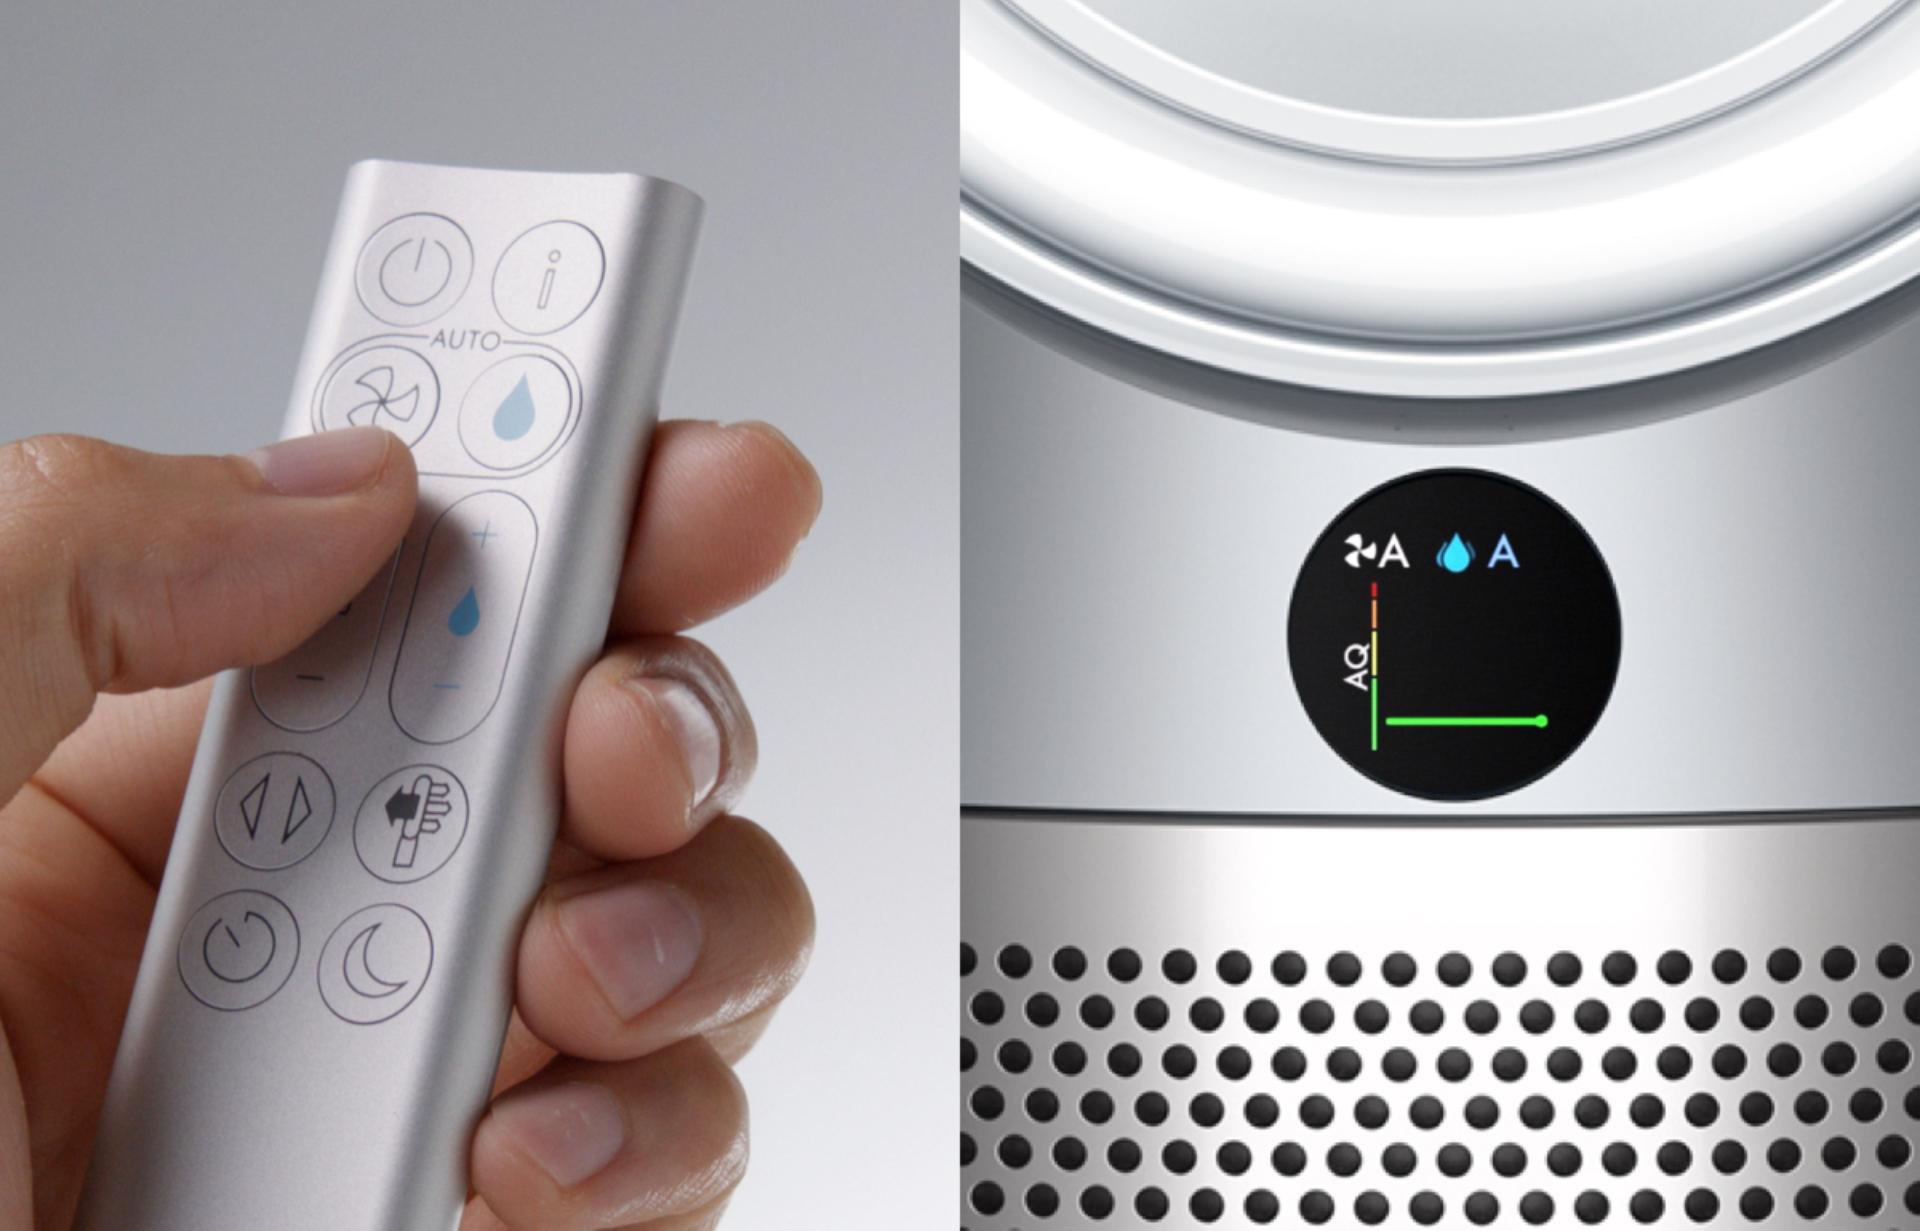
You can use your remote control to change airflow modes. Choose between Fan mode, Diffused mode and Breeze mode. Watch the video to learn more about each airflow mode.
-
Auto purify and humidify
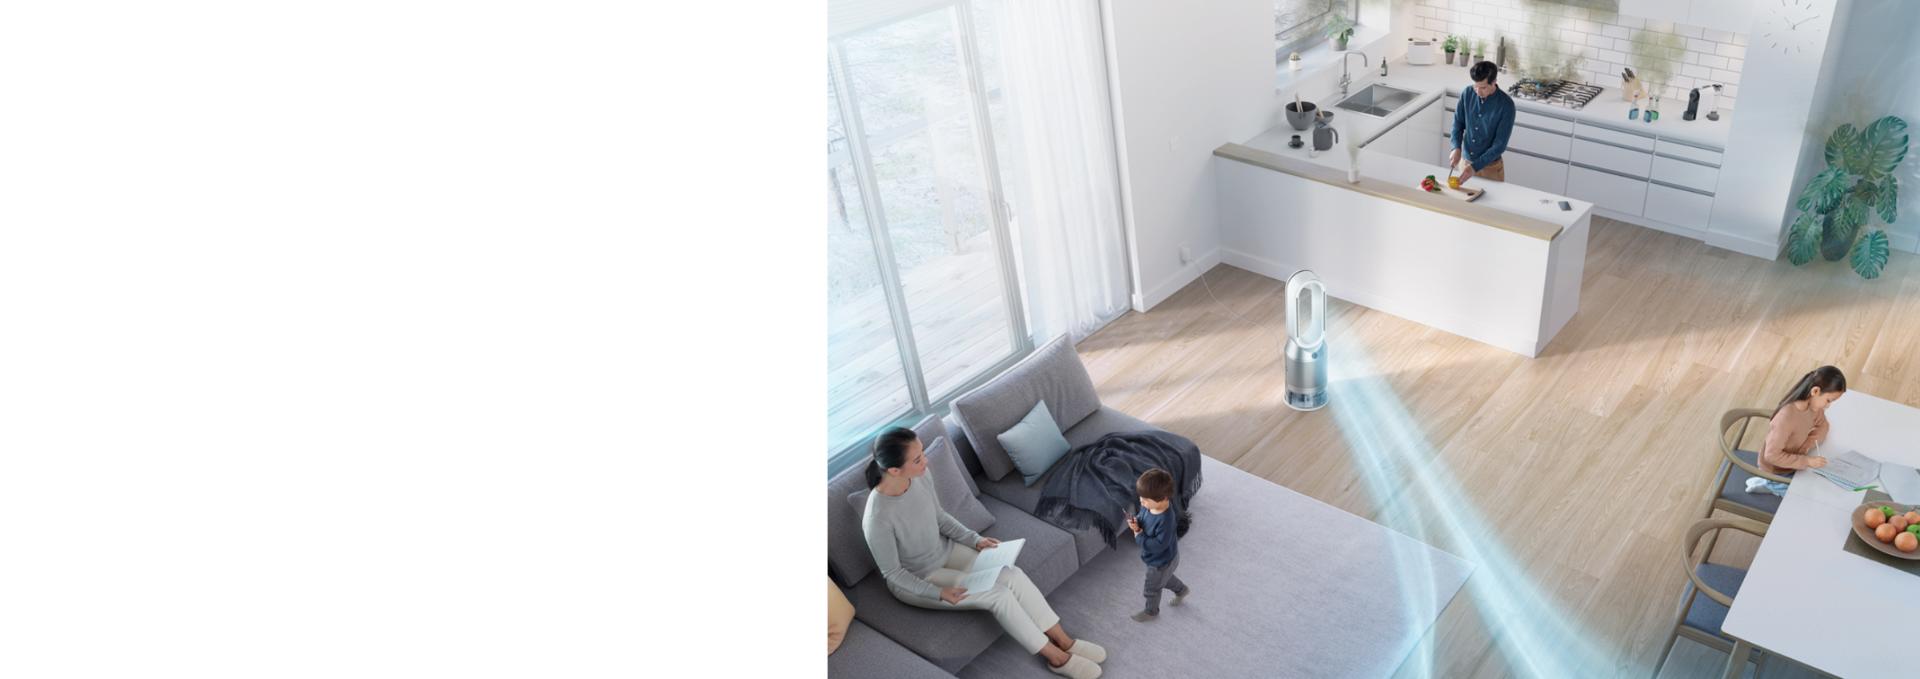
When both Auto modes are selected, your machine constantly monitors your air quality, automatically adjusting airflow to reach and maintain the most comfortable humidity level.
-
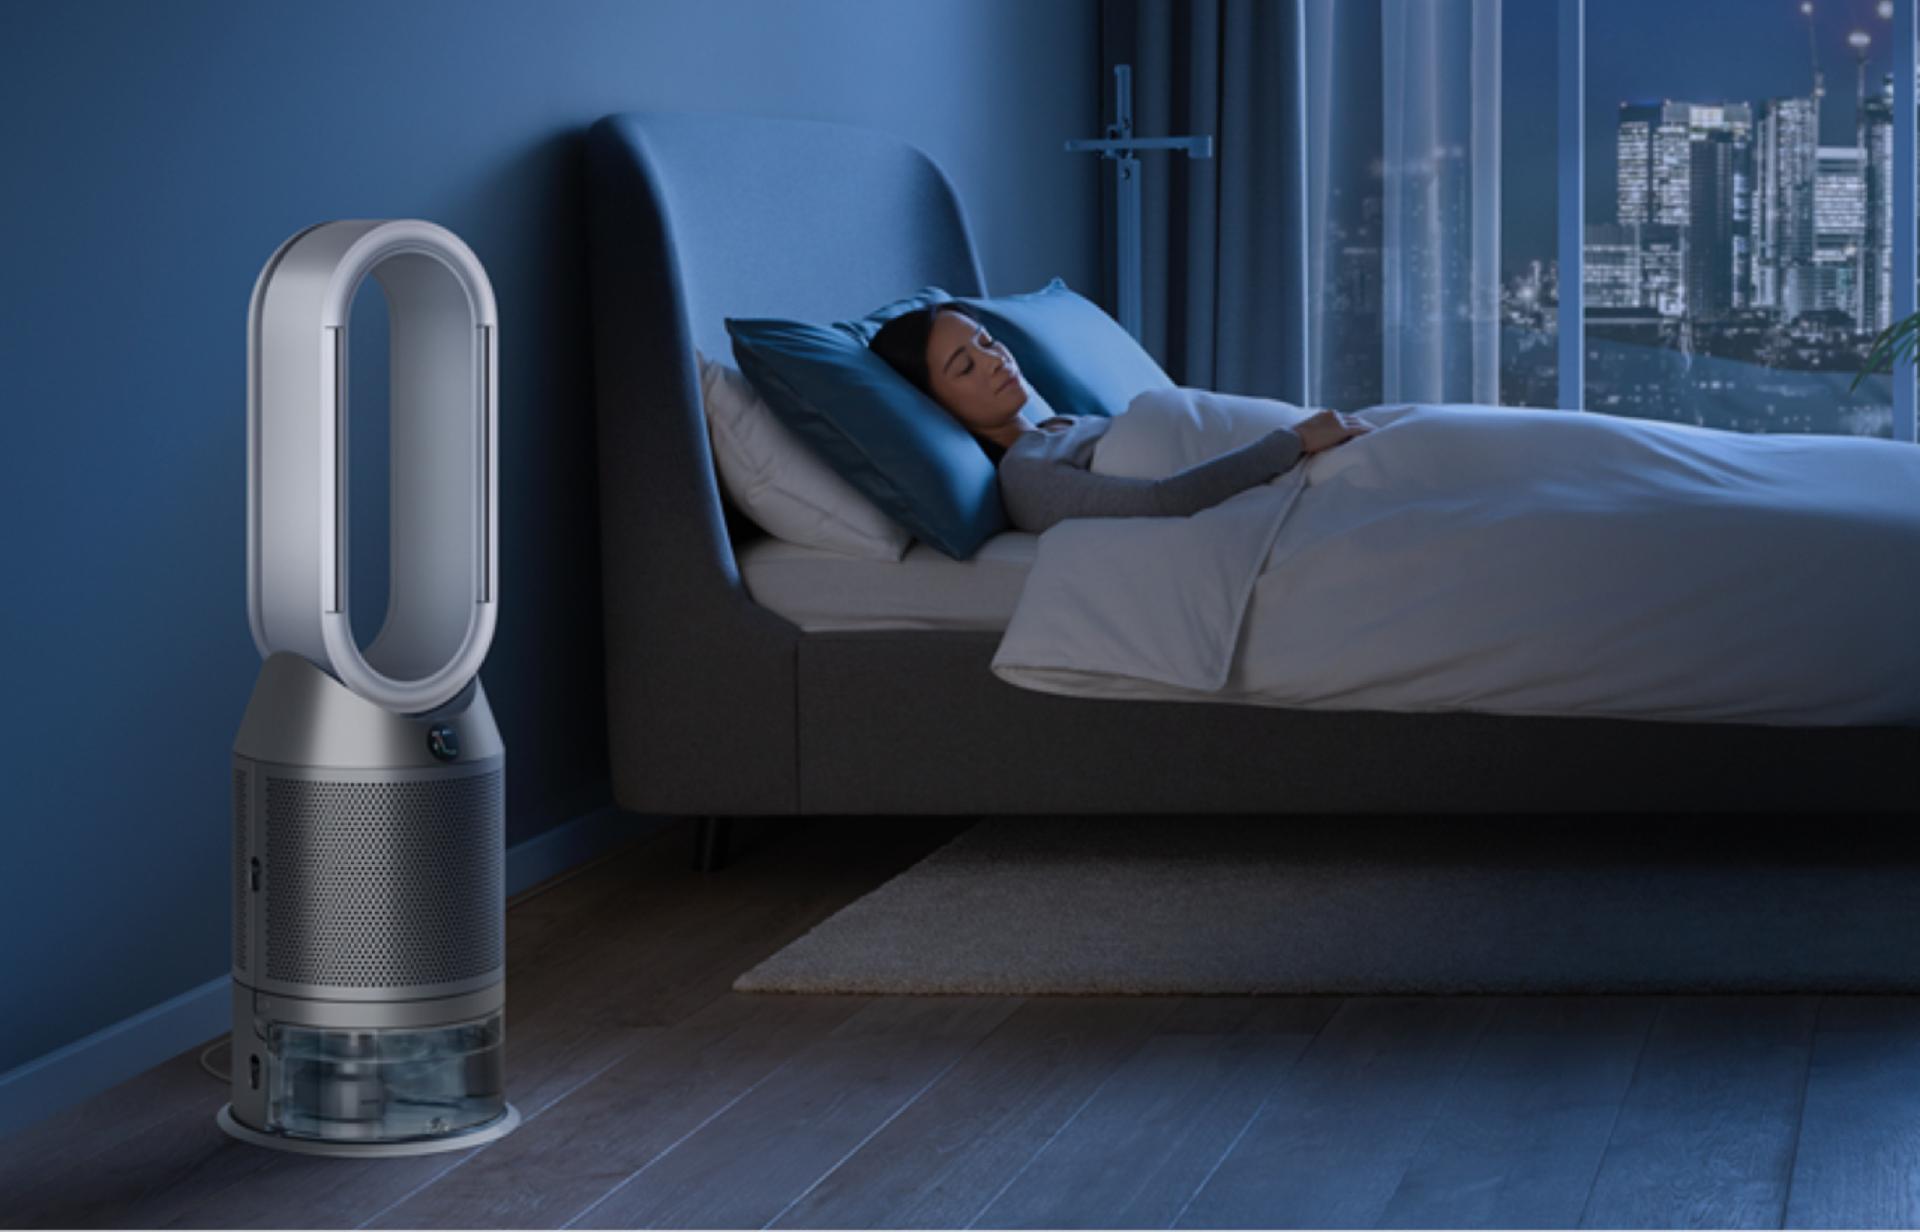
Night mode
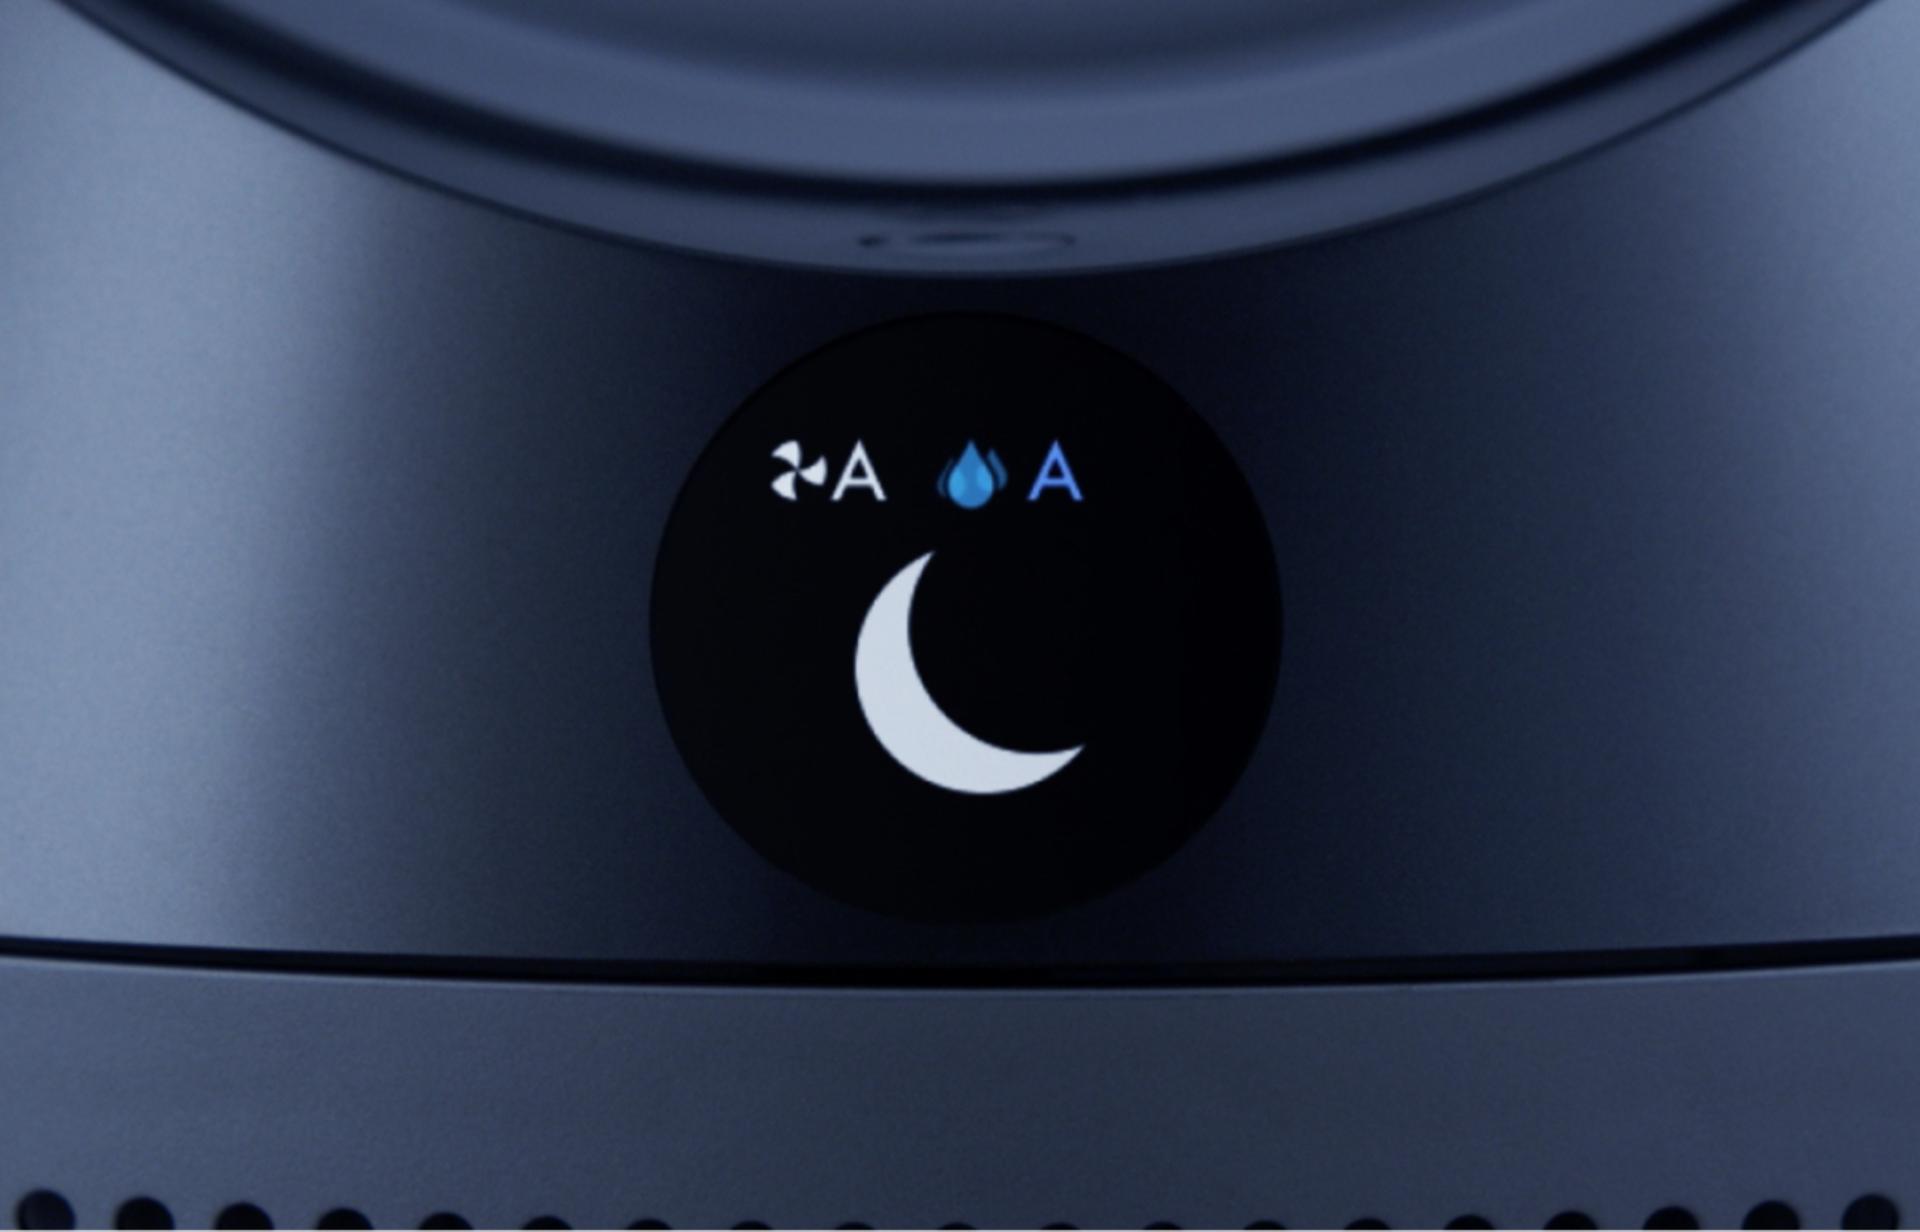
For quiet times or when sleeping, turn on Night mode using your remote control. Your machine will then use its quietest settings, with a dimmed display.
-
Sleep timer
To turn your machine off automatically after a selected amount of time, press the Sleep timer button on your remote control. Then select the amount of time you want your machine to run for.
Helpful tips for best performance
Understanding your LCD screen icons
The icons on the built-in LCD screen show you which pollutants are present, reporting them in real time. They also tell you about humidity and filter life, and will alert you when it's time to run a Deep clean cycle.
-
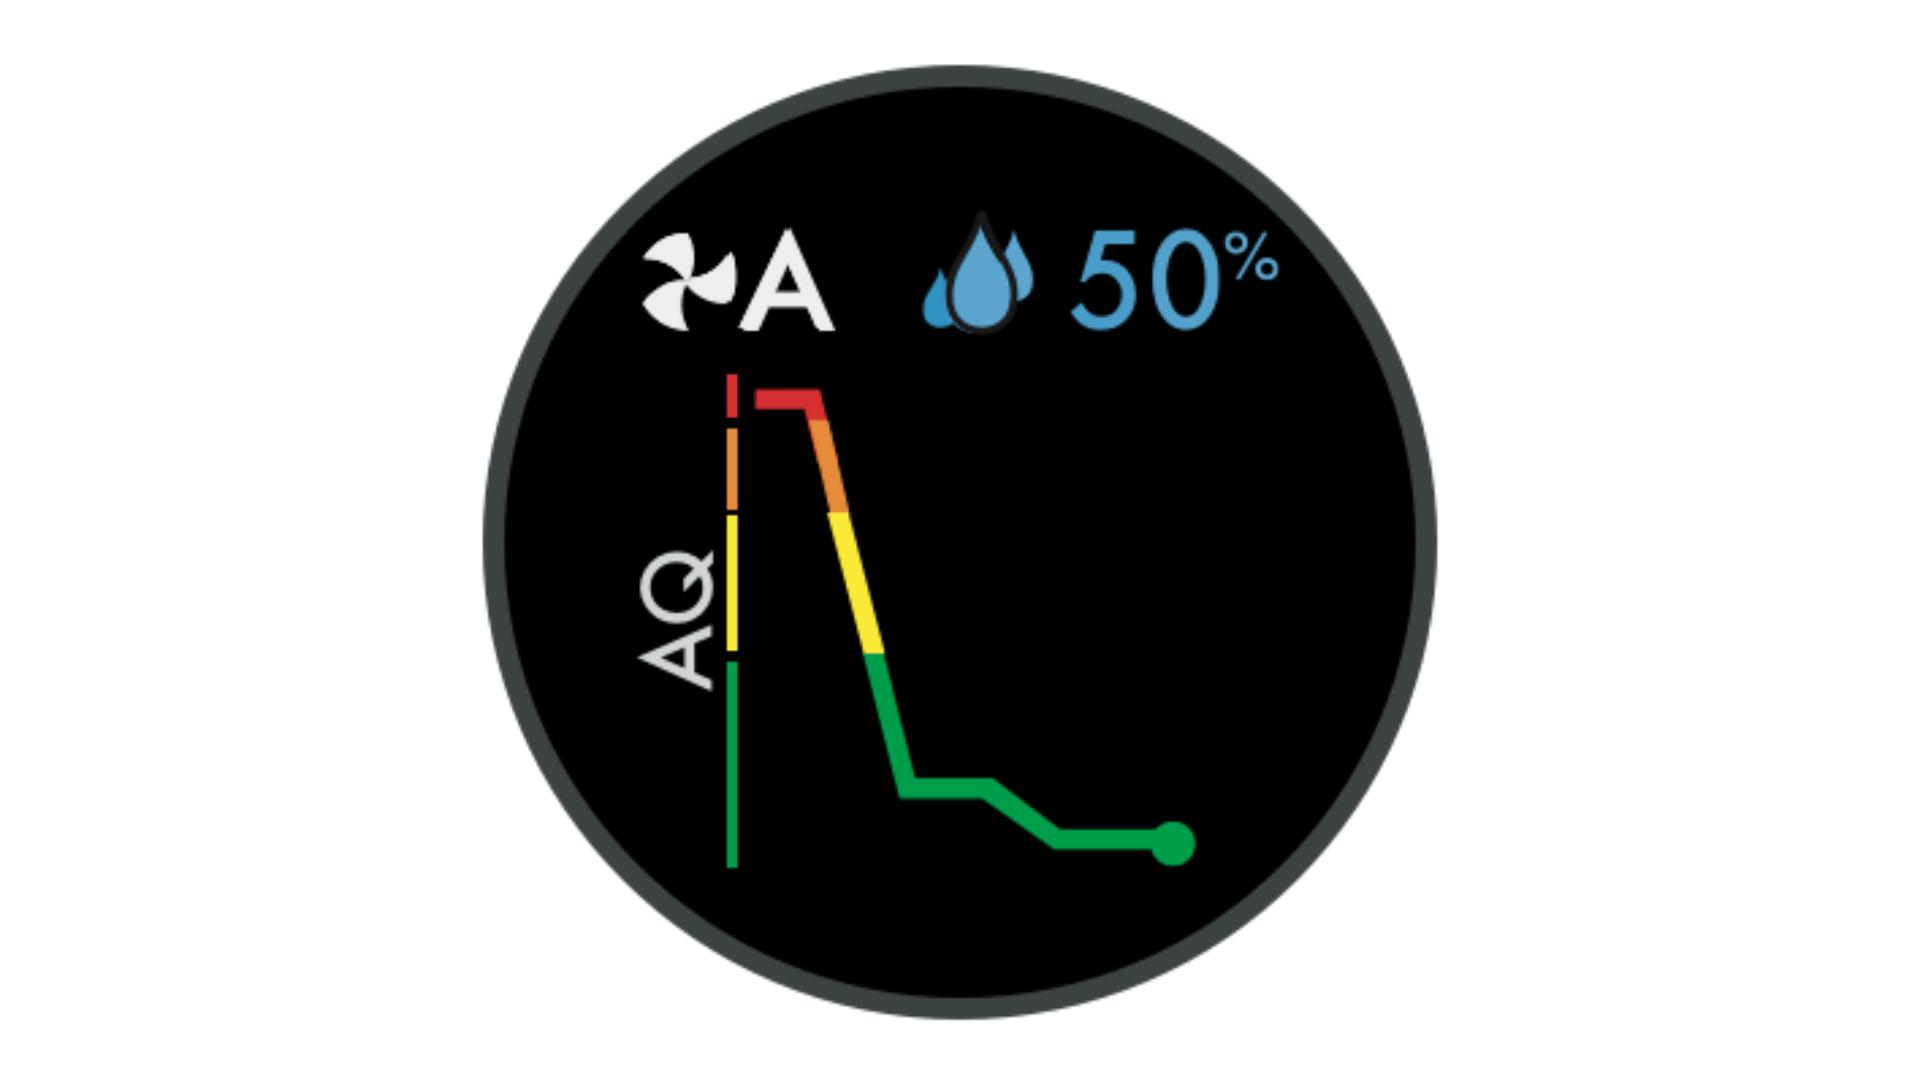
Indoor Air Quality Index (AQI)
Shows your air quality over the last 12 seconds, or over the last 24 hours.
-
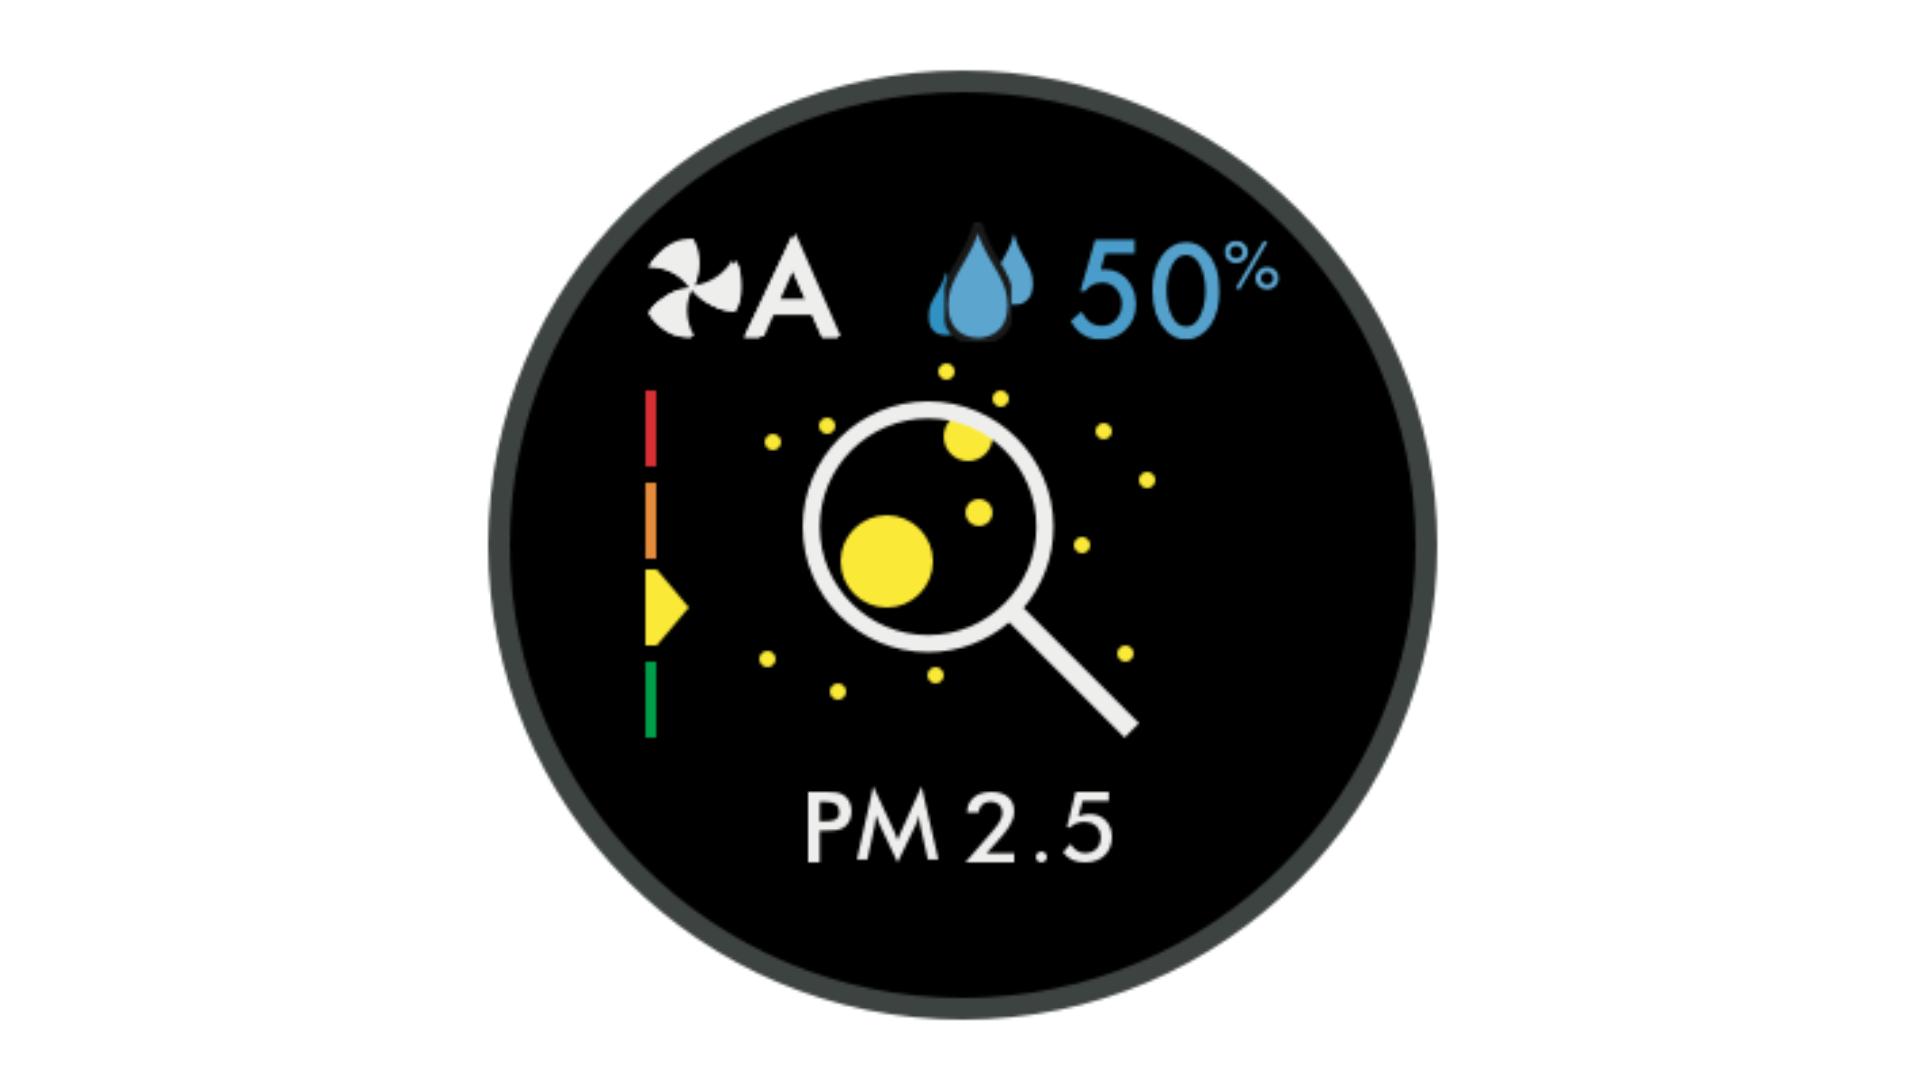
Particulate matter PM2.5
Your machine is sensing microscopic particles smaller than 2.5 microns, including smoke, bacteria and allergens.
-
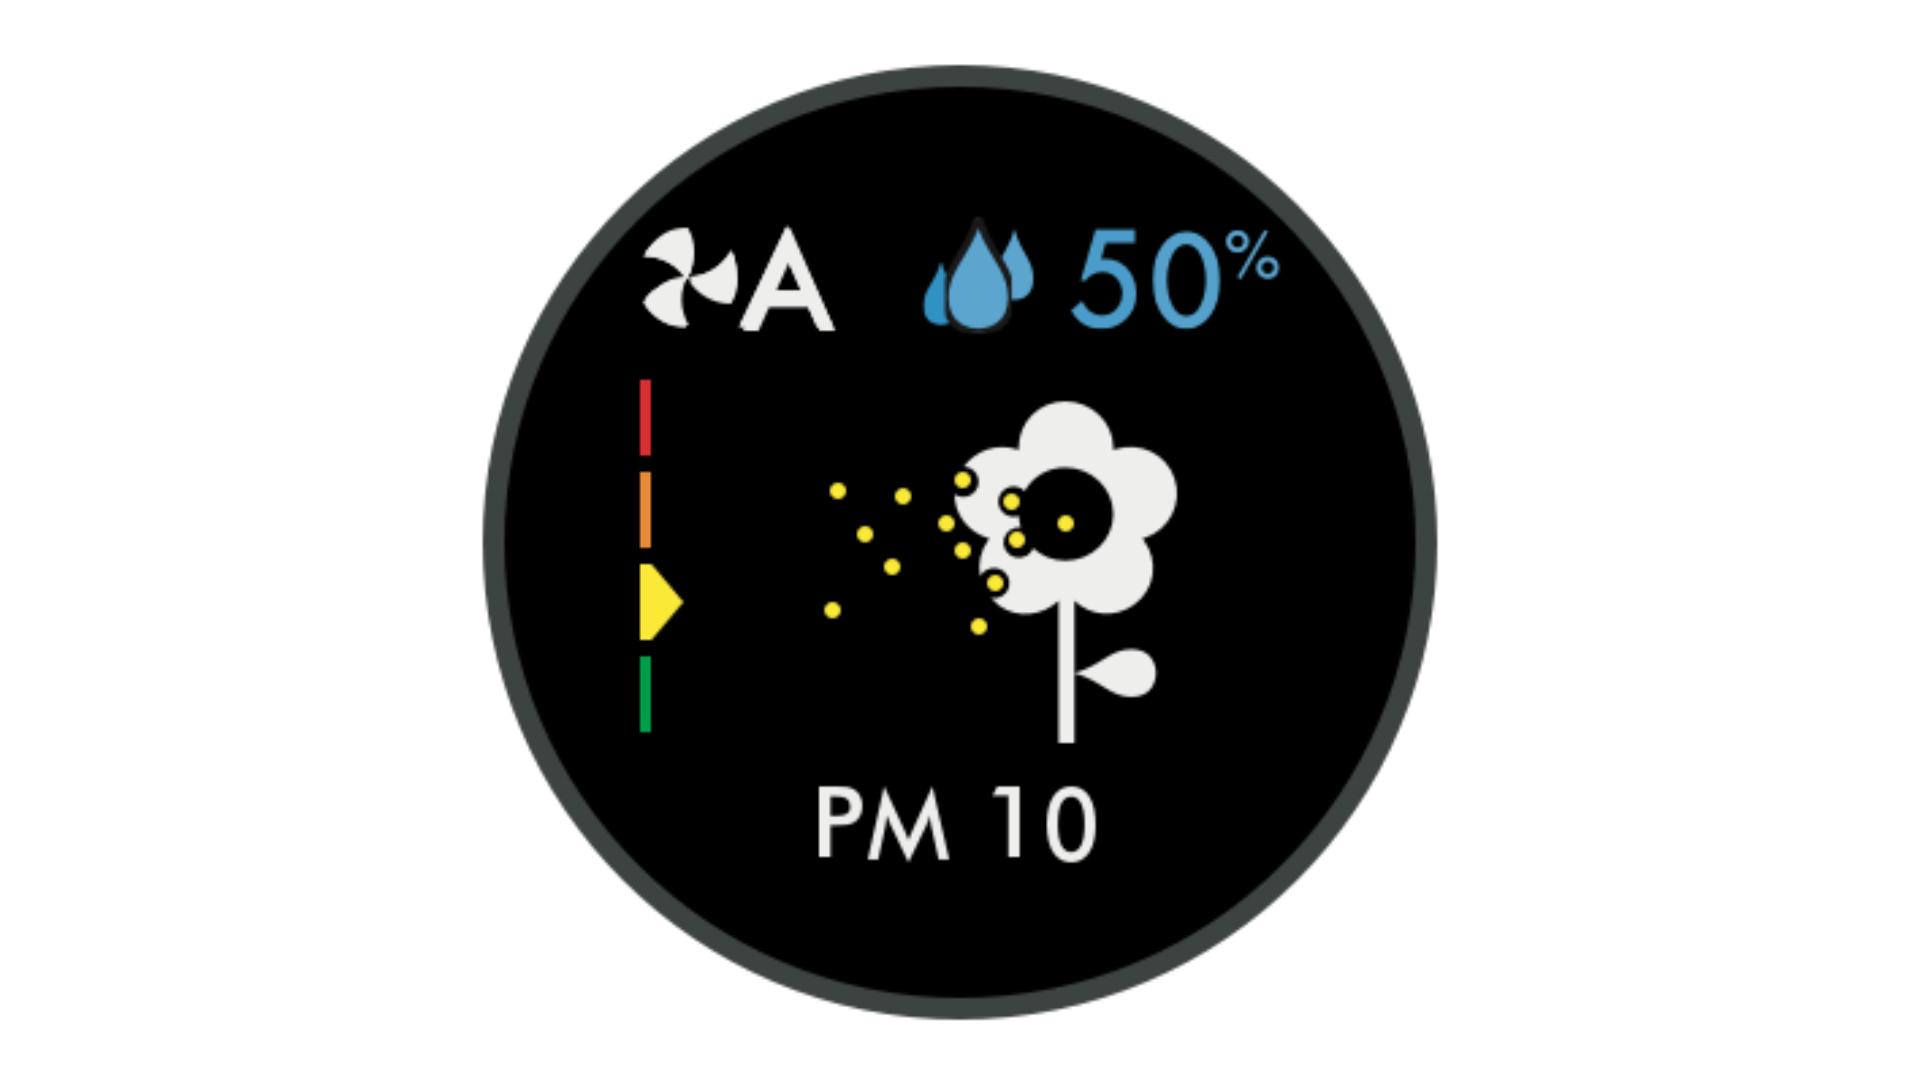
Particulate matter PM10
Your machine is sensing particles smaller than 10 microns, including pollen, dust and pet dander.
-
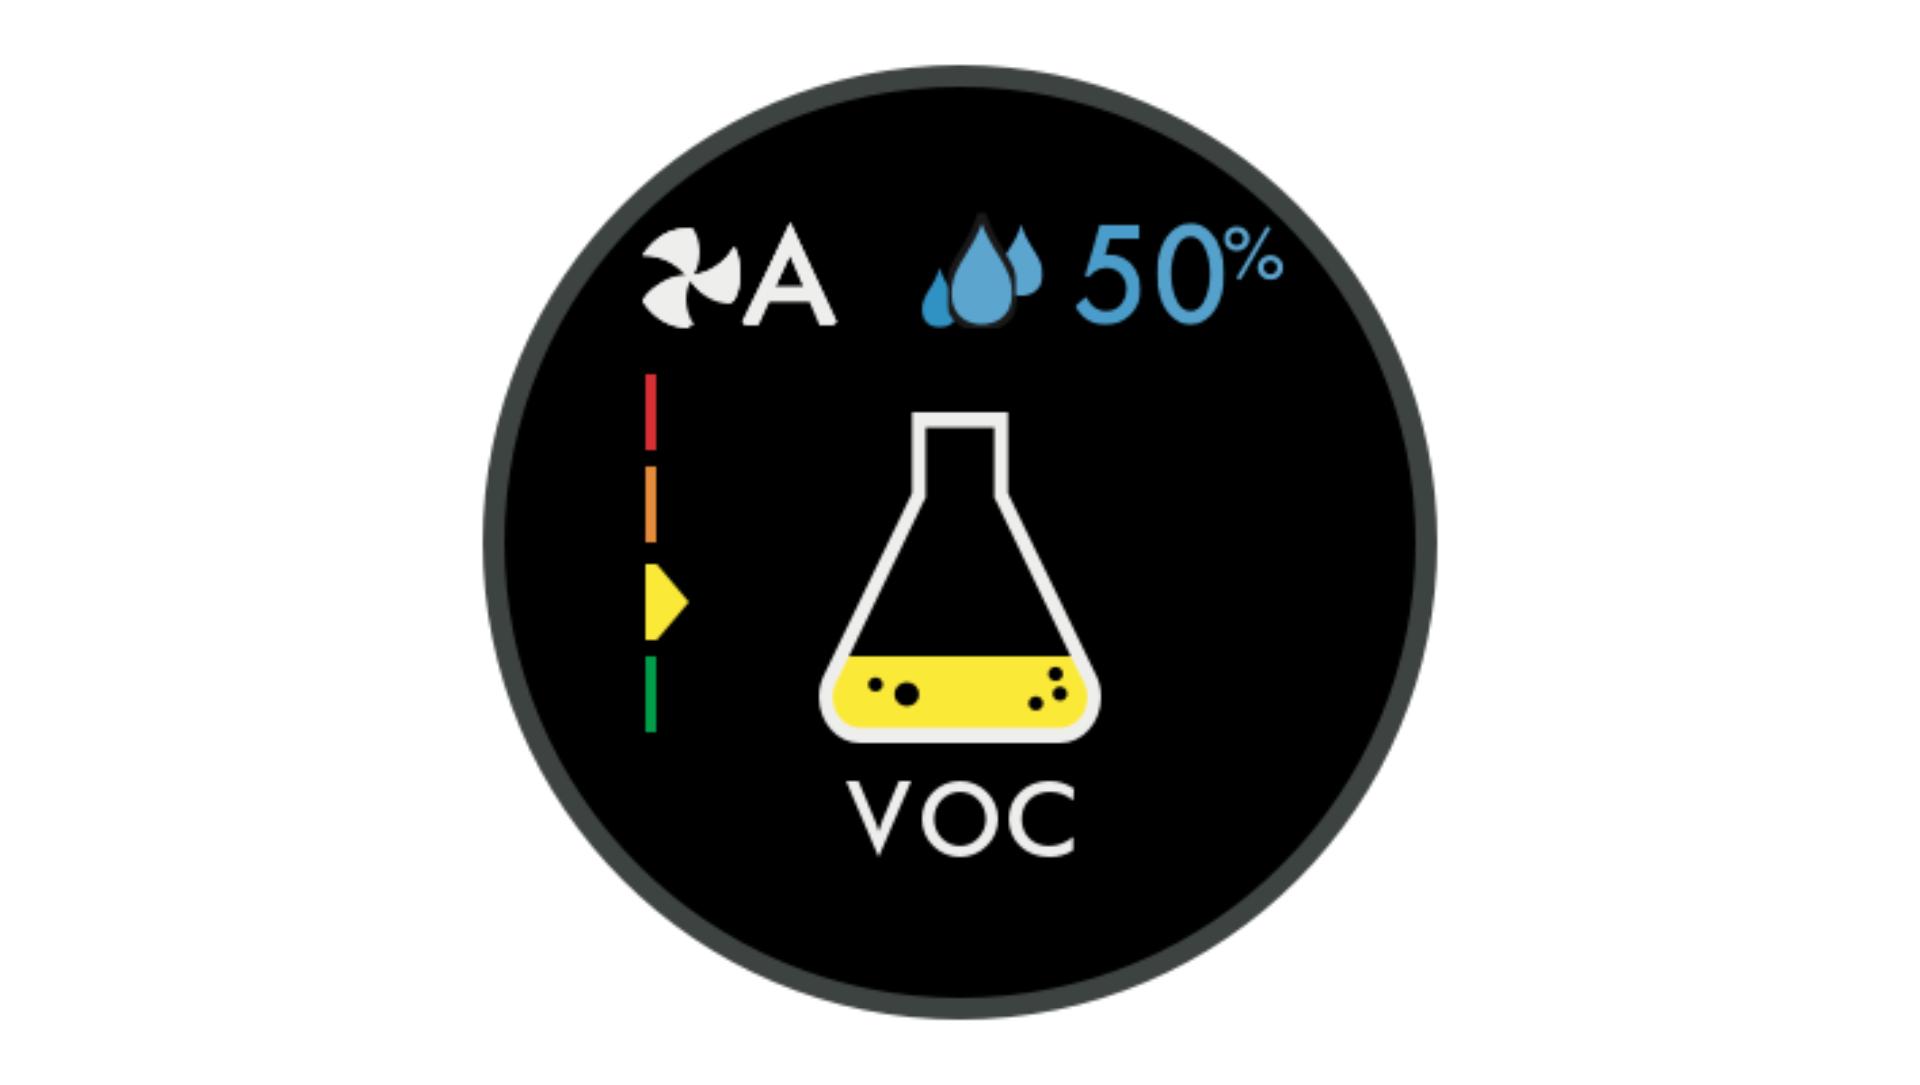
Volatile Organic Compounds (VOCs)
Your machine is detecting gases released from a wide range of sources, such as aerosol sprays and air fresheners.
-
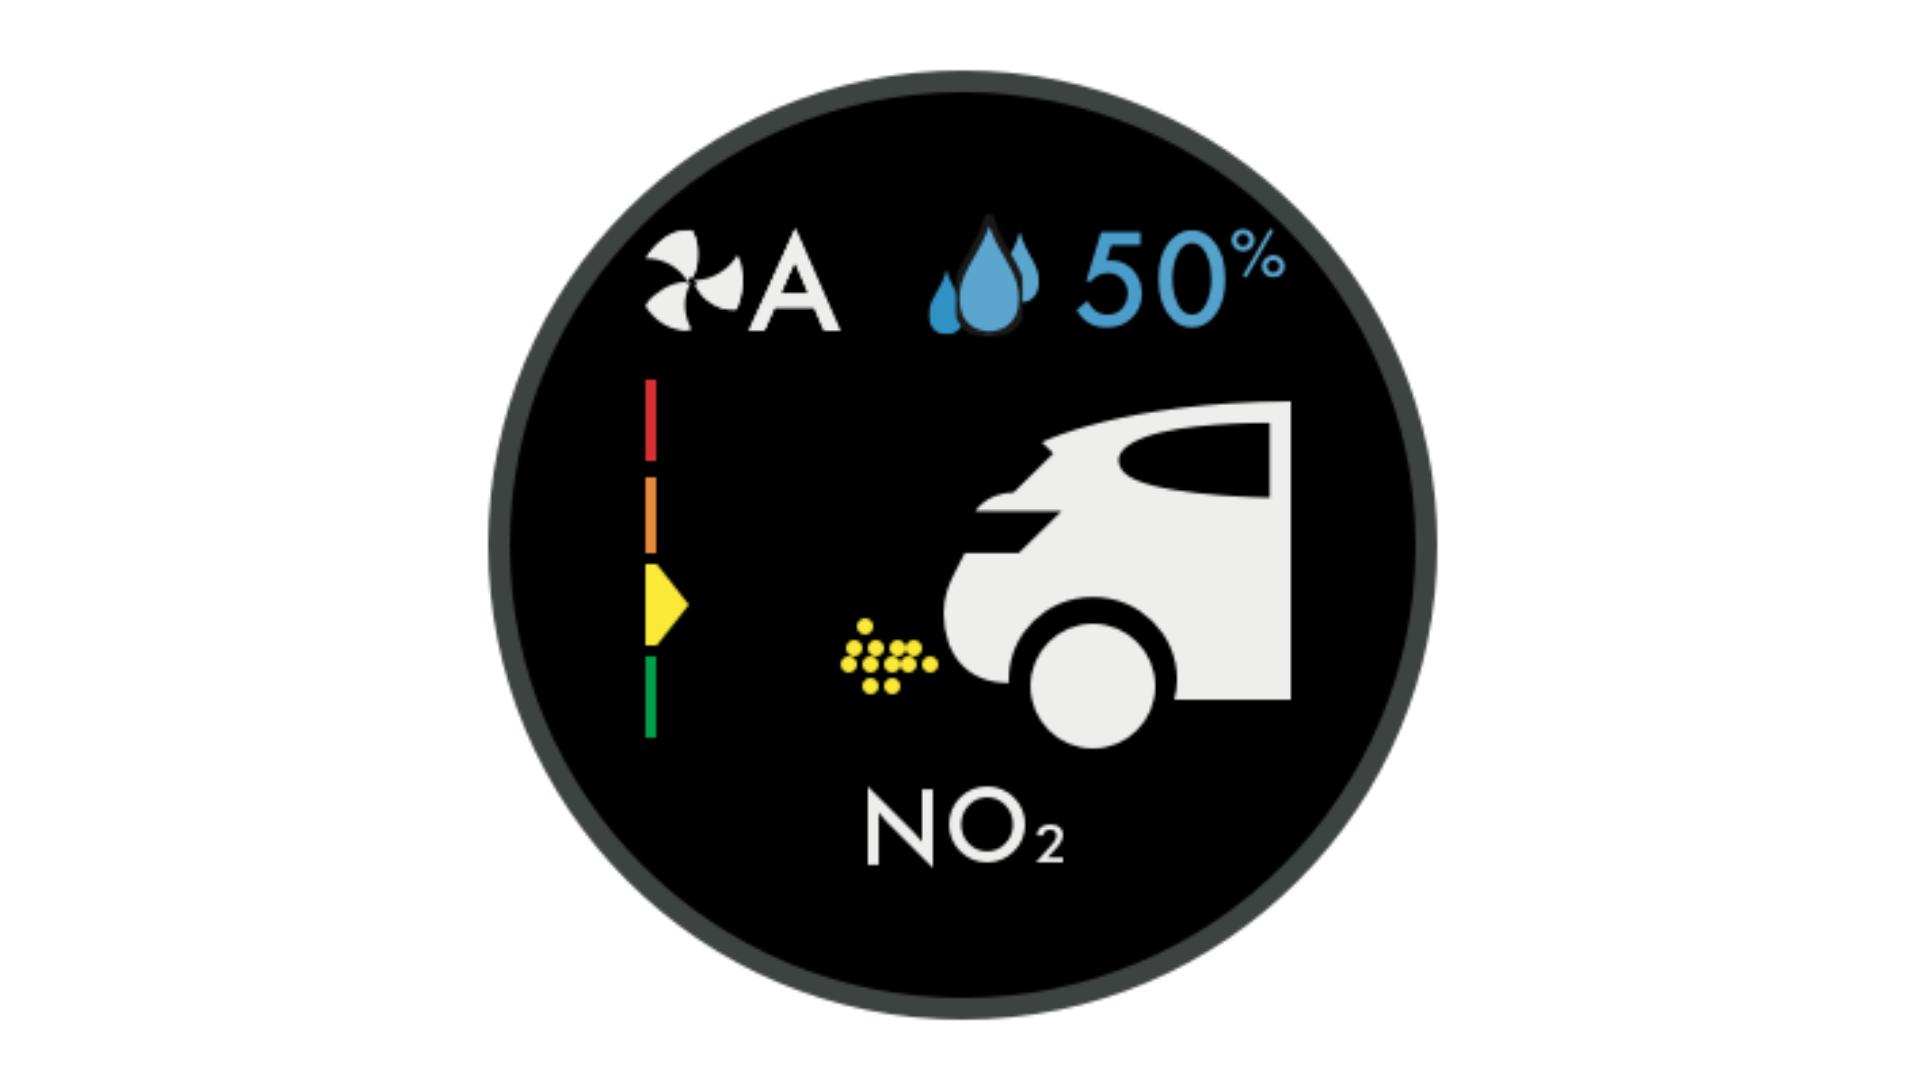
Nitrogen Dioxide (NO₂)
Your machine is detecting oxidising gases such as NO₂ released by combustion. Includes cigarette smoke, candles and car emissions.
-
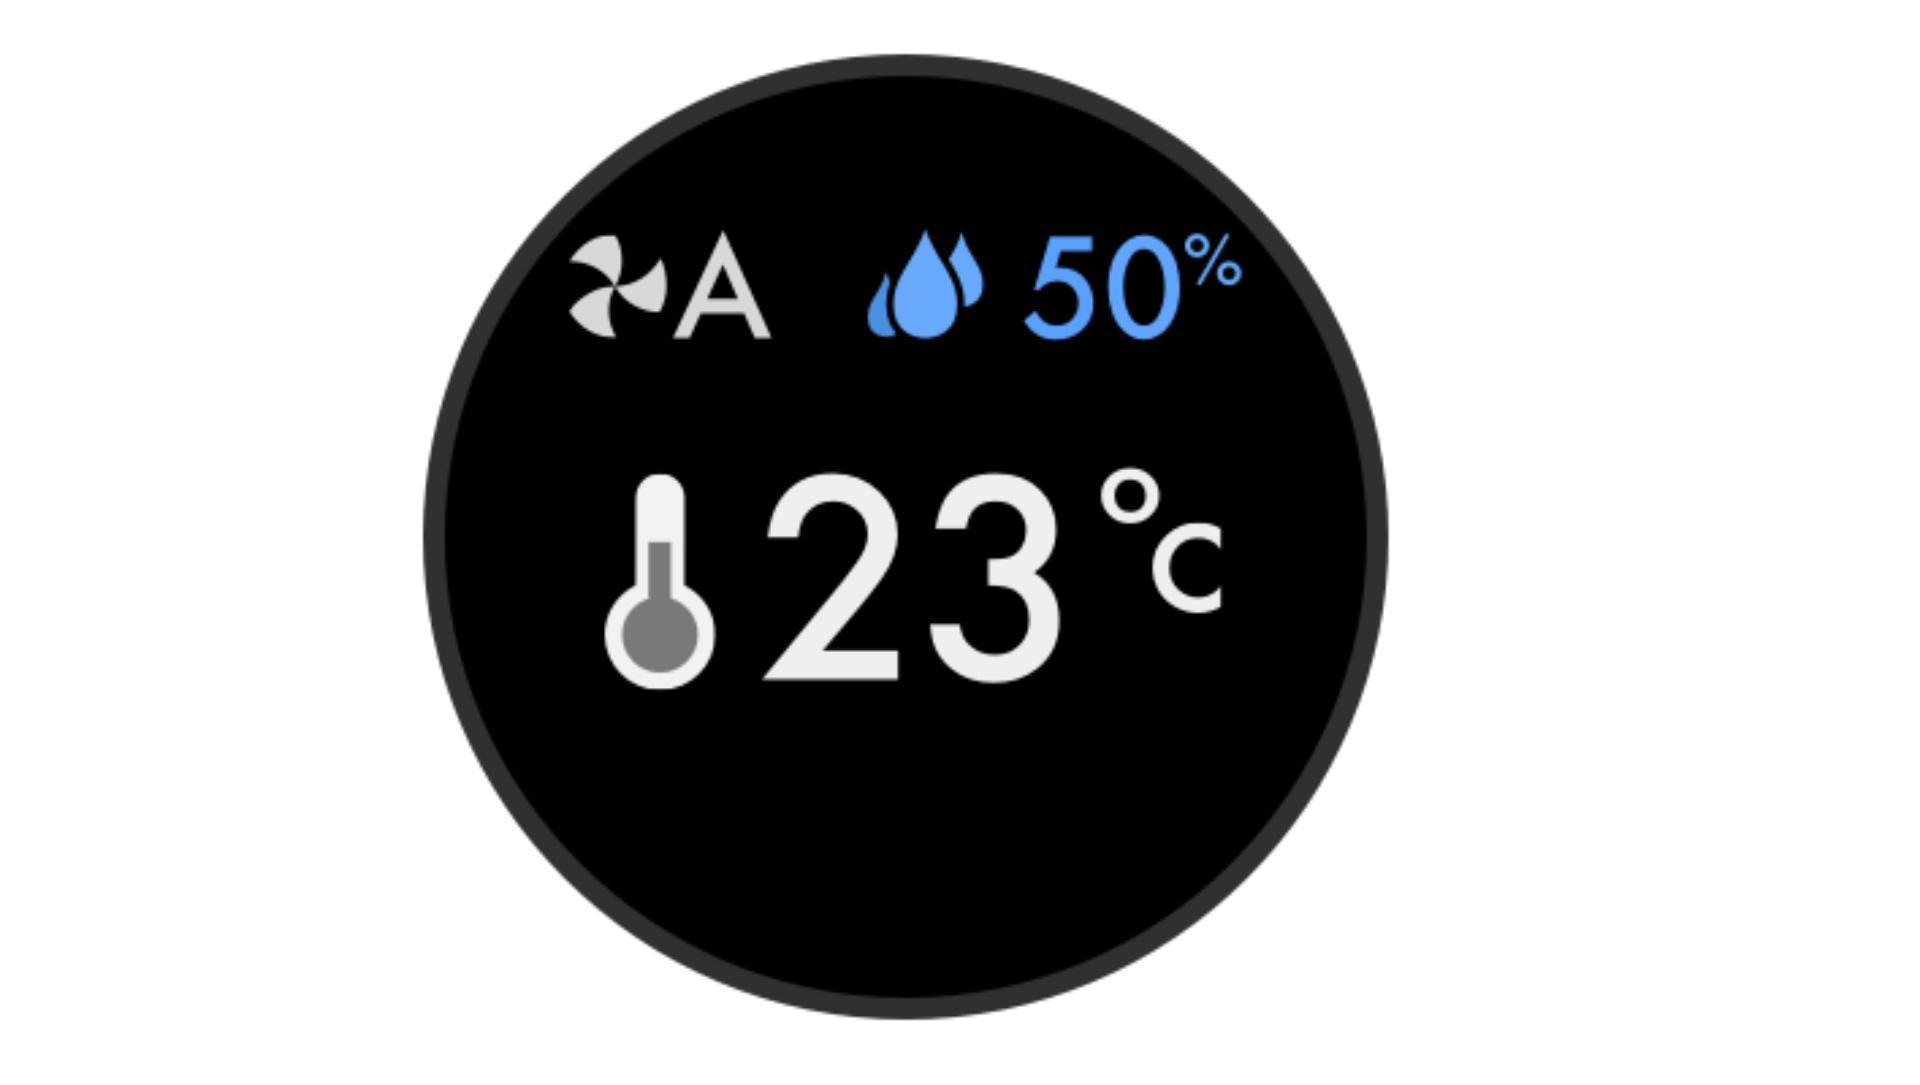
Indoor temperature
Shows the room's temperature.
-
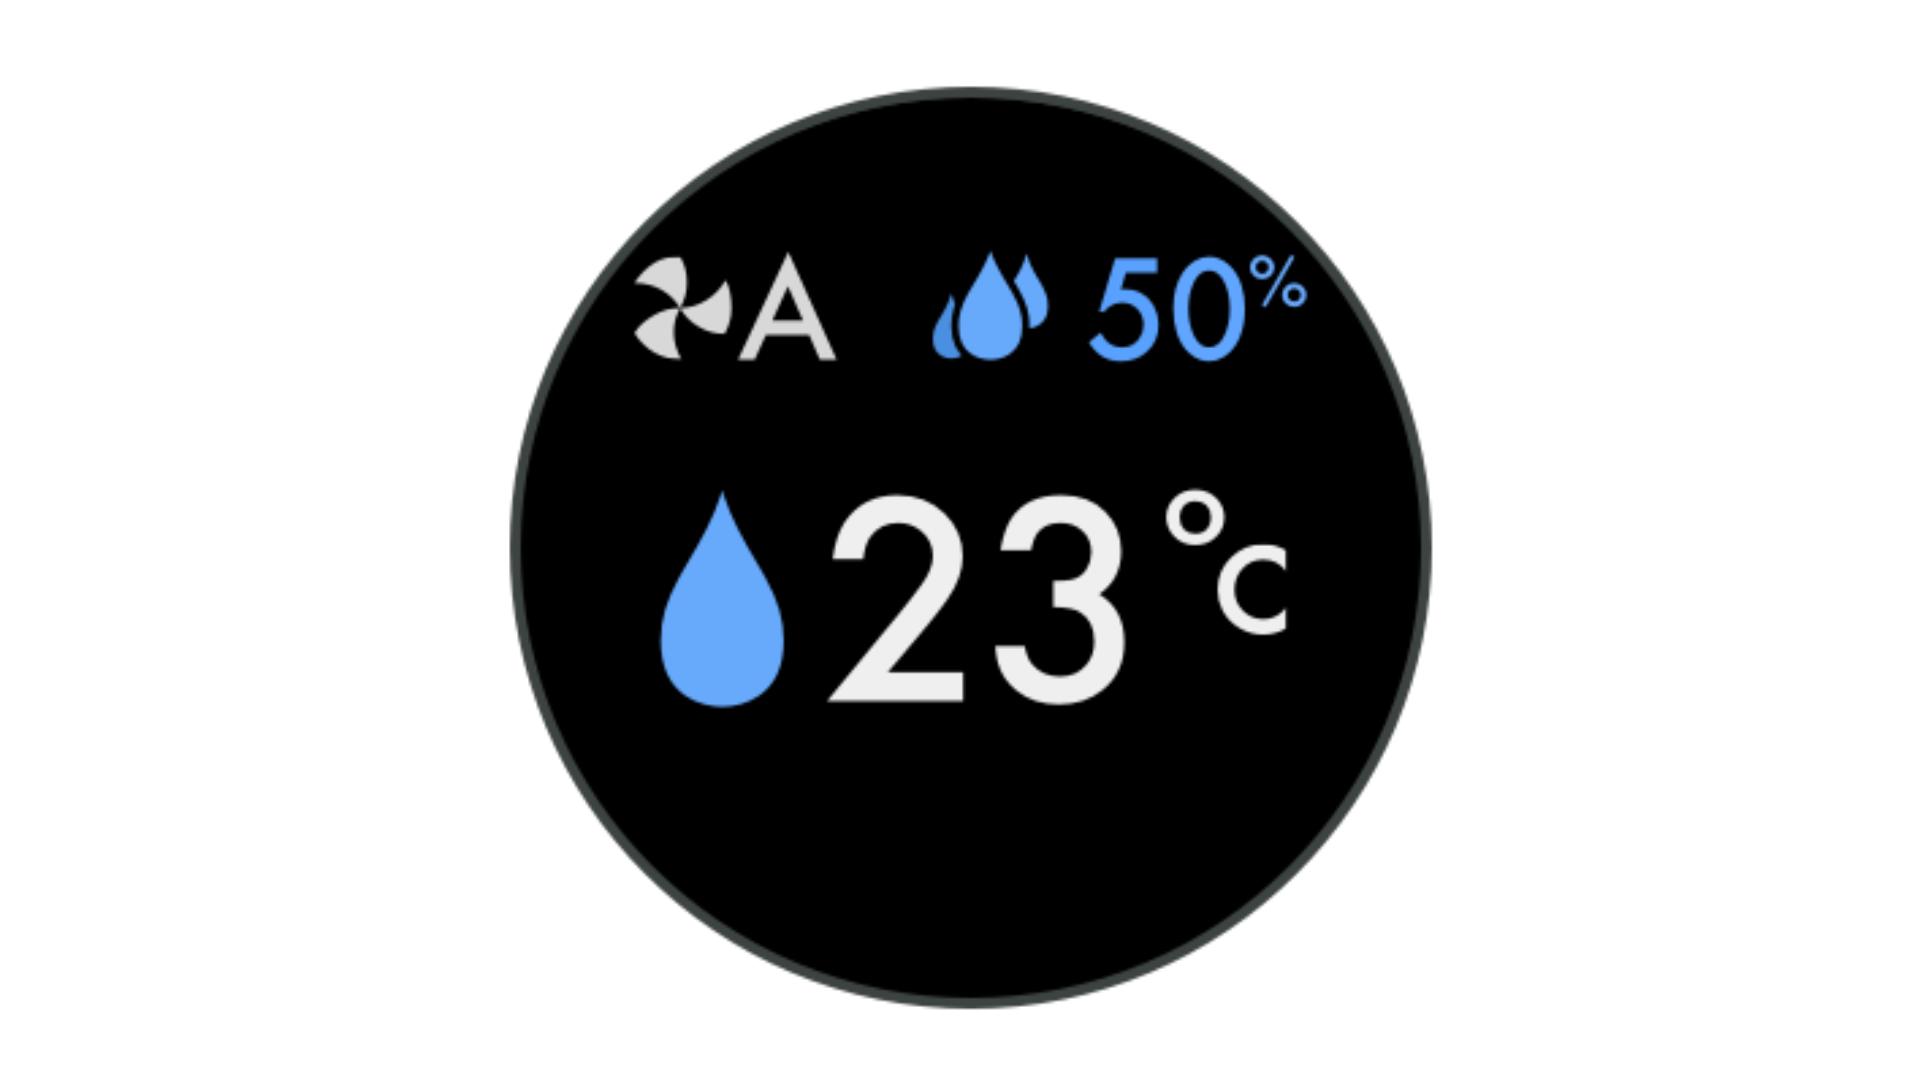
Relative humidity info screen
Shows the current humidity level in your room.
-
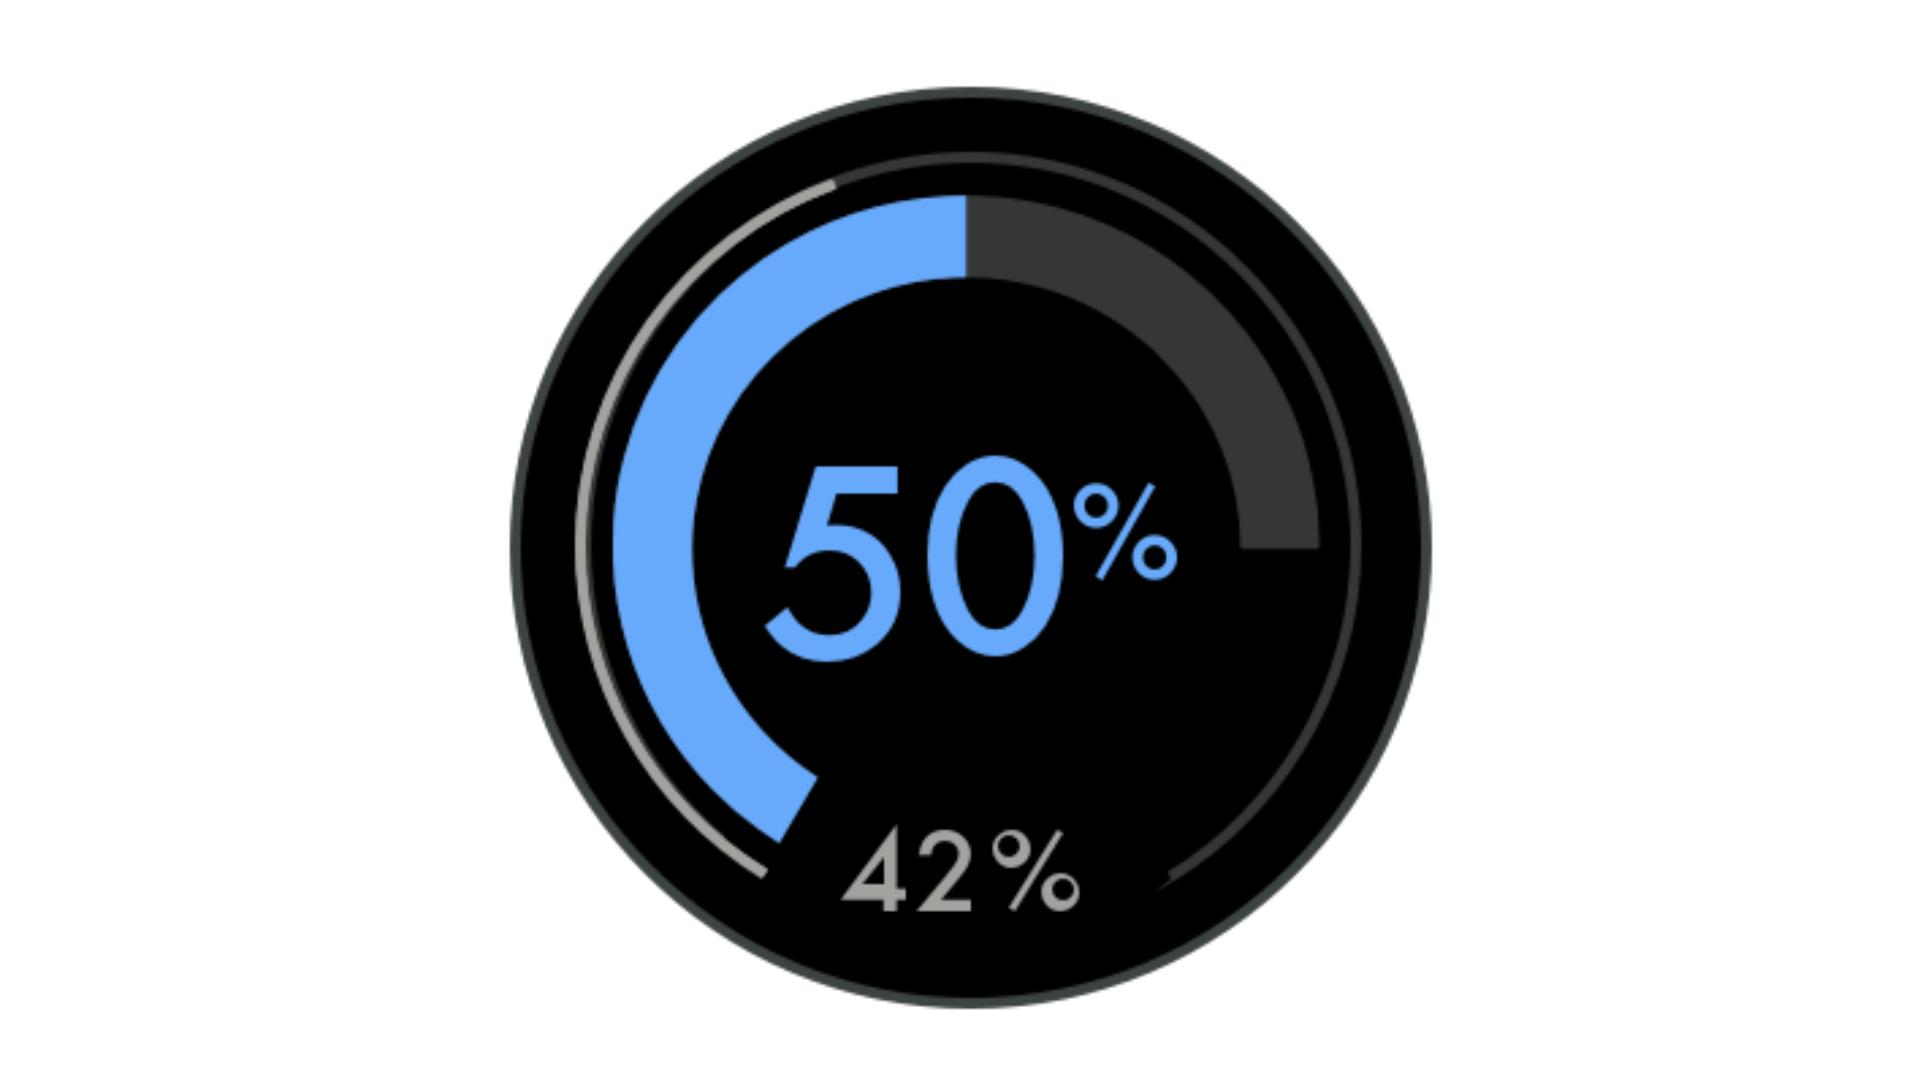
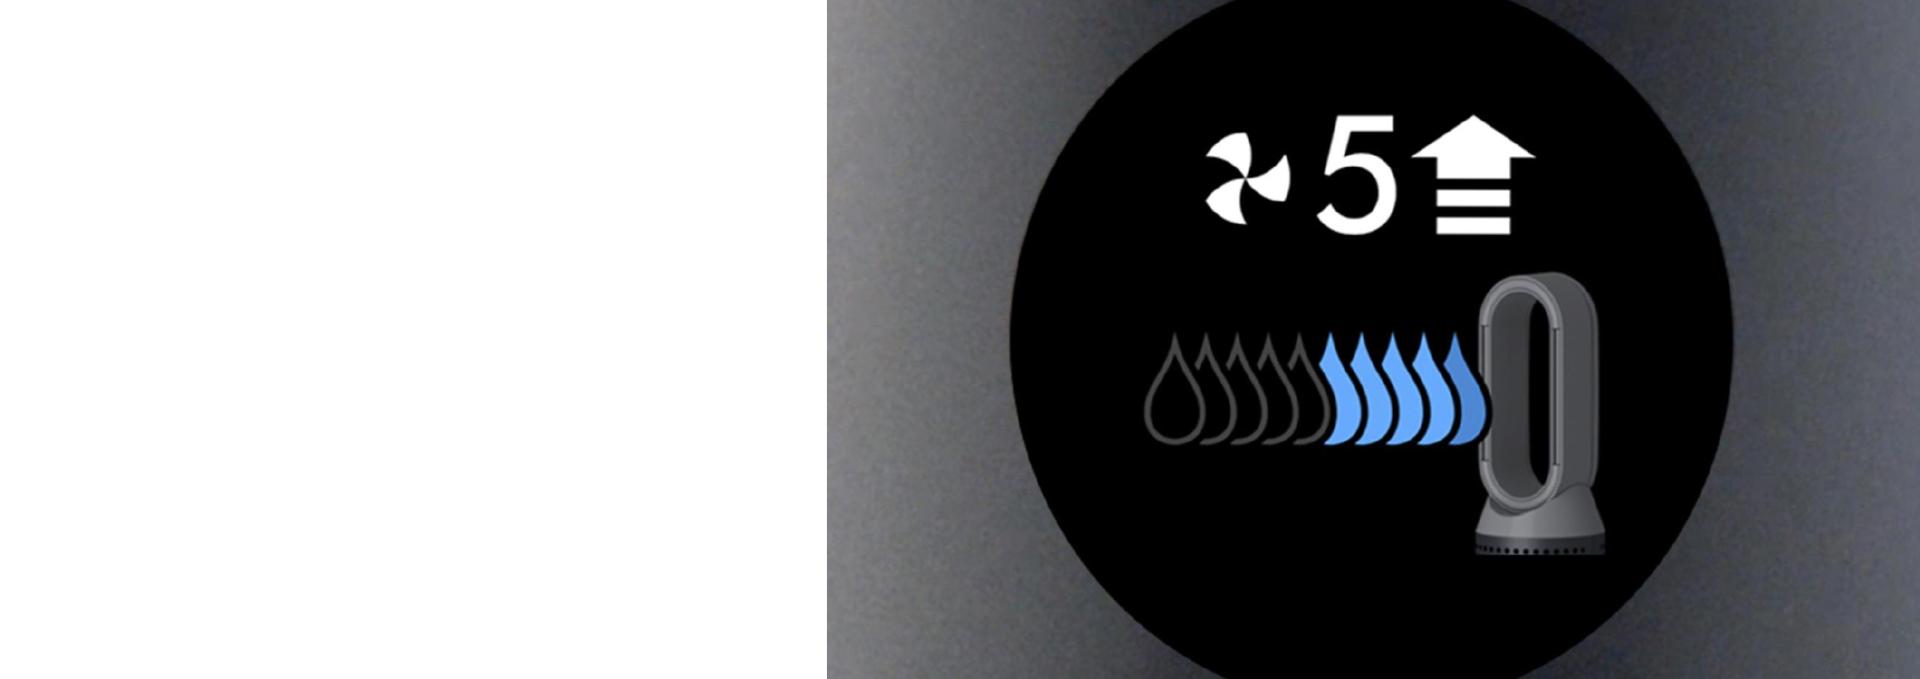
Humidification dial
Shows the current room humidity in grey, and the target humidity level in blue.
-
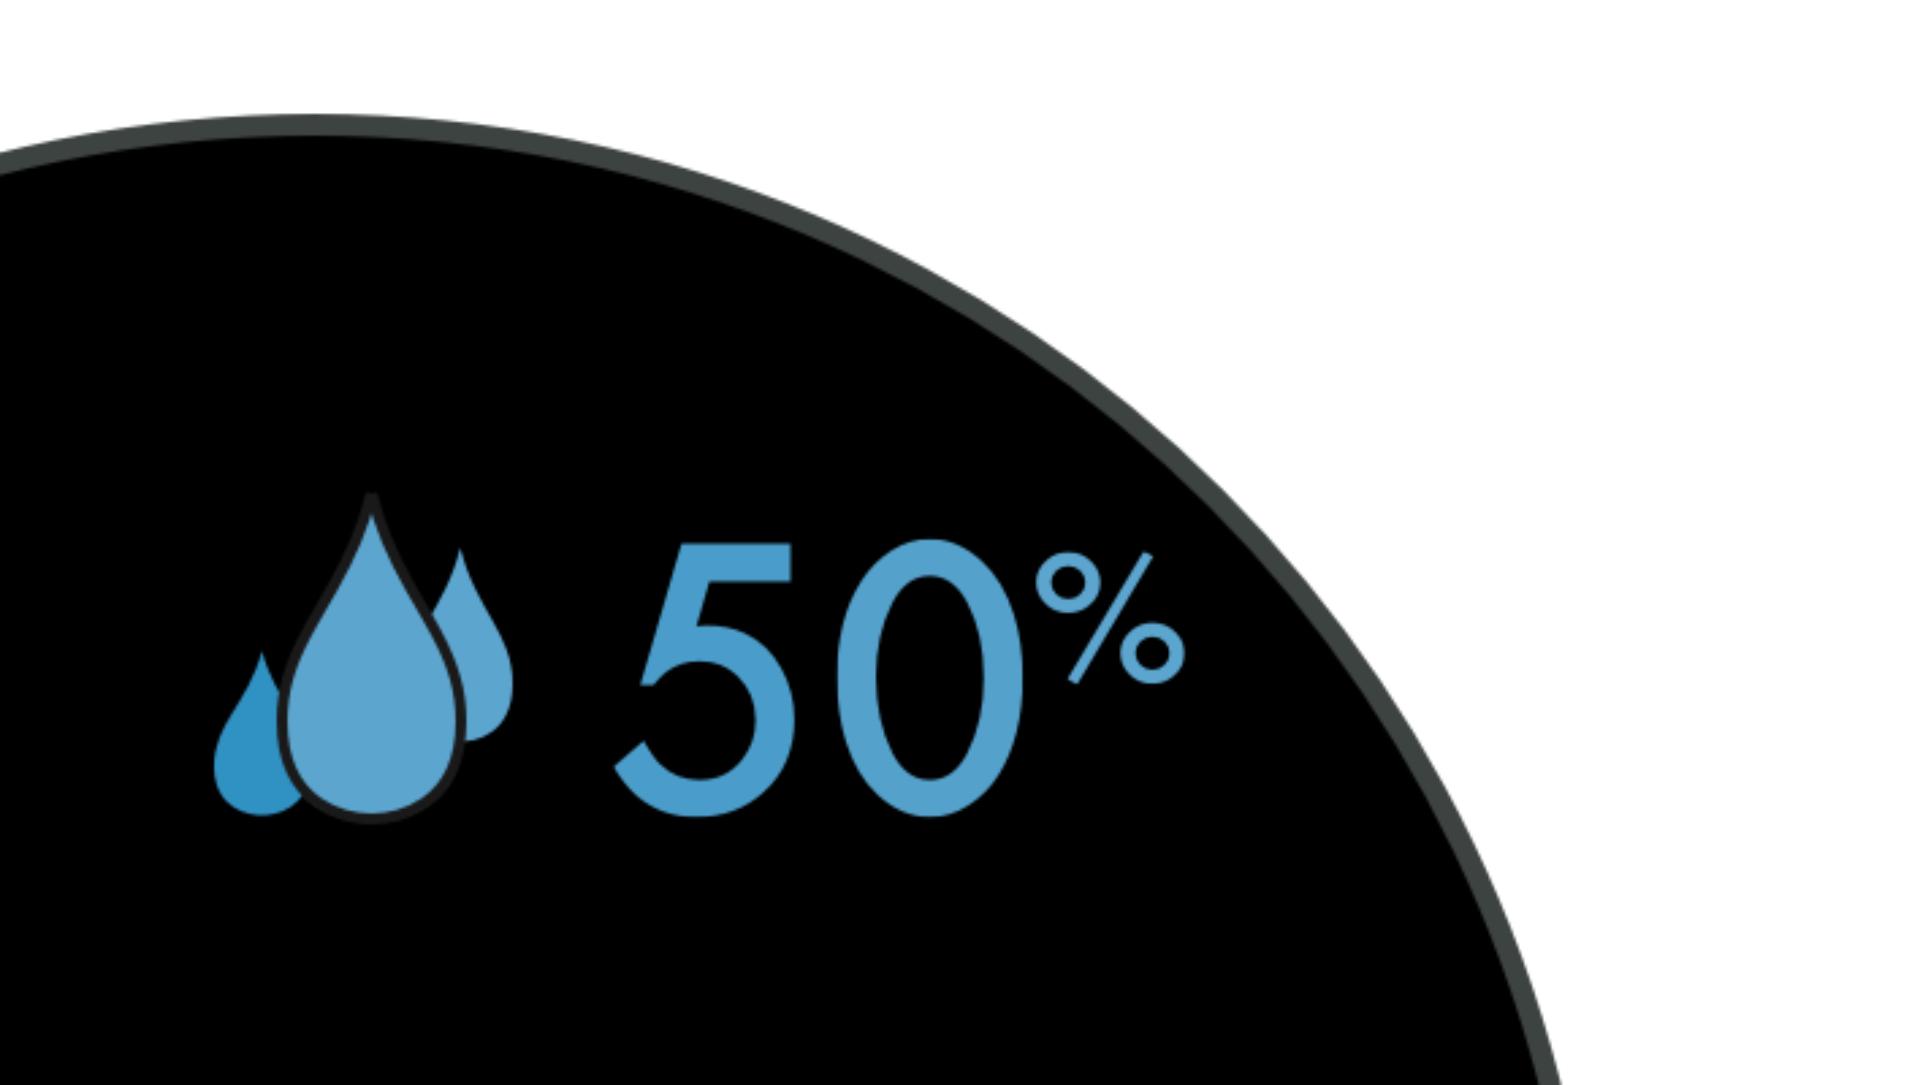
Humidifying to 50% target
Shows your machine is humidifying to reach the set 50% target.
-

Humidifying to Auto target
Shows your machine is humidifying to reach the Auto target.
-
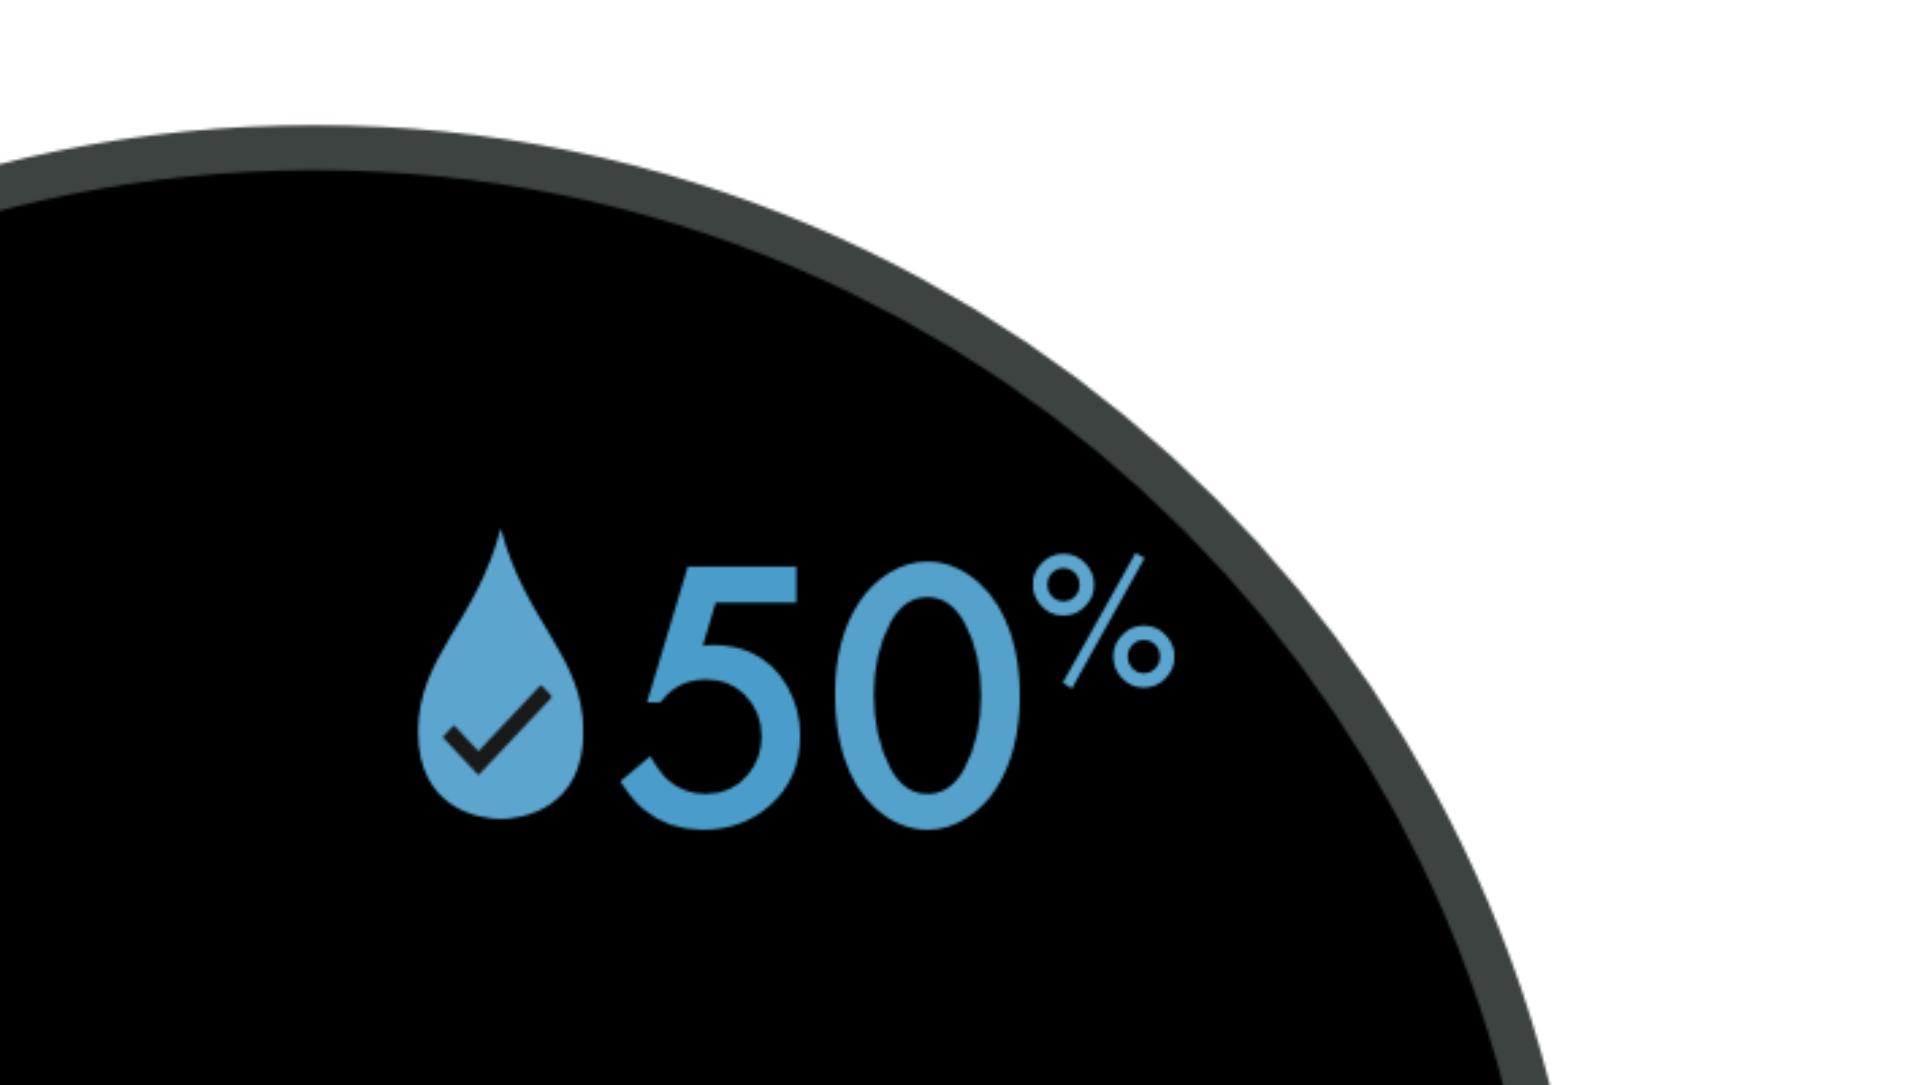
Humidification target met
Shows your humidification target has been met.
-
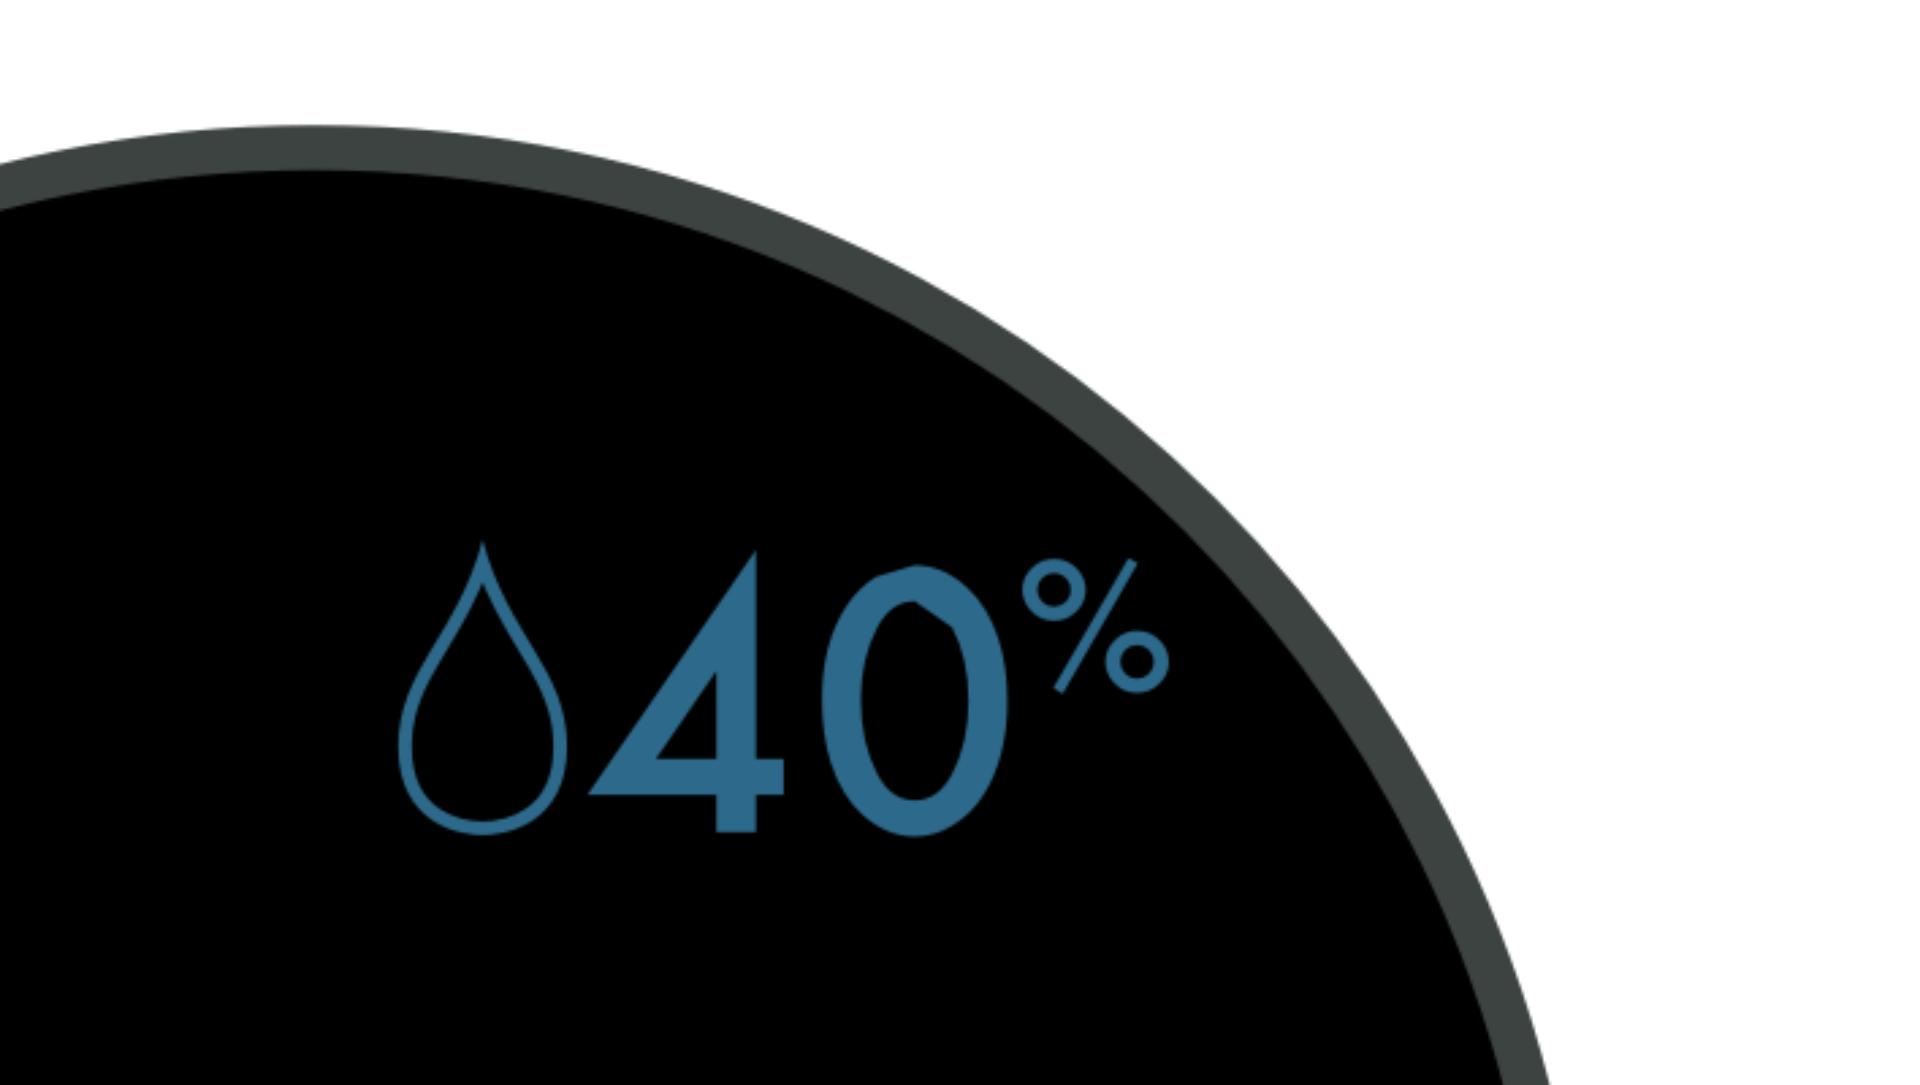
Humidification target lower than room humidity
Shows your target humidity is less than the current room humidity.
-
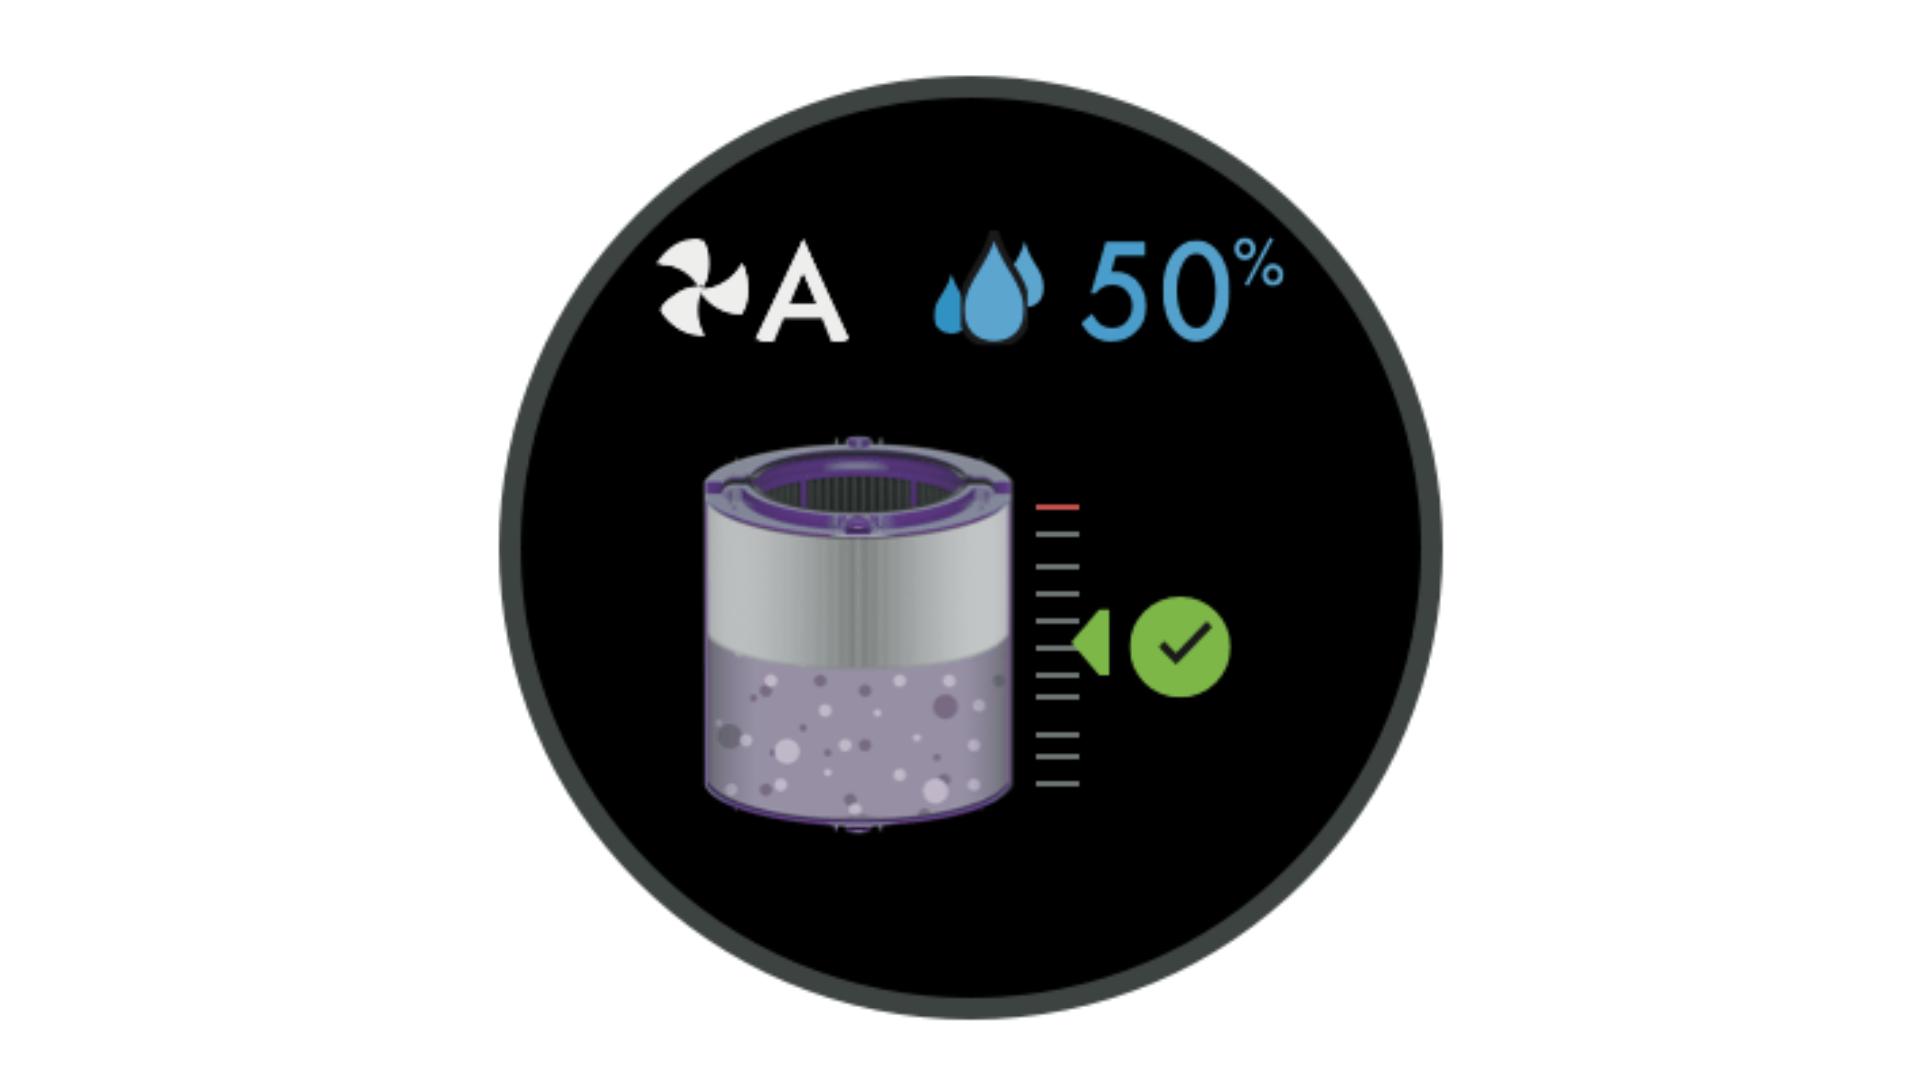
Filter life
Shows how much filter life remains on your combination filter, so you know when to replace it.
-
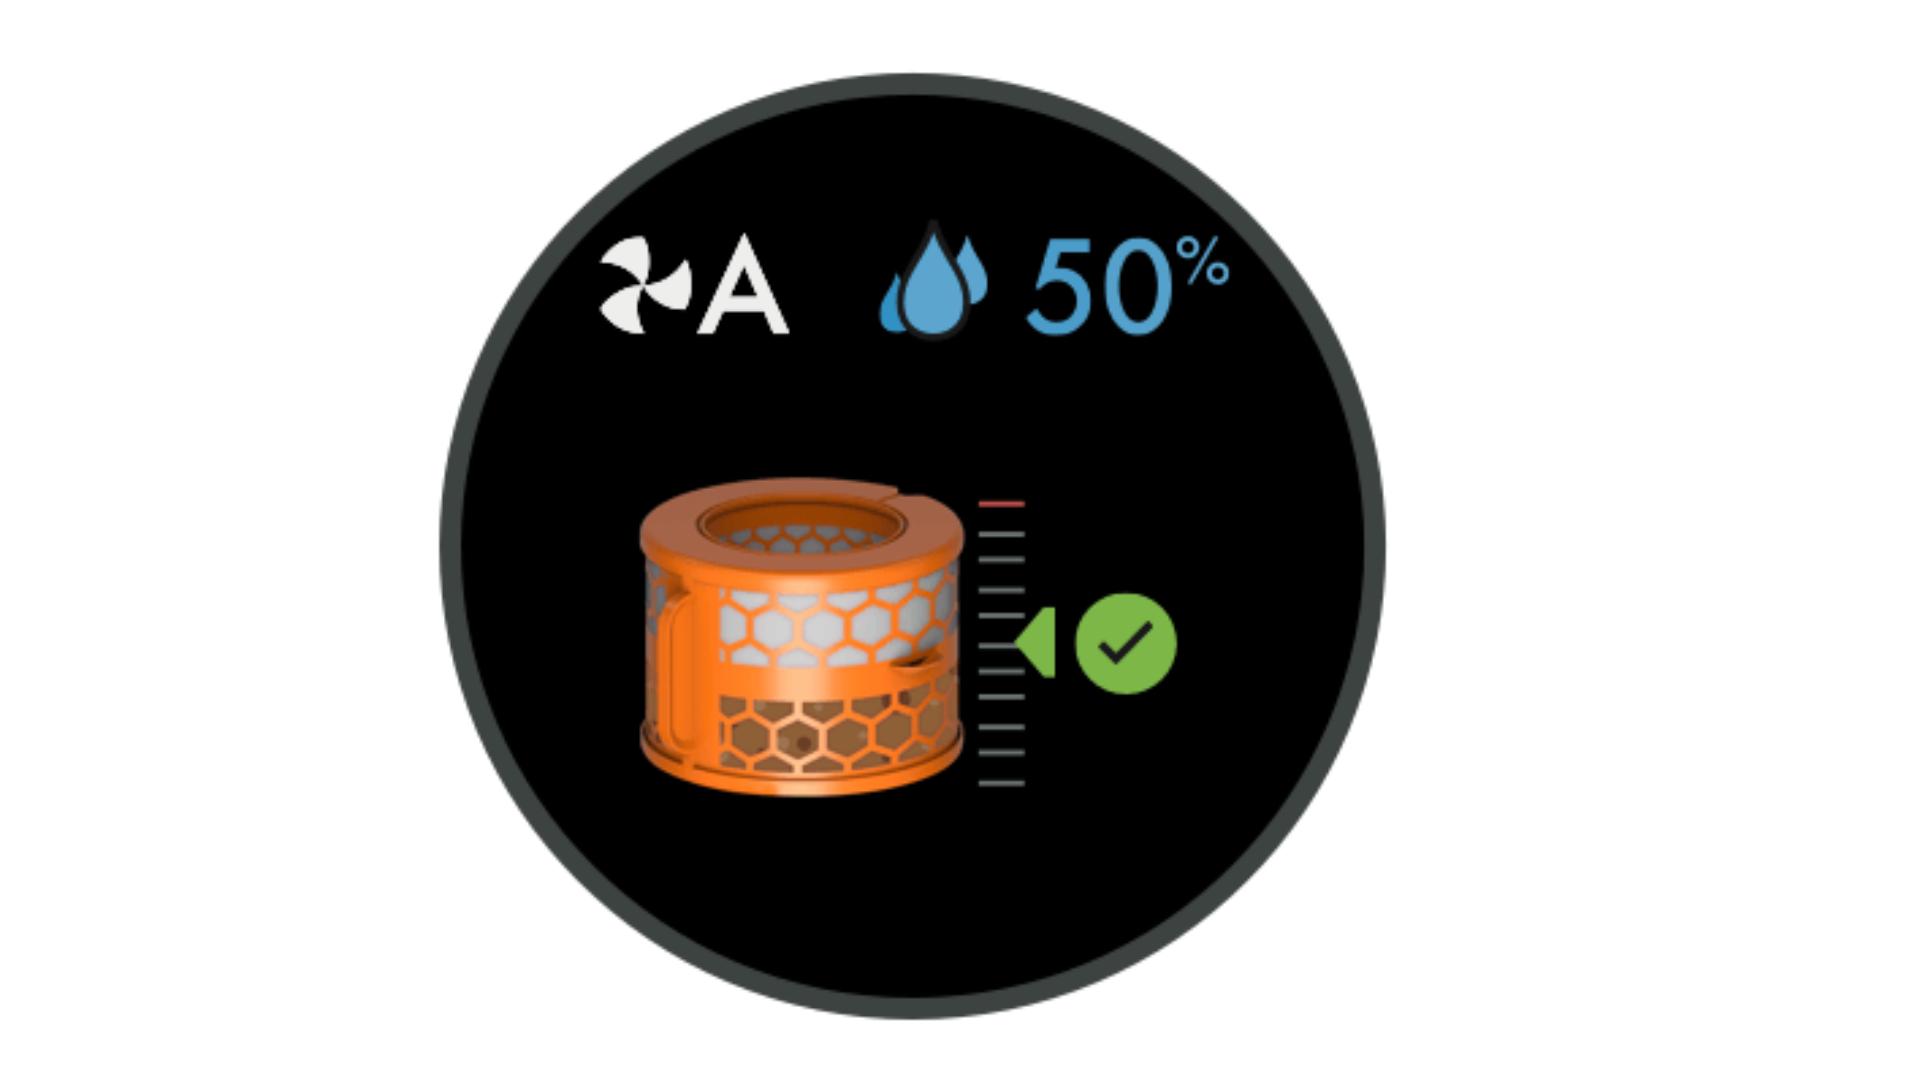
Evaporator status
Indicates how full the evaporator is with limescale, and how soon a Deep clean cycle is required.
-
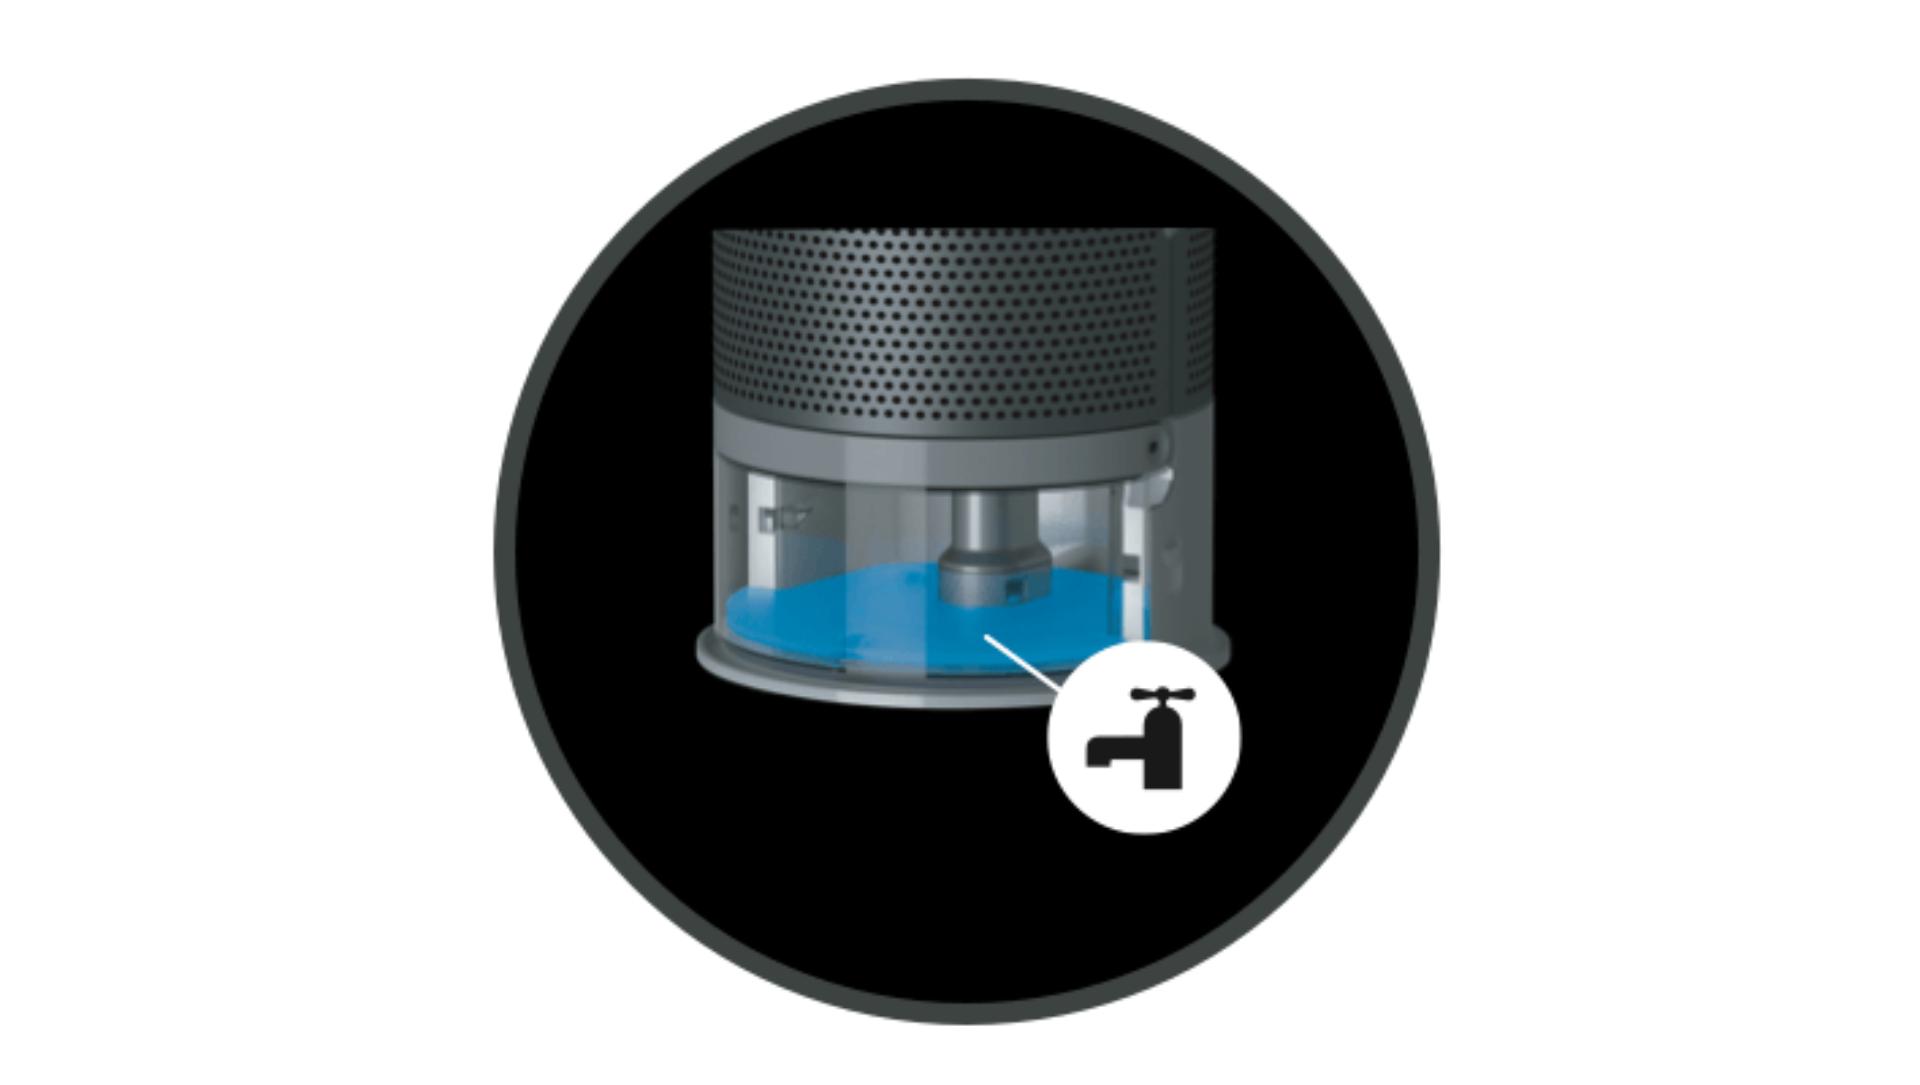
Refill tank
Shows it's time to refill the water tank.
Understanding pollutant levels
When a pollutant causes the air quality to drop, the relevant icon will appear on your LCD screen. The coloured bar on the left of the screen will indicate how much of the pollutant is present, and will continually update as your machine purifies the air.
-
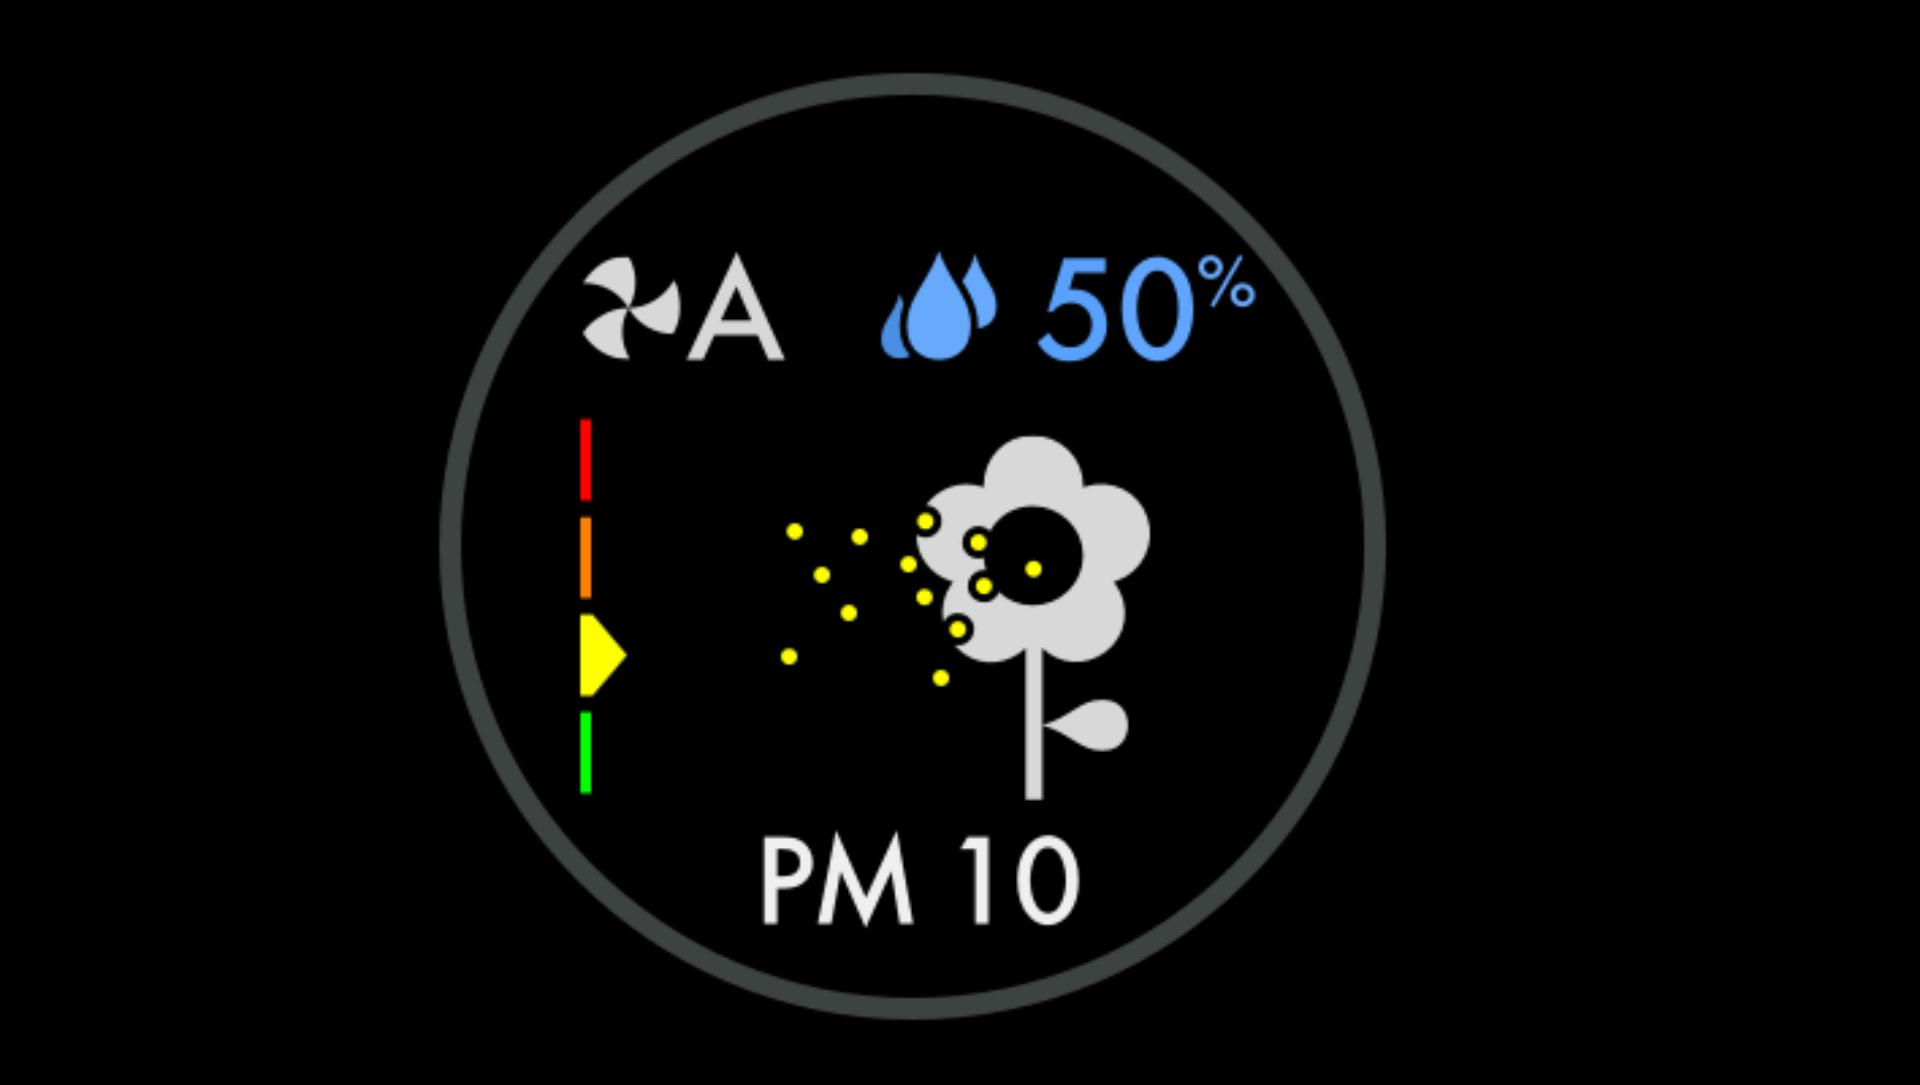
Fair
When the yellow section of the coloured bar is highlighted, your machine is detecting a moderate level of the type of pollutant.
-
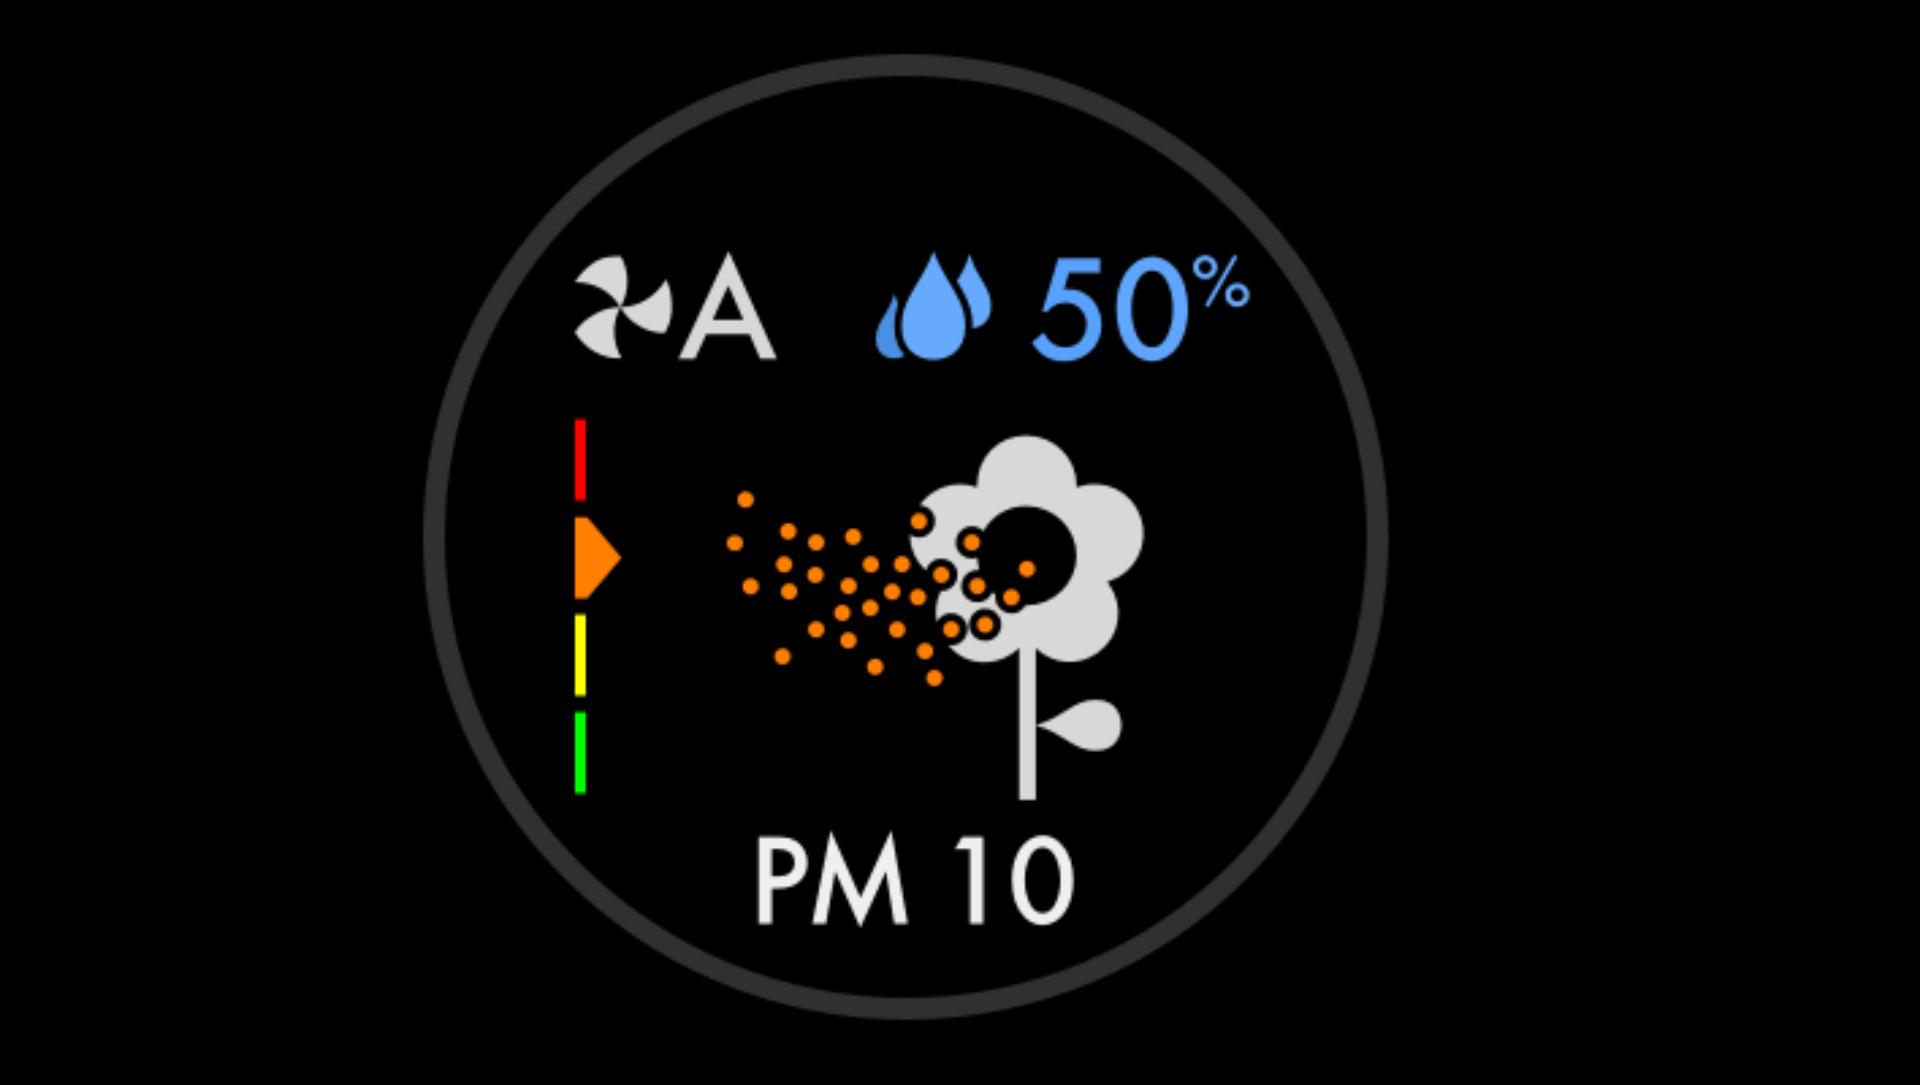
Poor
When the orange section of the coloured bar is highlighted, your machine is detecting a high level of the type of pollutant.
-
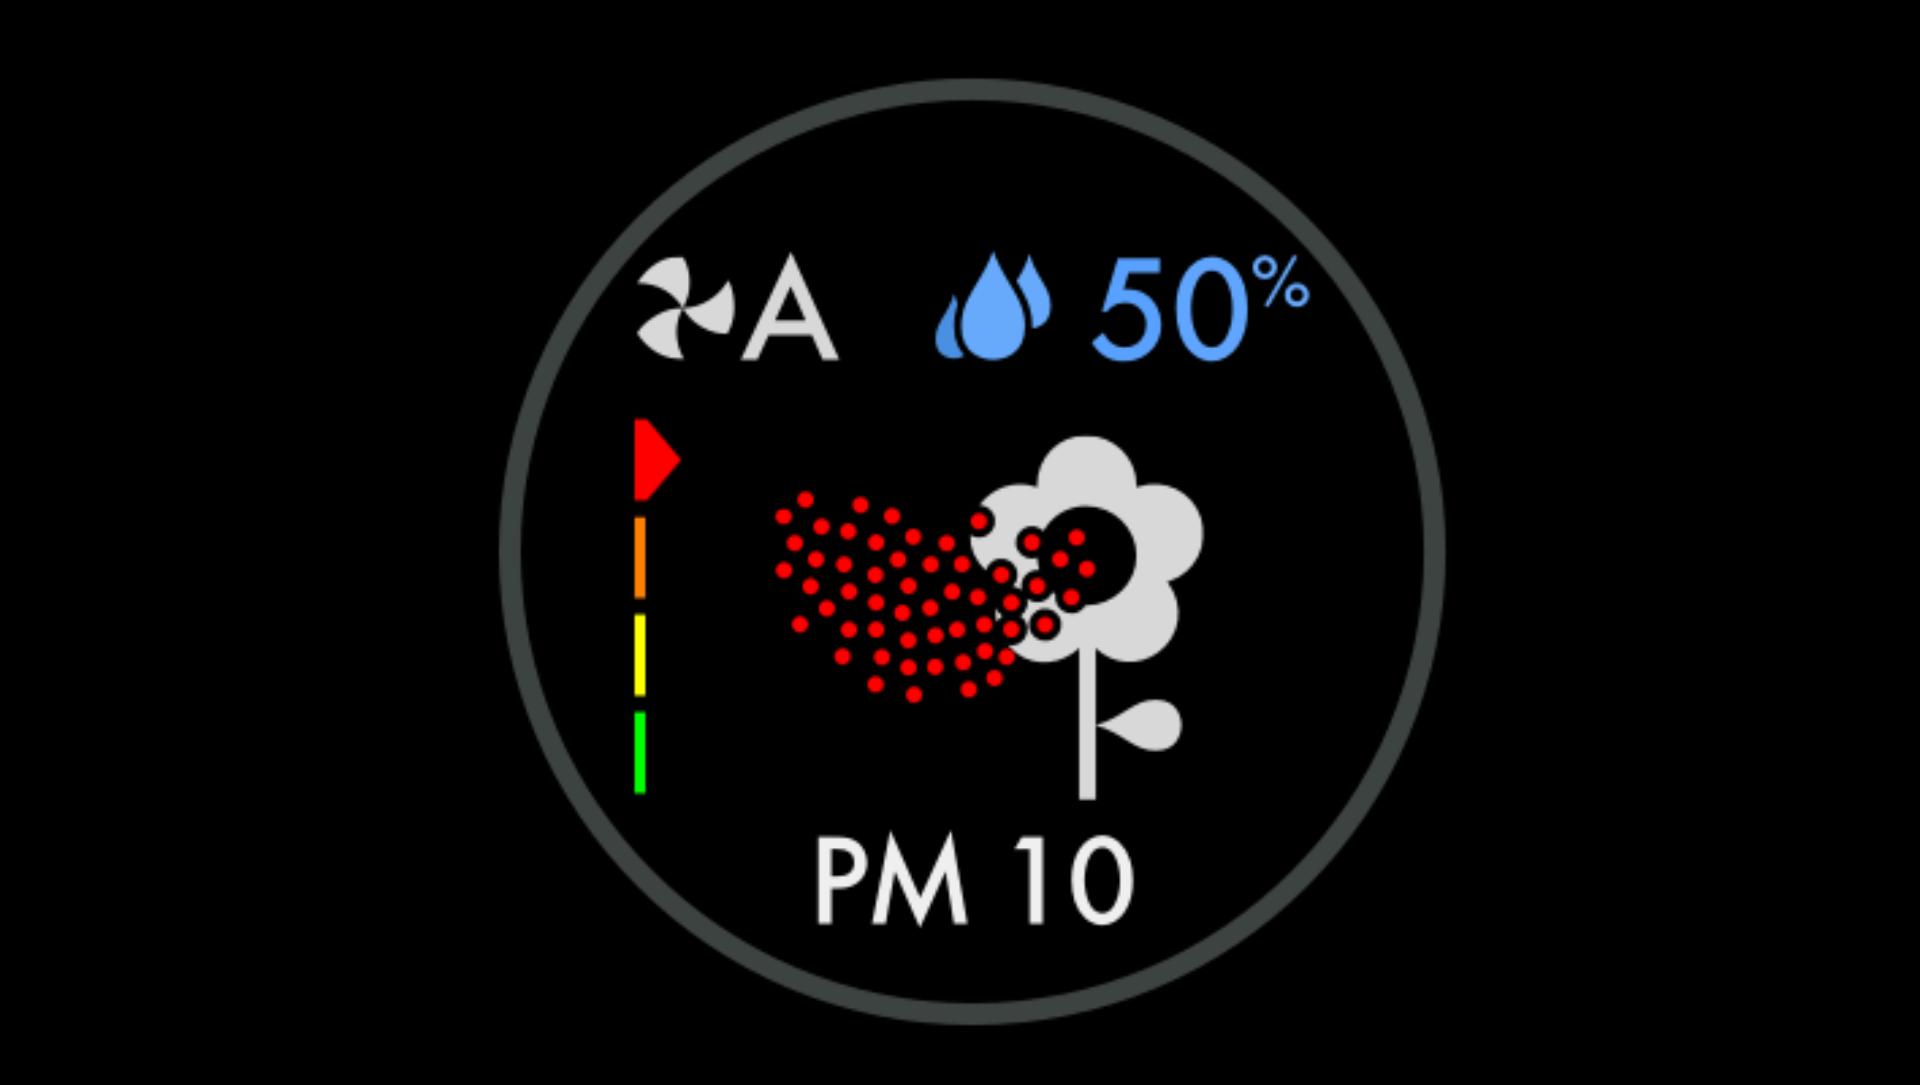
Very poor
When the red section of the coloured bar is highlighted, your machine is detecting a very high level of the type of pollutant.
-
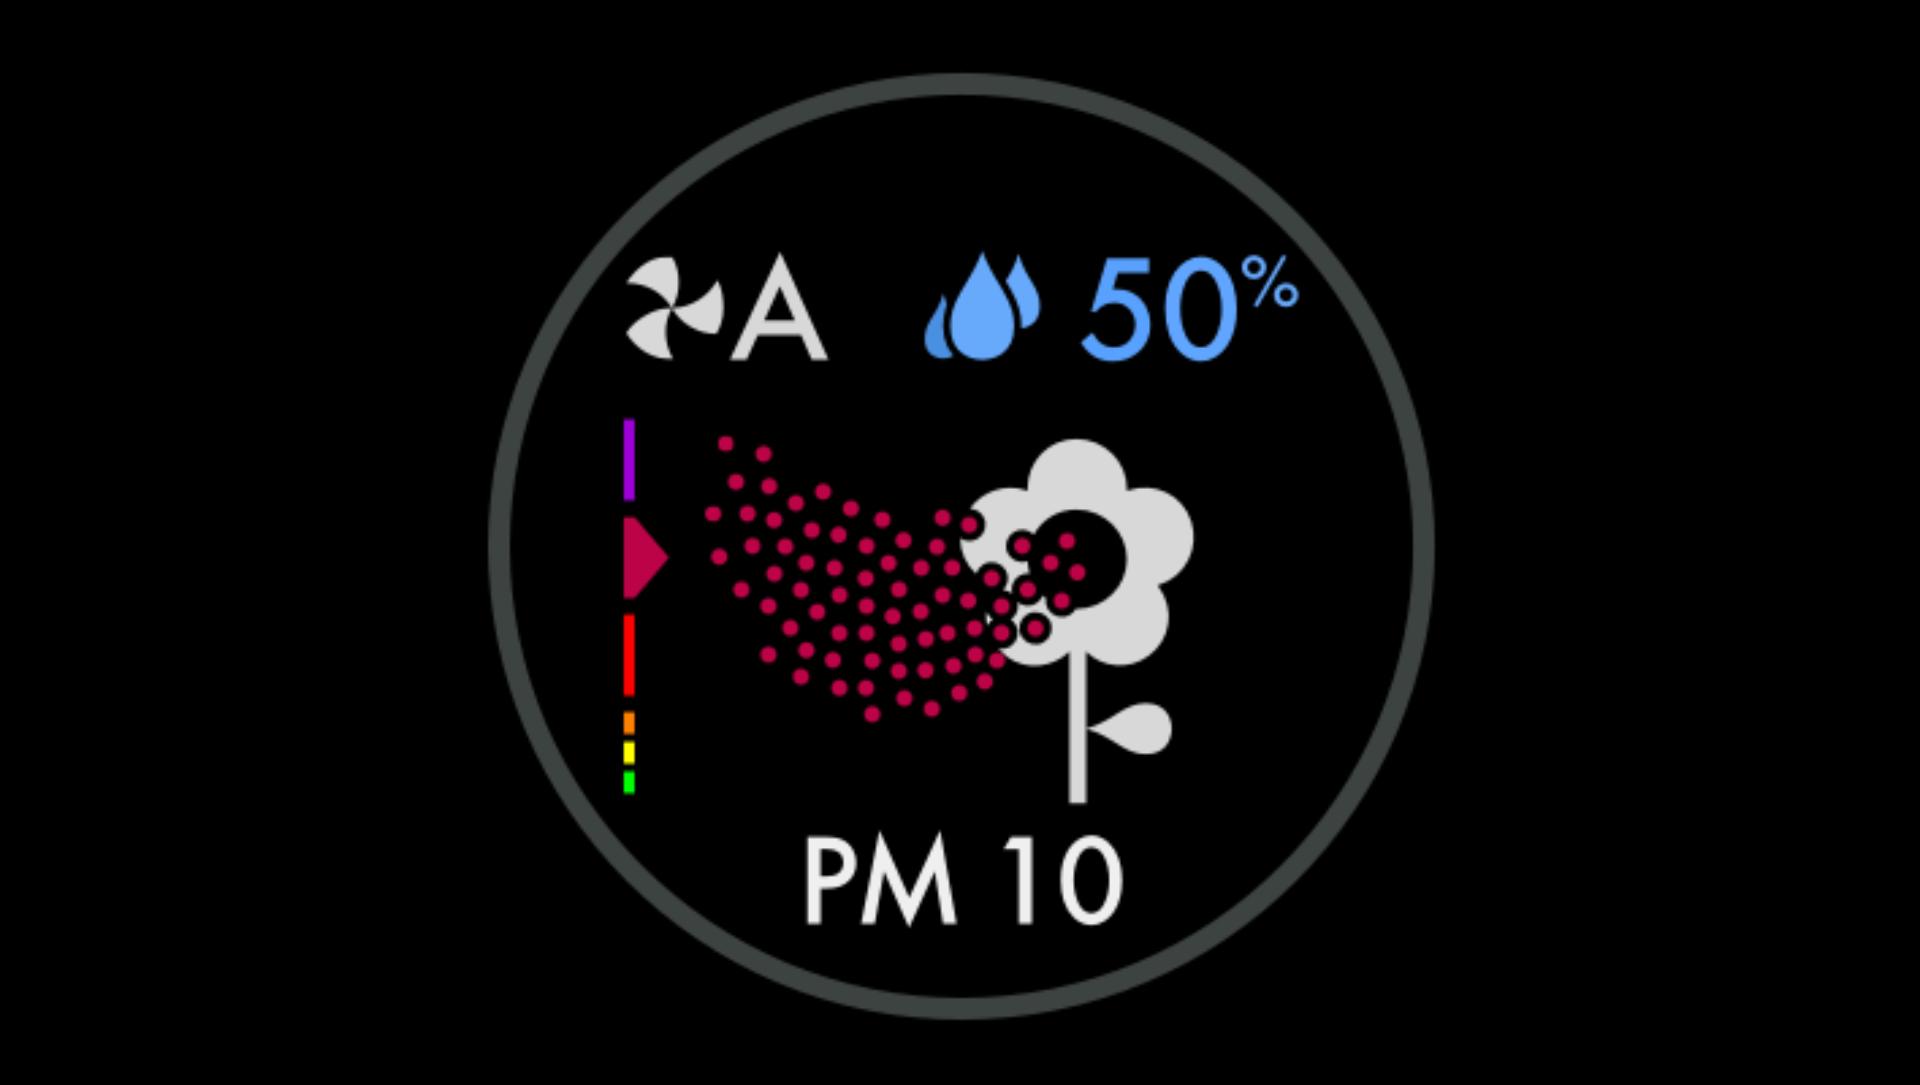
Extremely poor
When the dark red section of the coloured bar is highlighted, your machine is detecting an extremely high level of the type of pollutant.
-
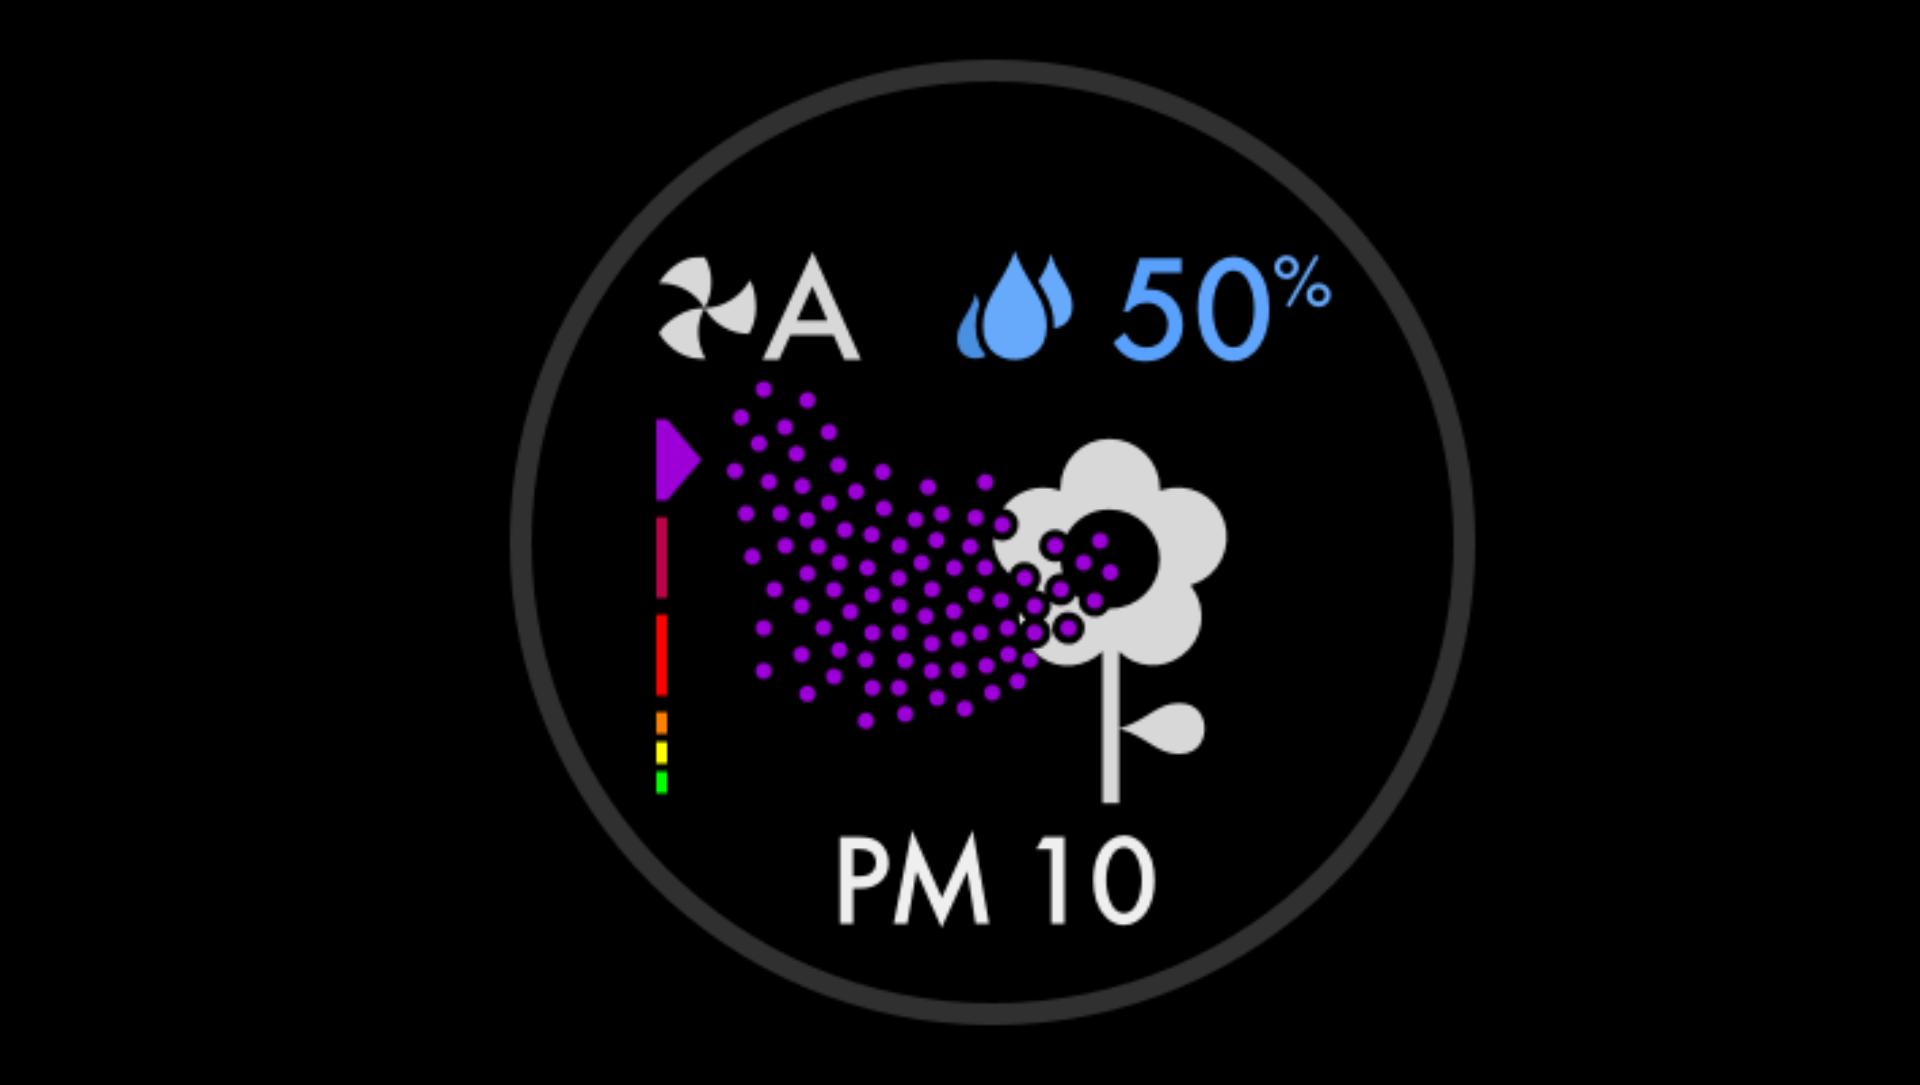
Severe
When the purple section of the coloured bar is highlighted, your machine is detecting a severe level of the type of pollutant.
-
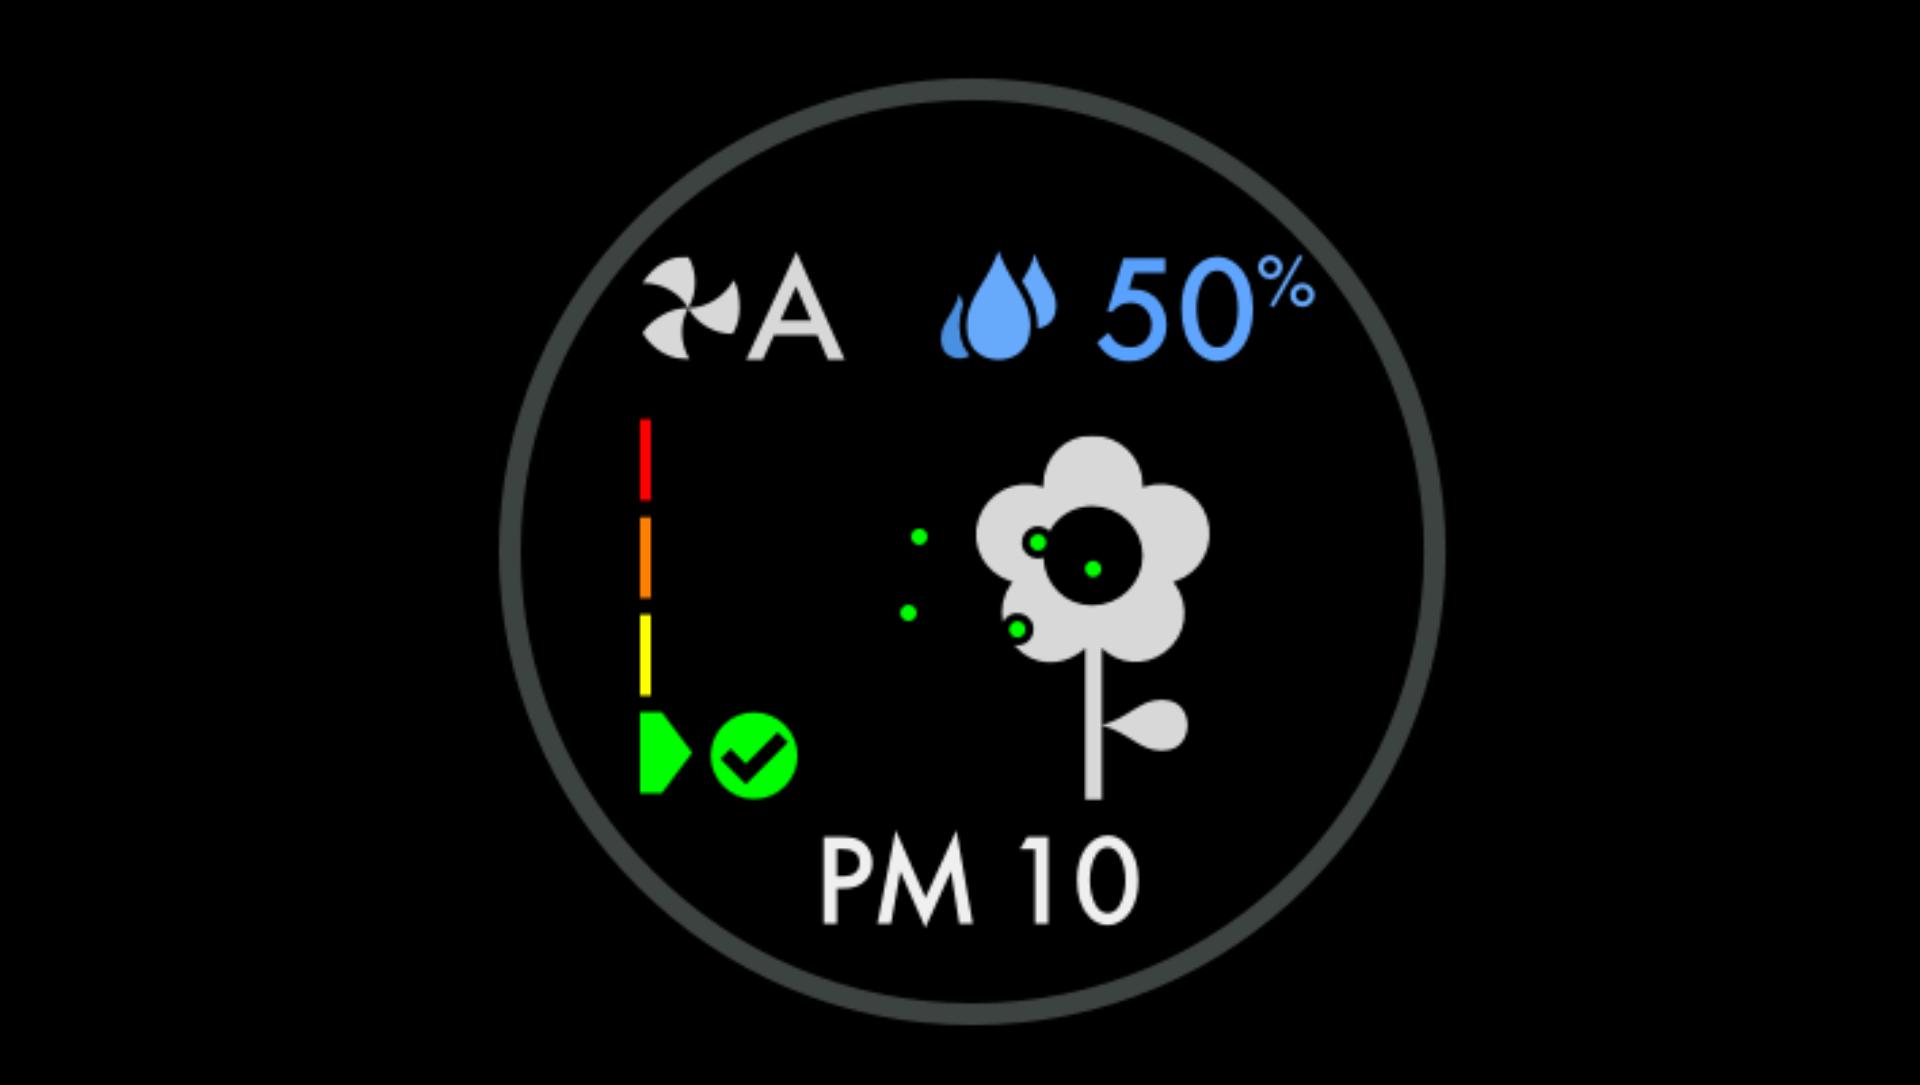
Good
When the green section of the coloured bar is highlighted, your machine is detecting a very low level of the type of pollutant.
Maintaining your machine
How to run a Deep clean cycle
The monthly Deep clean cycle removes limescale from your machine's water system. Your machine's LCD screen will let you know when it's time. You'll need 150g of citric acid, then follow the steps in our video guide or user manual.We recommend only using citric acid when running a Deep clean cycle. It's a safe, natural cleaning agent, and is widely available.
The cap on the water tank contains power connections. When you fill the tank or run a Deep clean cycle, make sure the cap is completely dry before refitting.

Deep clean cycle step by step
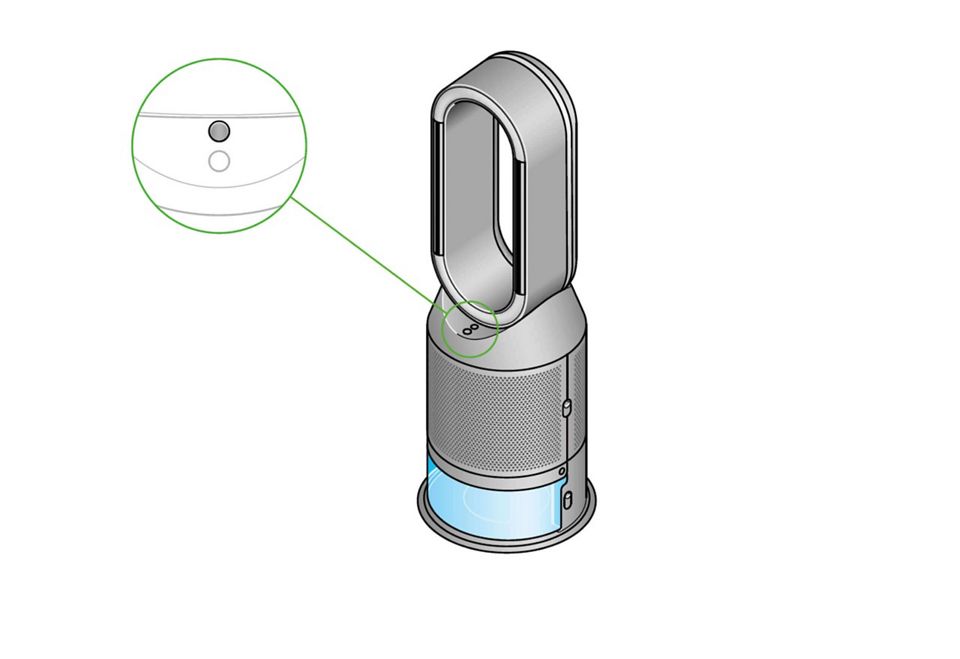
You can also run a Deep clean cycle by following the step-by-step guide below. After pressing the Deep clean cycle button on the front of your machine, start by following steps one and two.
-
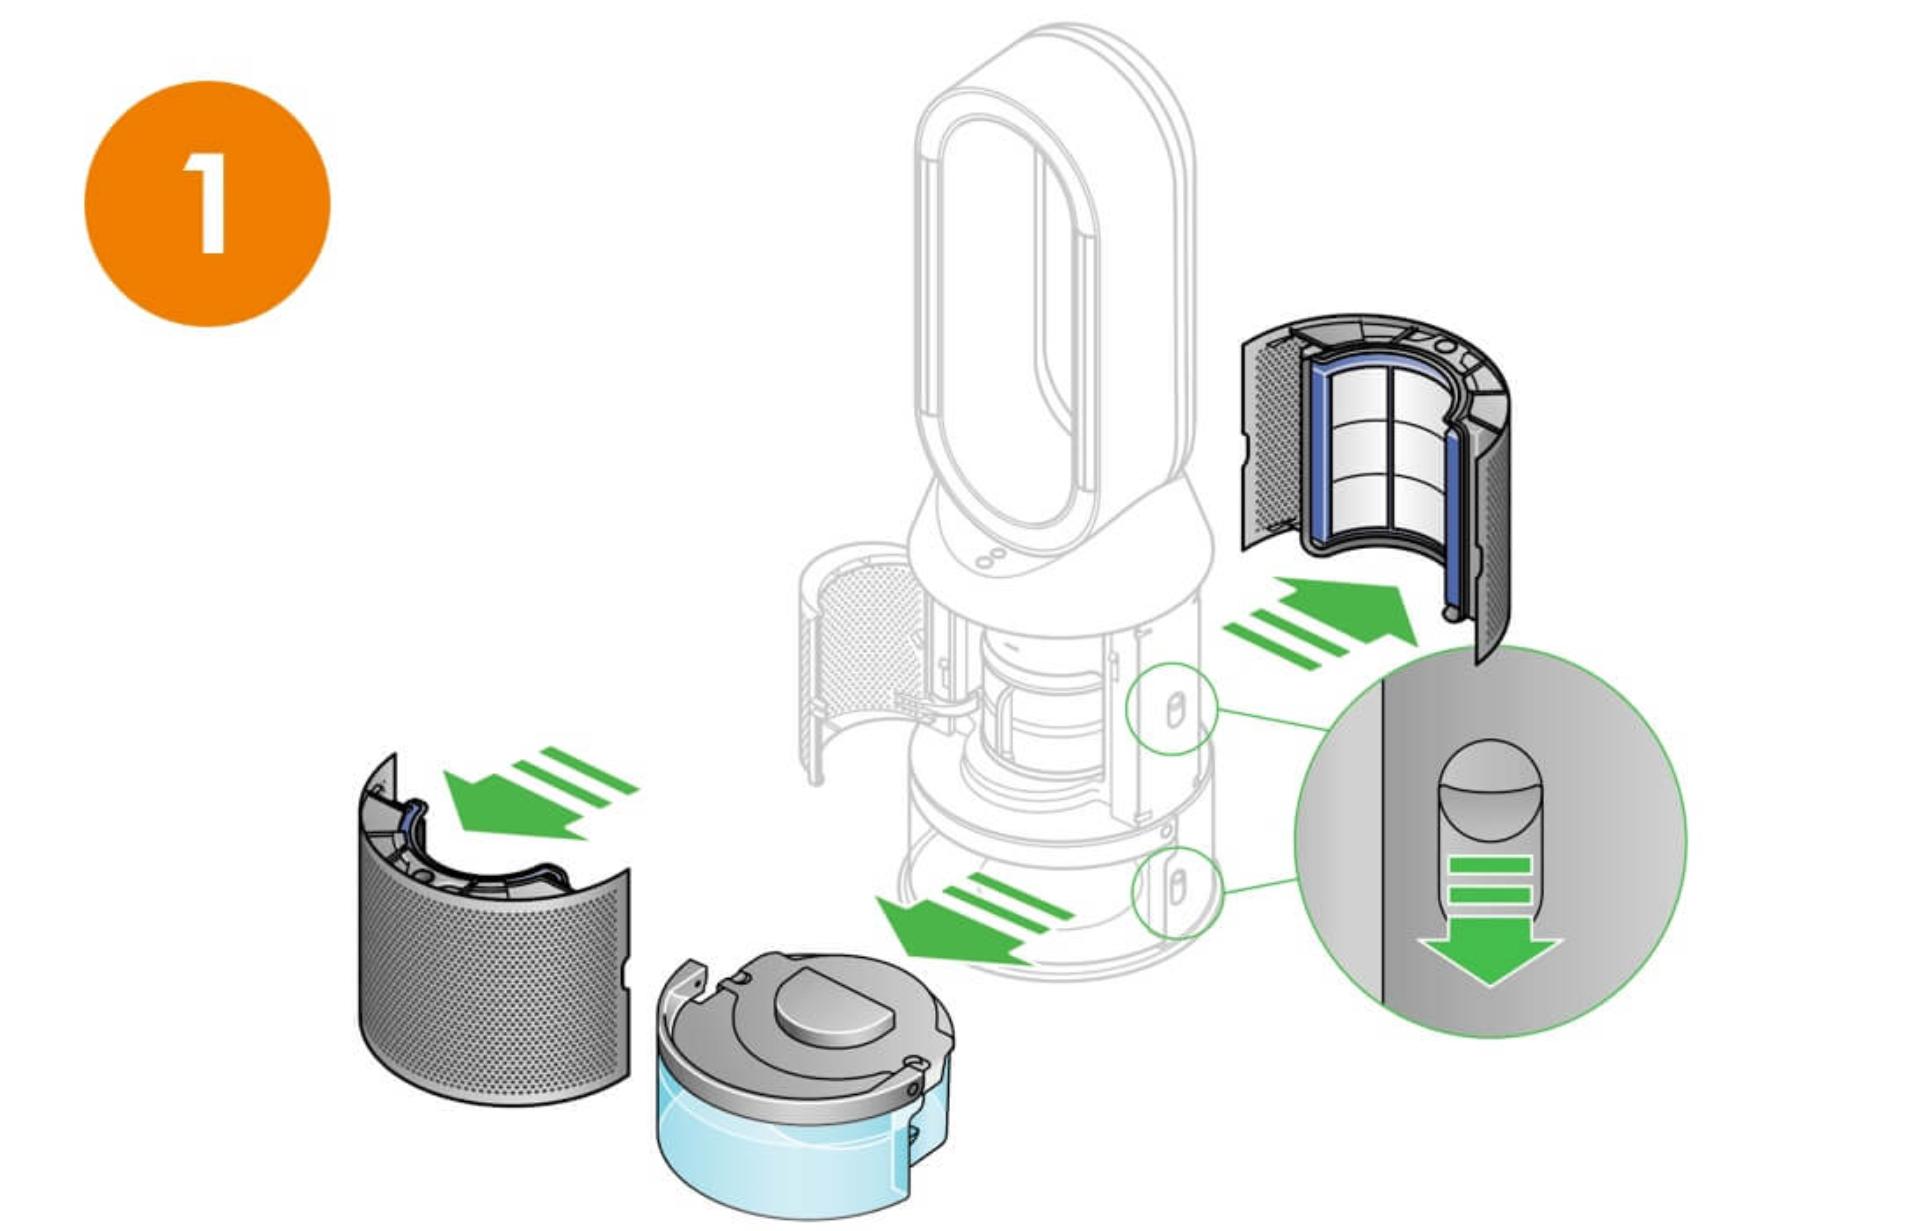
Step 1
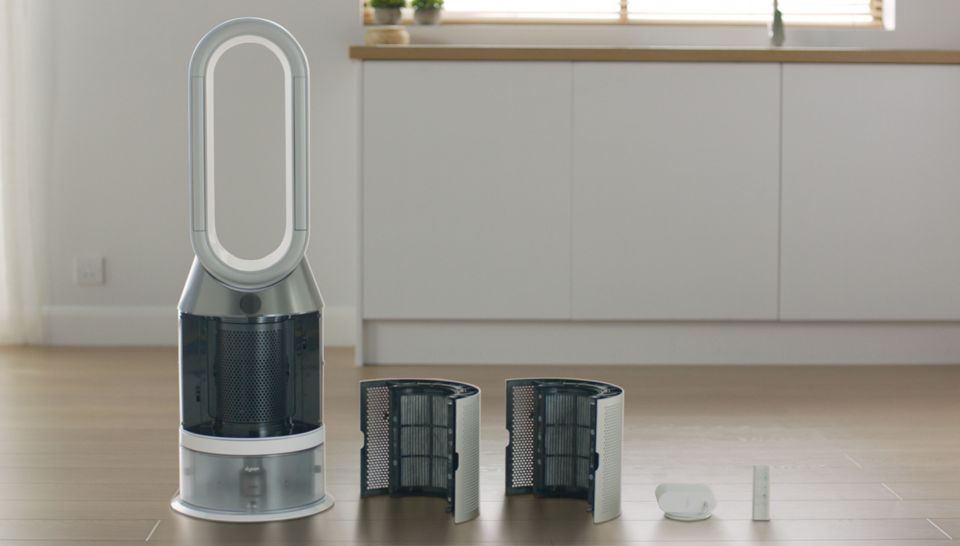
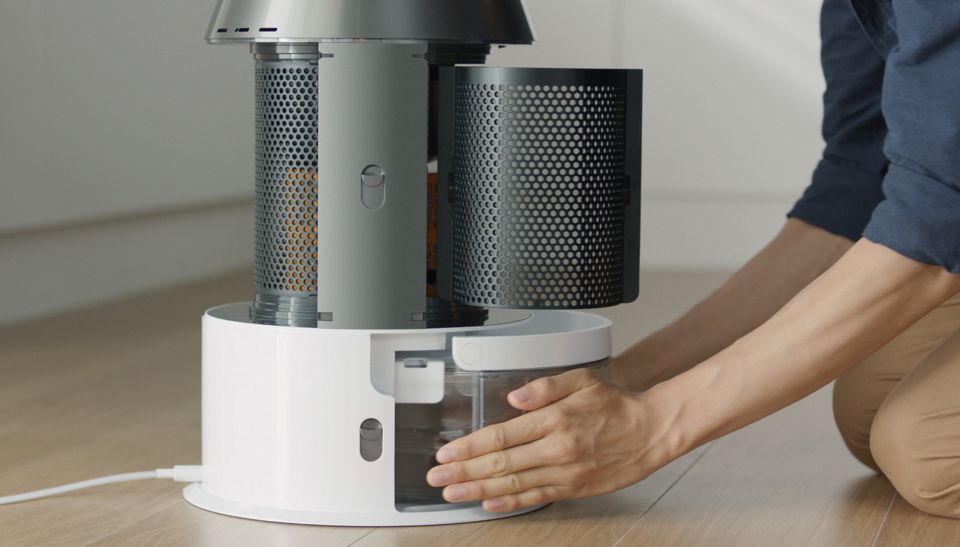
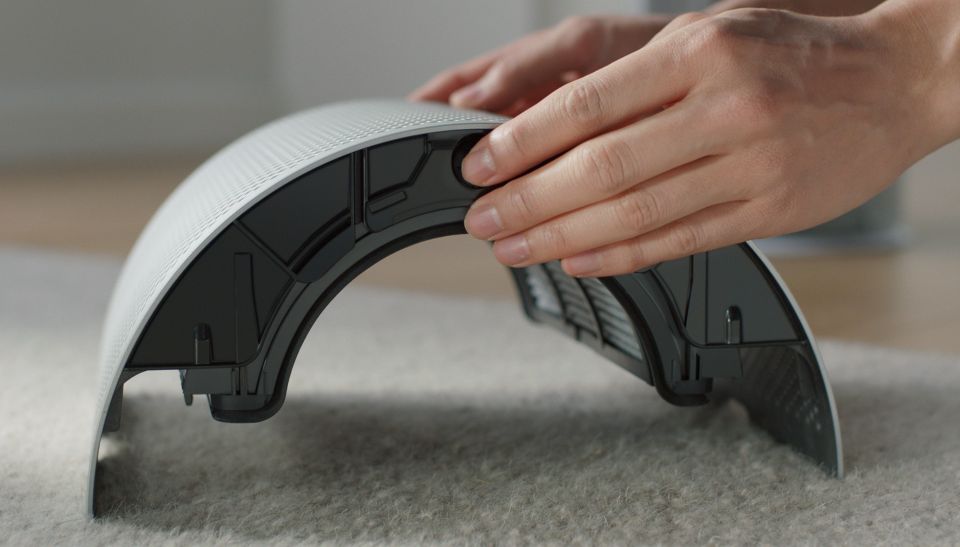
Remove the covers and water tankPush the shroud release buttons to remove the shrouds. The inner door will spring open. Push the water tank release buttons, slide the tank out of your machine, and unclip the cap.
-
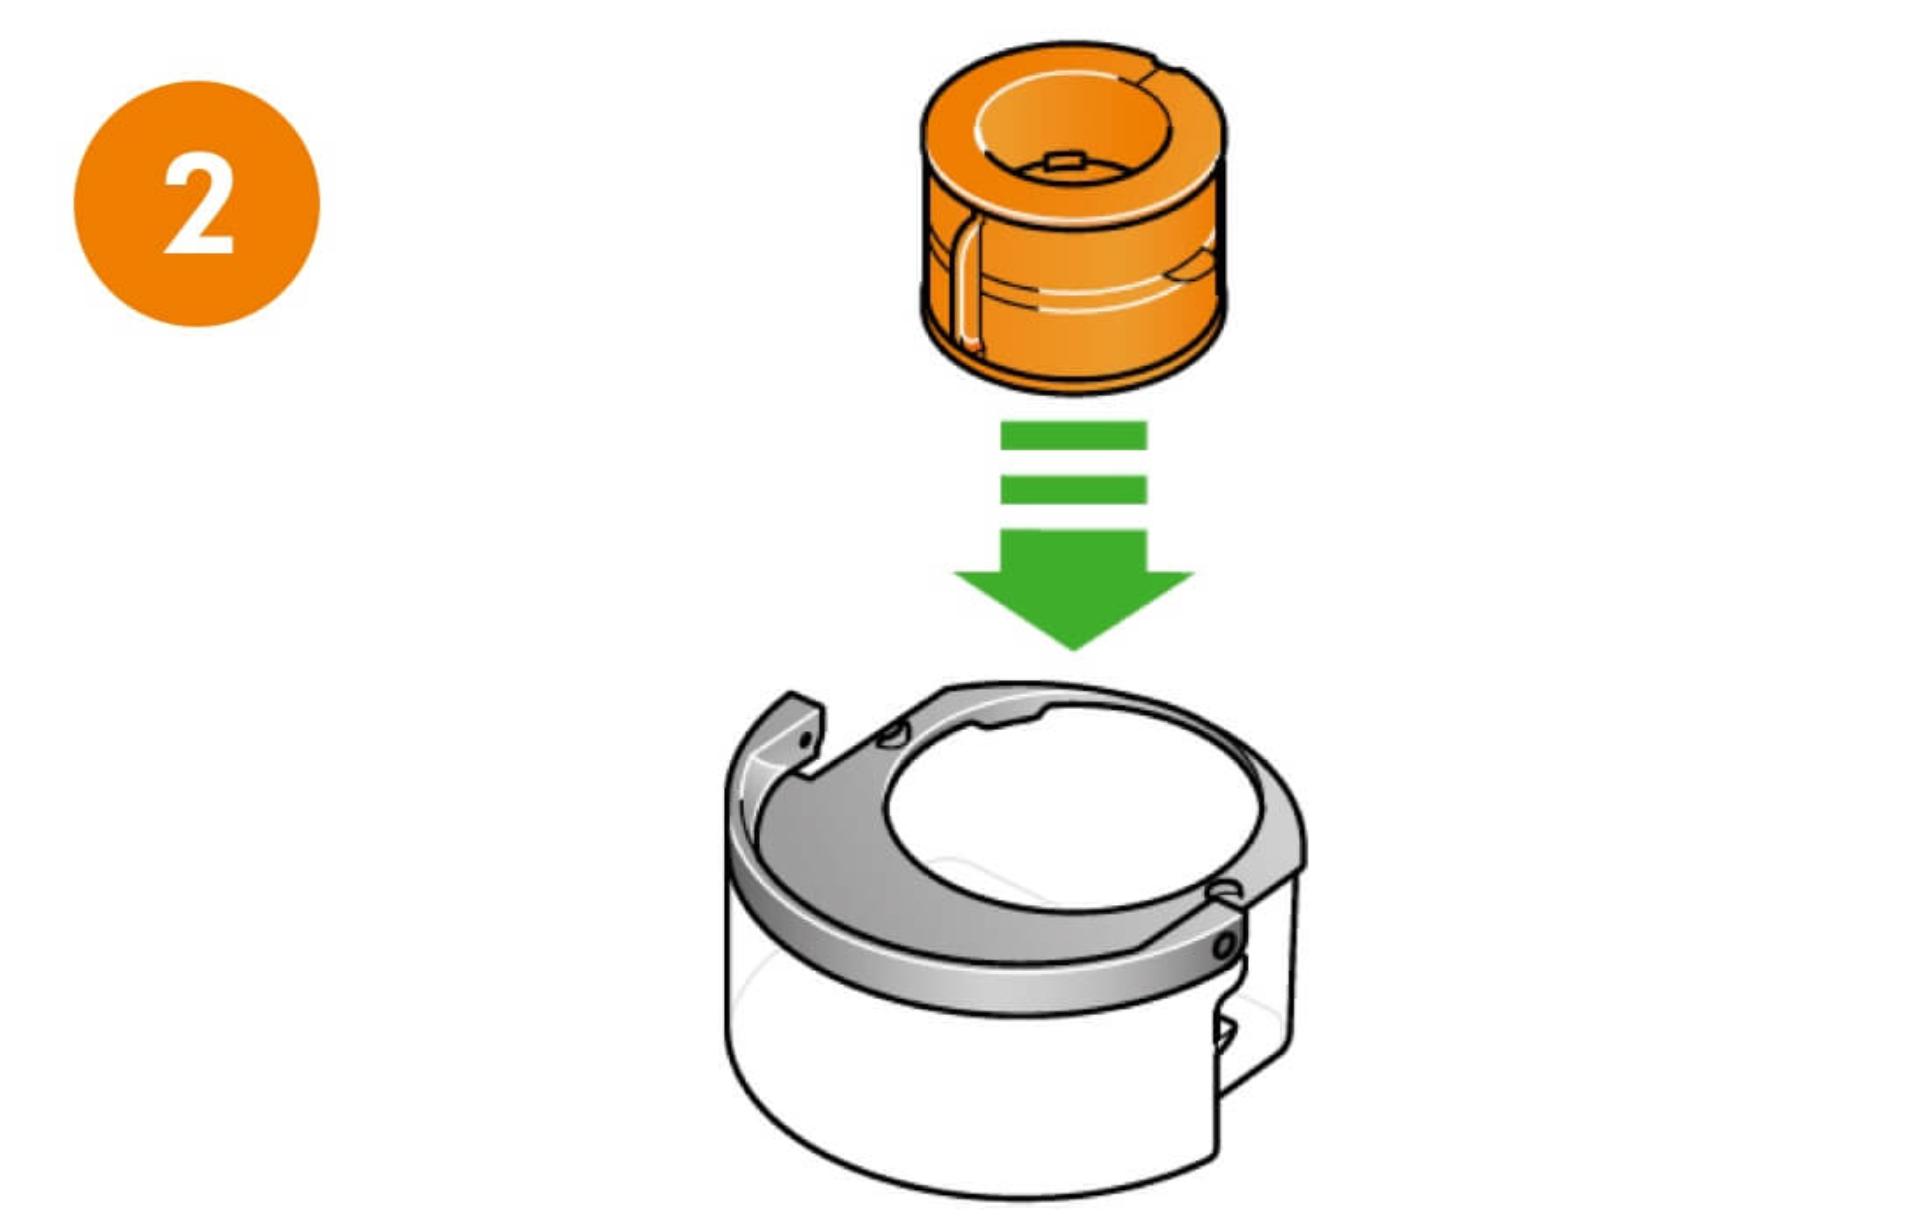
Step 2
Remove the evaporatorRemove the evaporator from your machine, place it in the water tank and refit the cap.
Follow steps three to nine - as shown on your water tank's sticker.

-
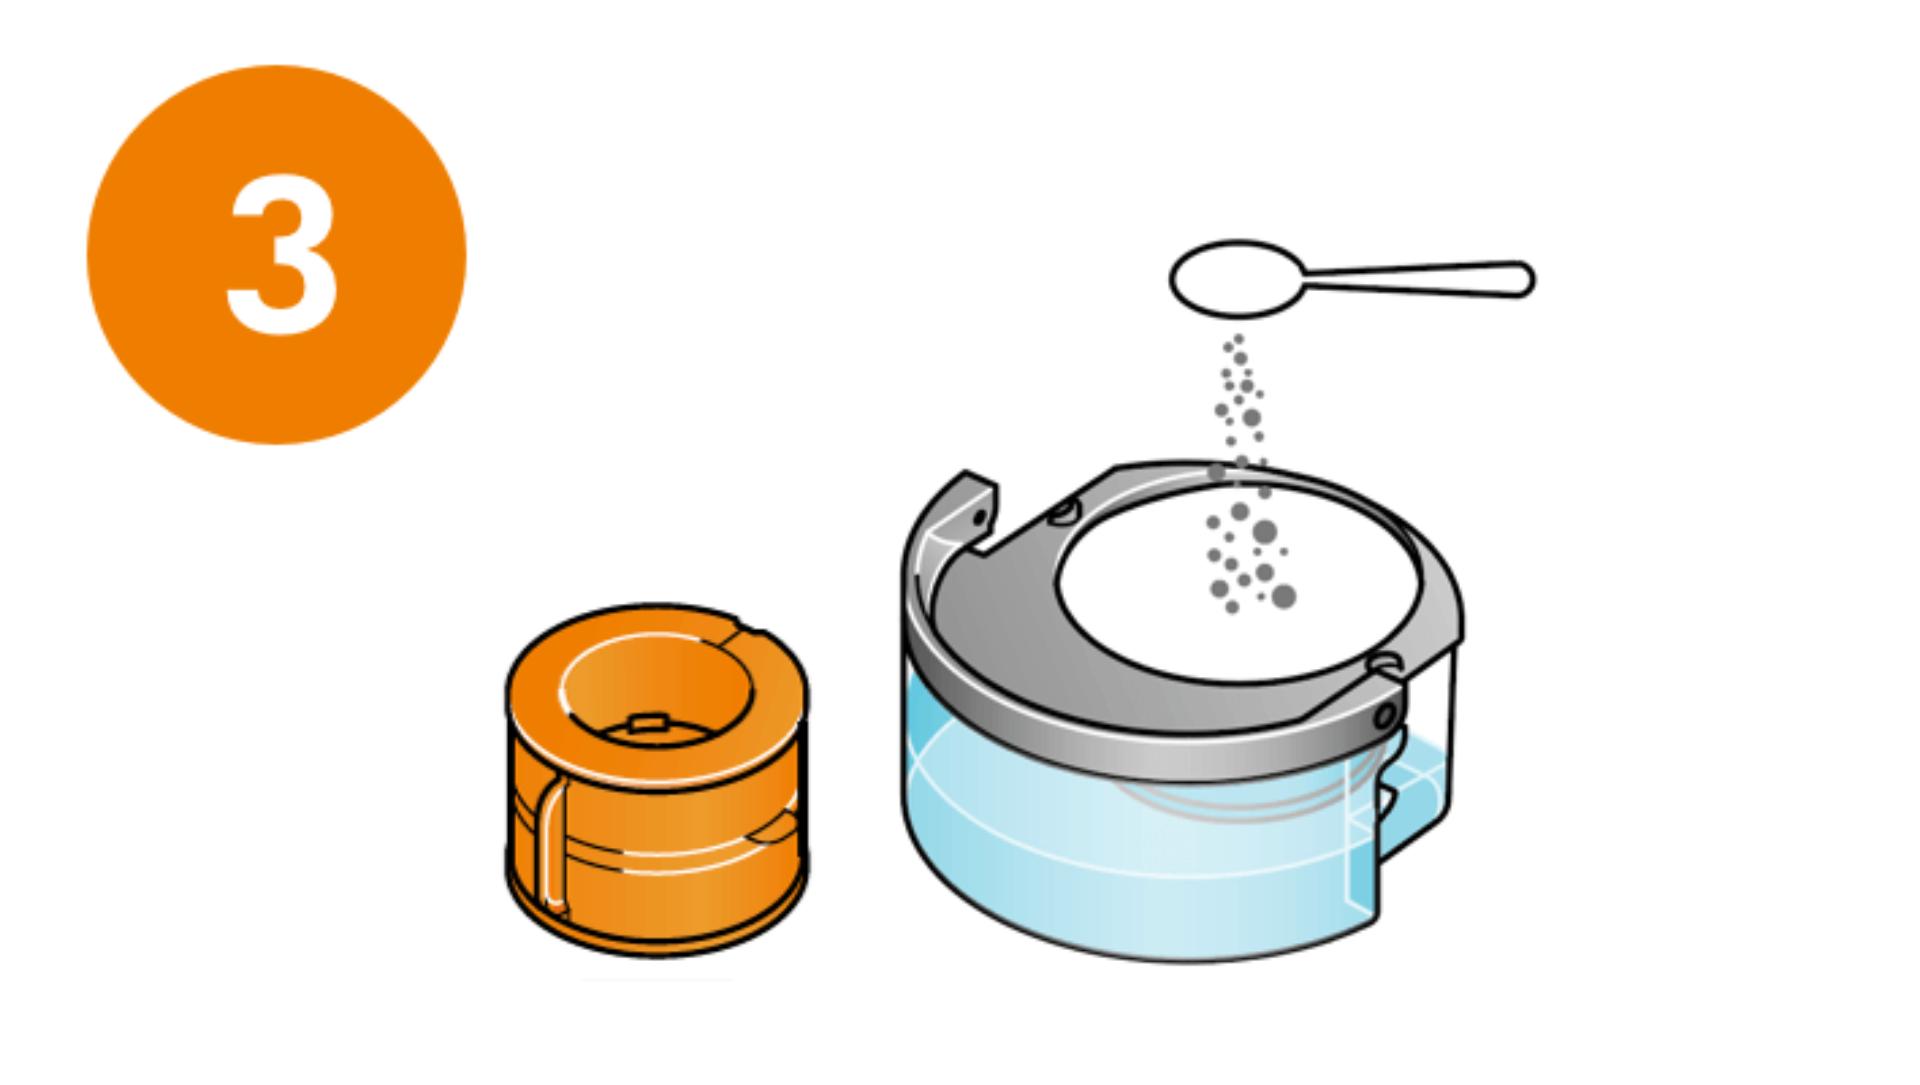
Step 3
Preparing the cleaning solutionRemove the cap and evaporator. Fill the water tank half-full with cold tap water. Add 150g of citric acid and agitate until dissolved. Place the evaporator back in the tank and fill to the Max level with cold water.
-
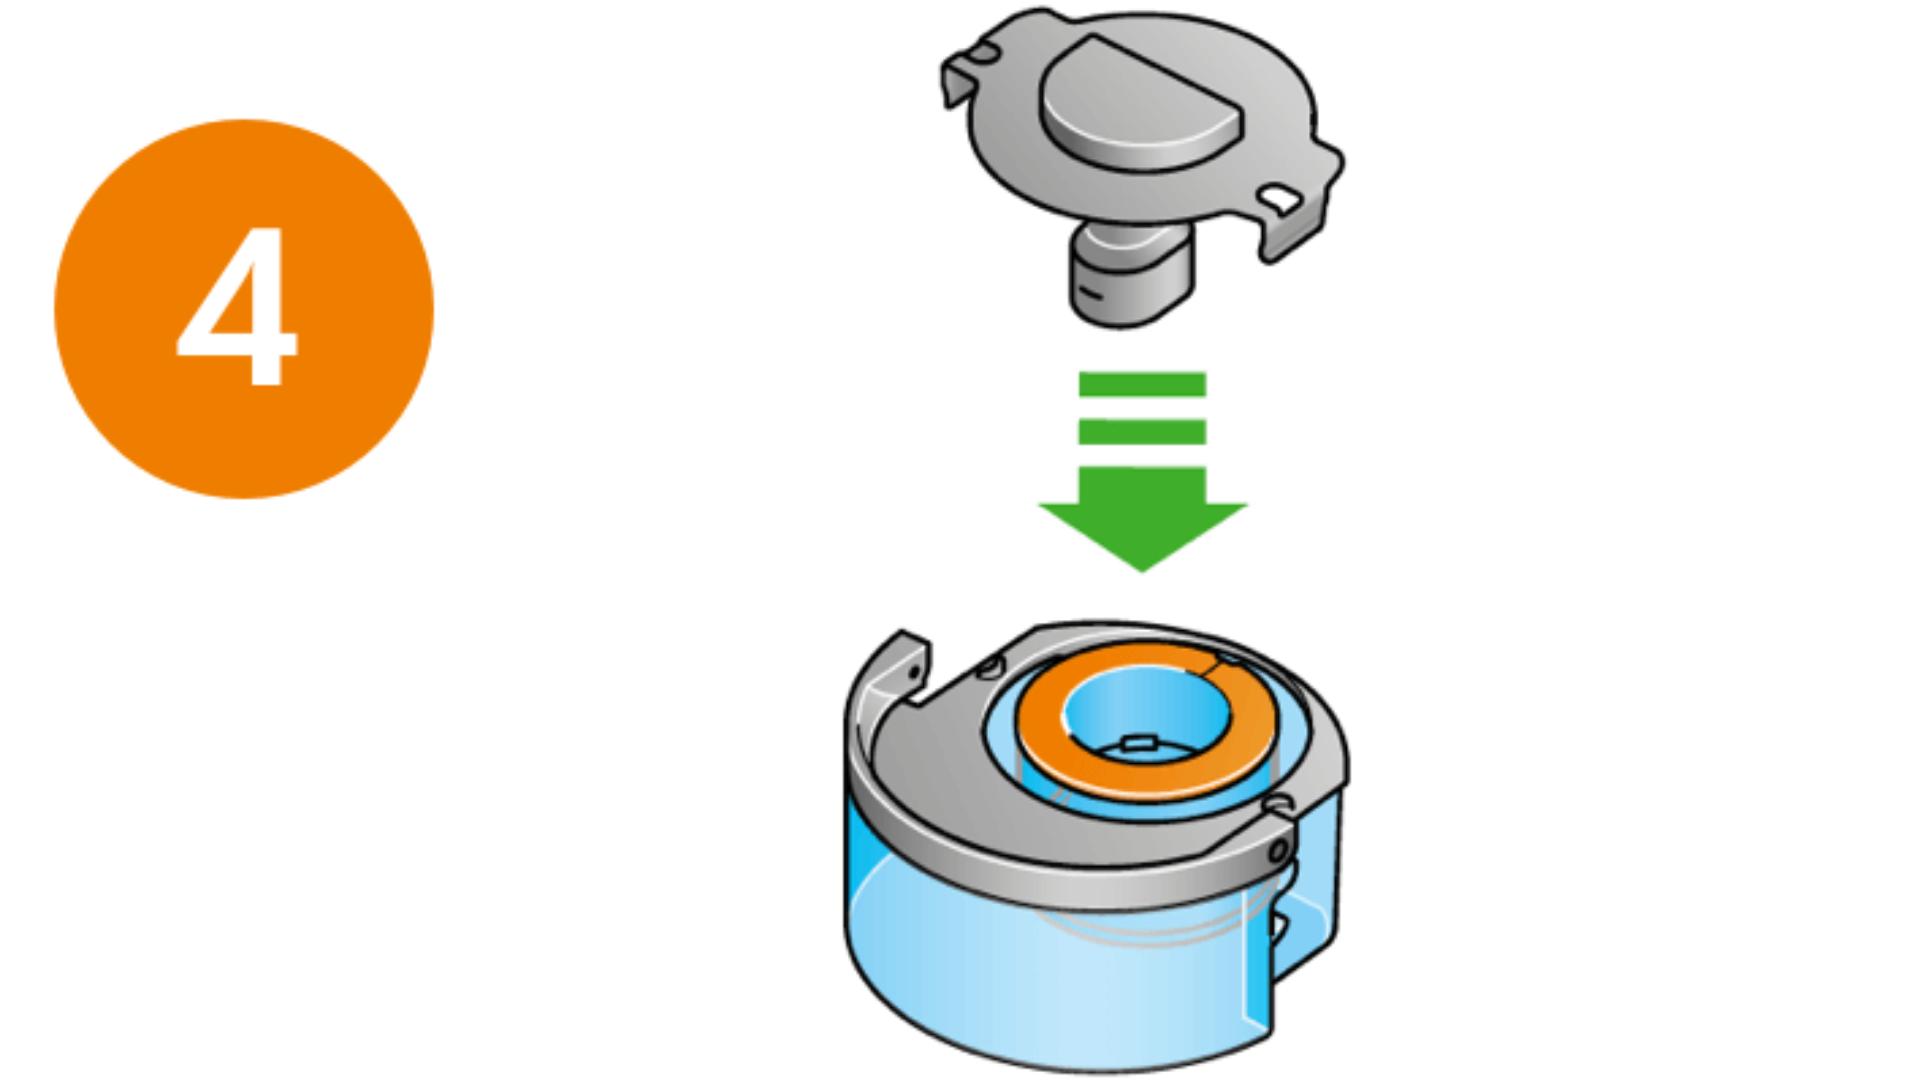
Step 4
Secure clips and wipe excess waterThe cap contains power connections, so must be kept dry. If wet, wipe thoroughly with a dry cloth, and make sure the cap and connections are completely dry. Replace the cap and secure the cap clips.
-
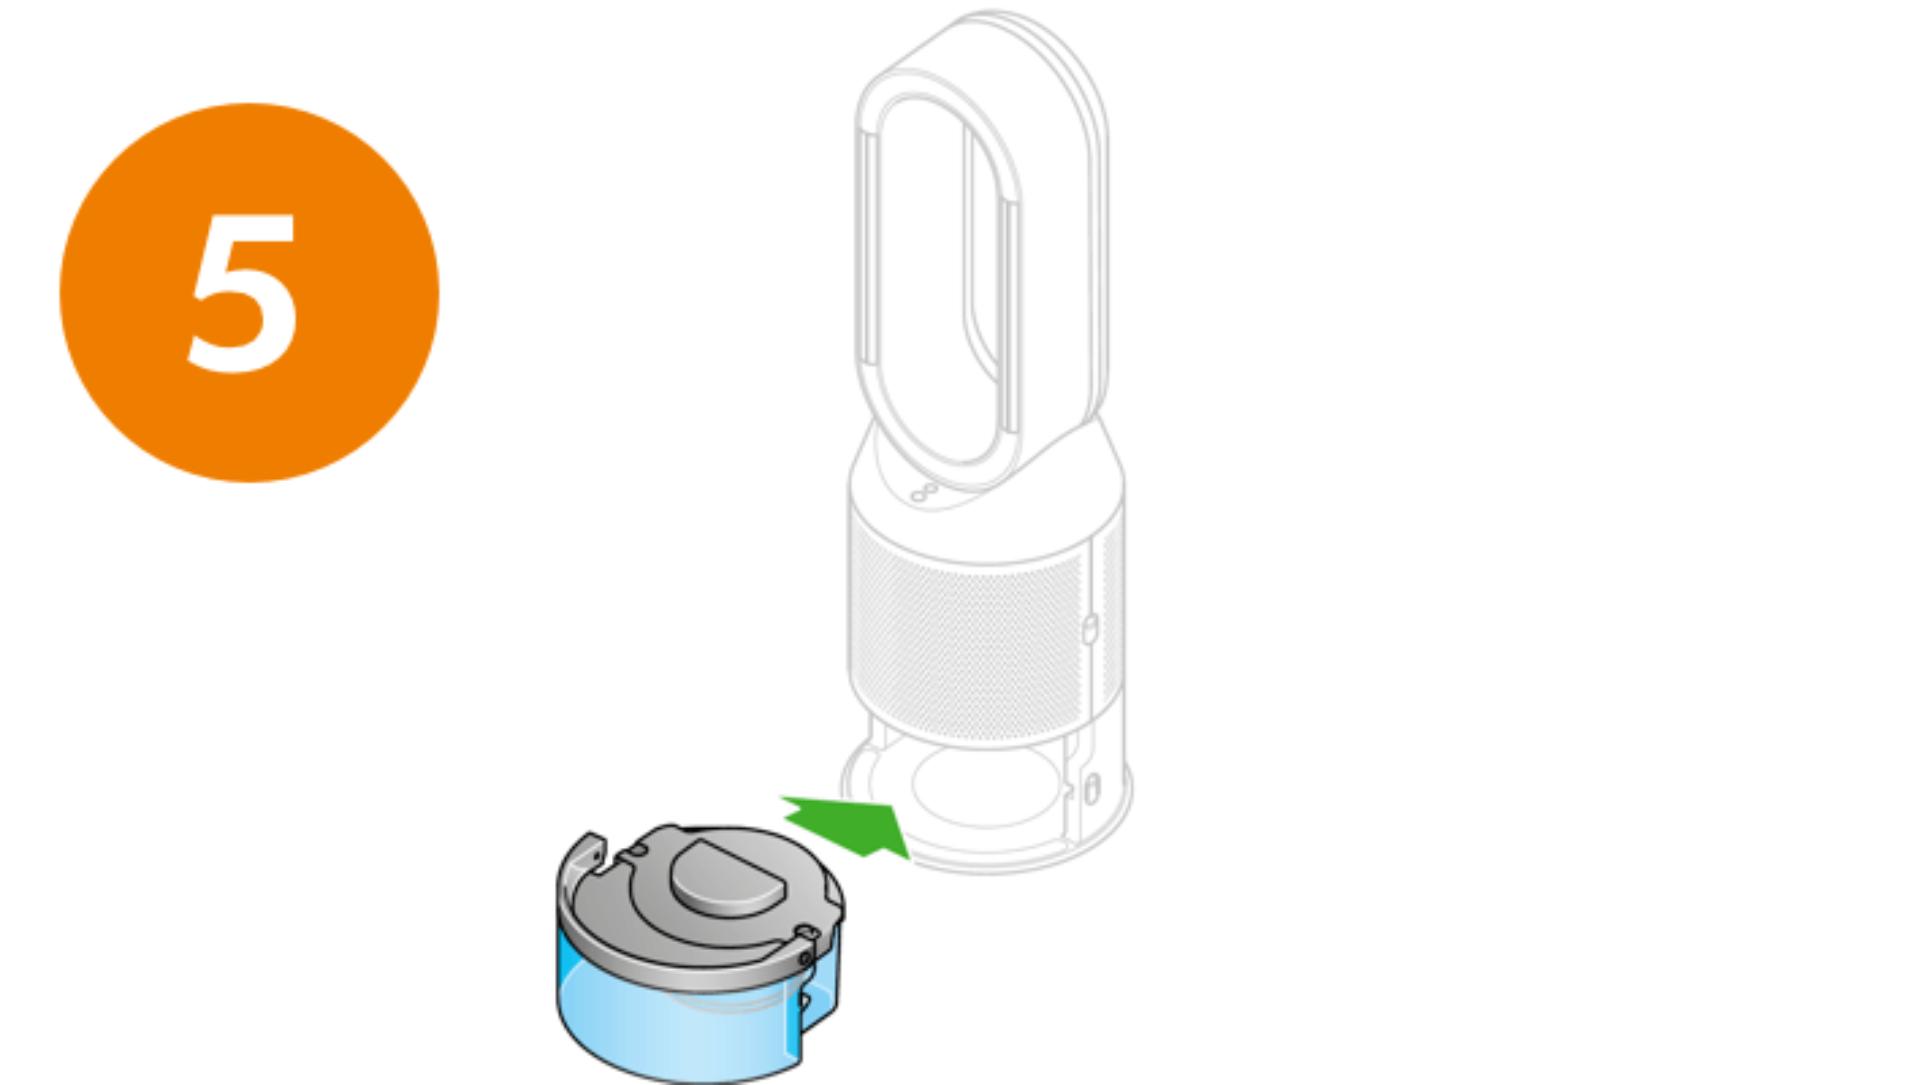
Step 5
Start the Deep clean cycleSlide the water tank into your machine. When prompted by the LCD screen, press the Deep clean cycle button. The cycle starts and a countdown appears.
-
Step 6
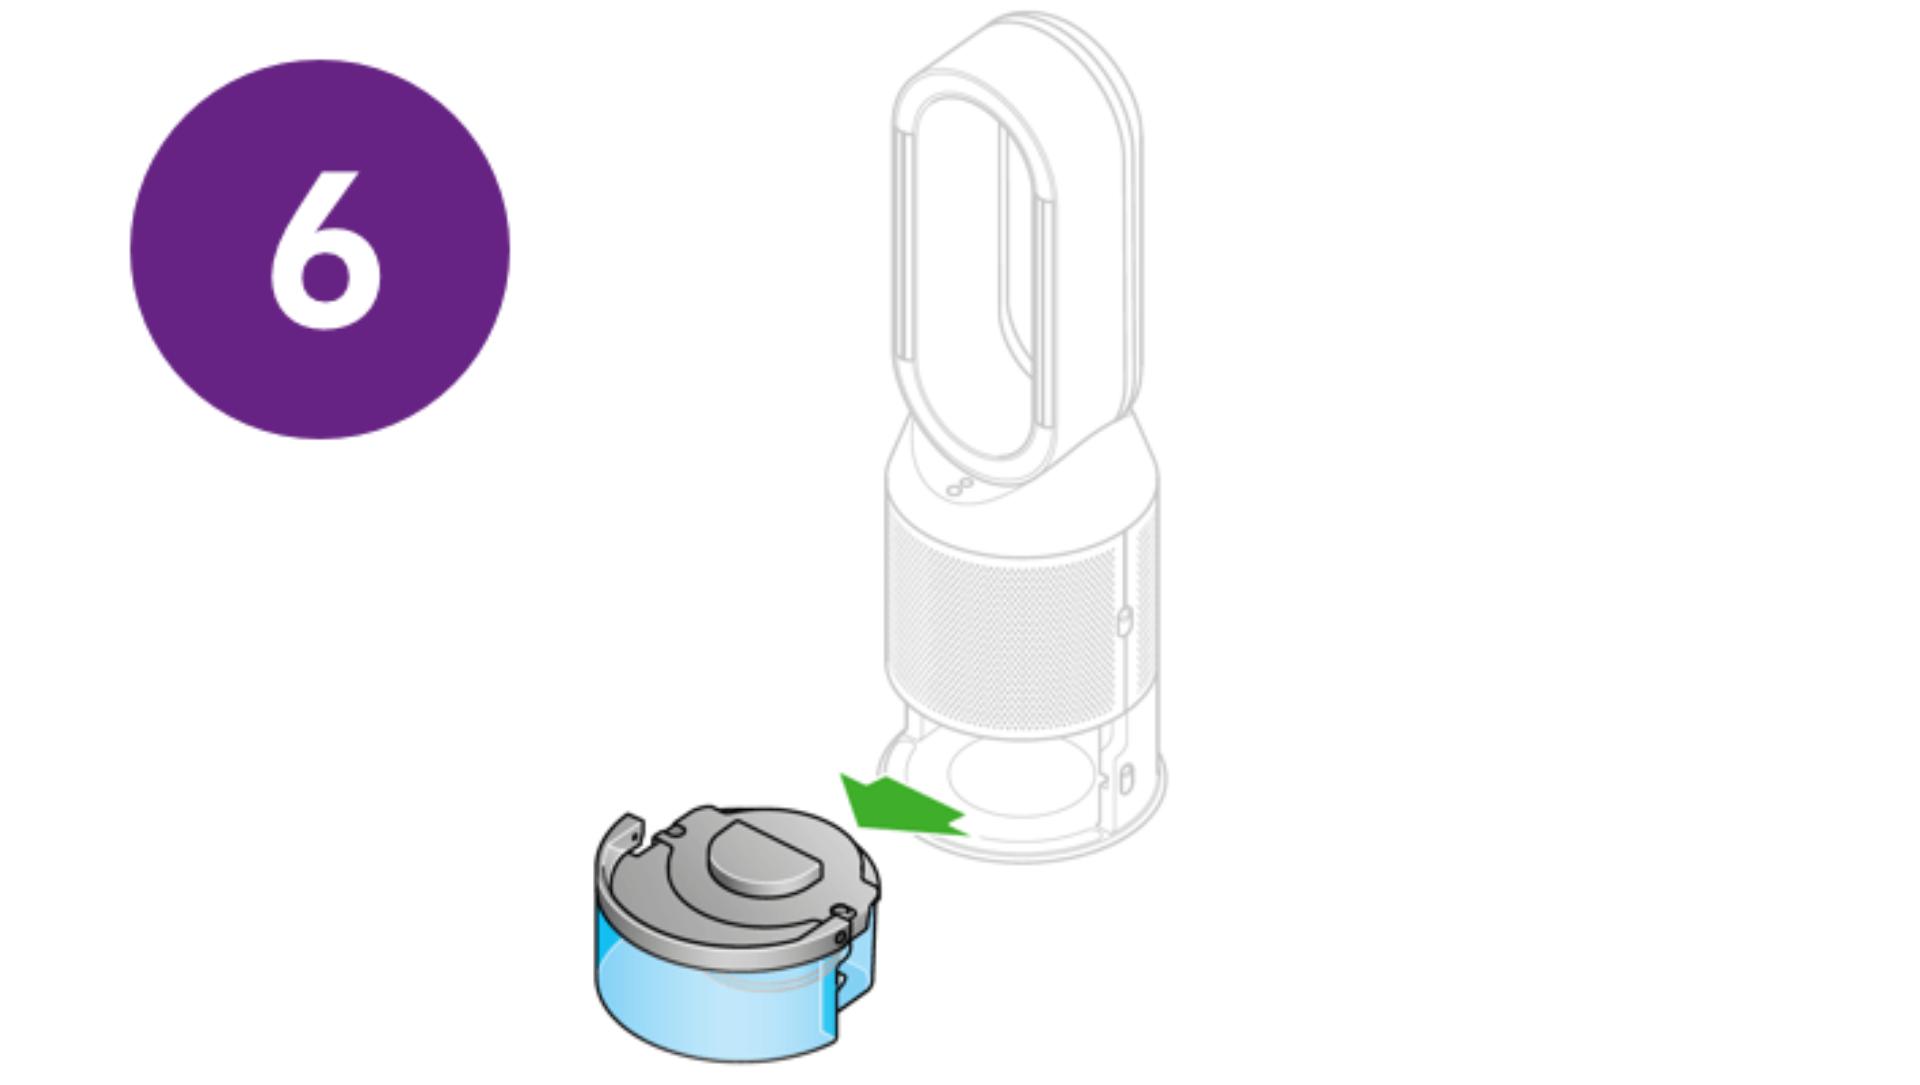
Remove the water tankWhen the LCD screen shows the Deep clean cycle is complete, push down the water tank release buttons. Slide the water tank out of the machine and carry to the sink.
-
Step 7
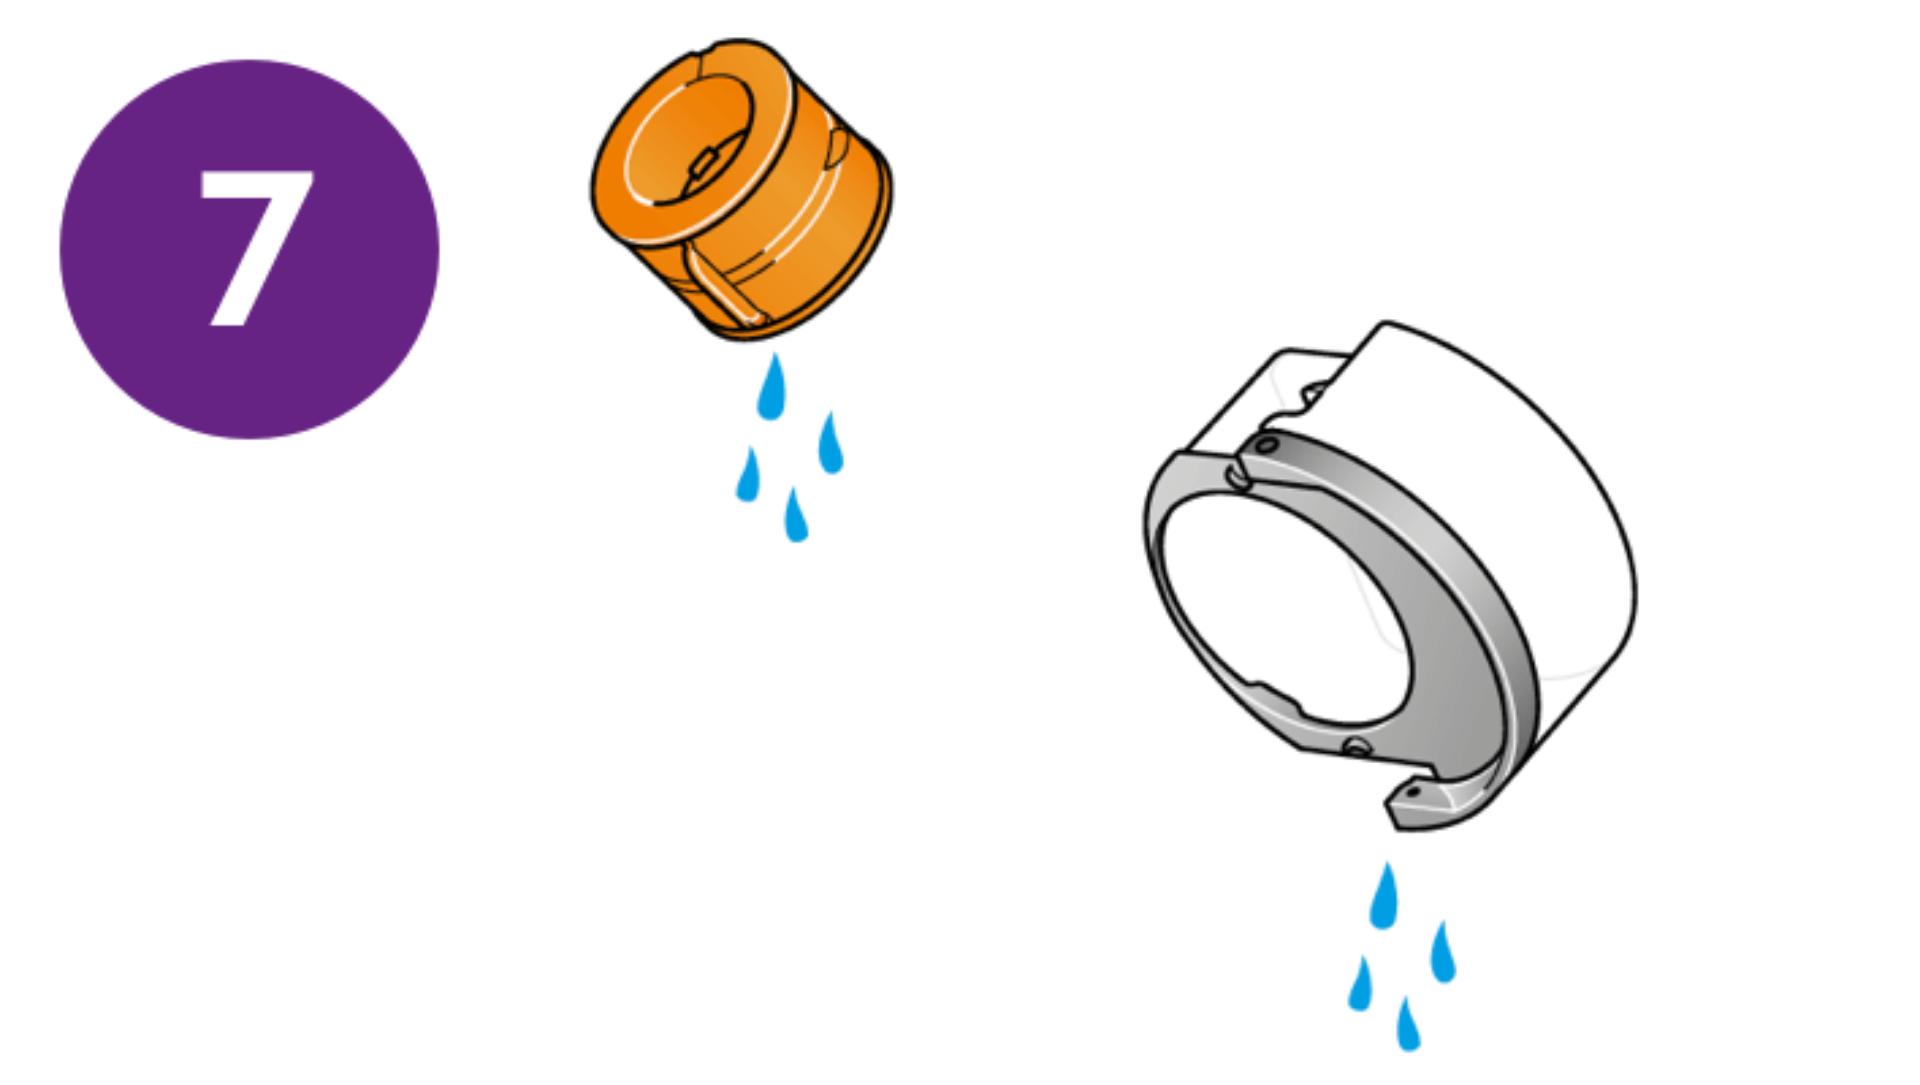
Rinse the evaporator and water tankUnclip the cap, remove the evaporator and rinse under a cold tap. Wipe away excess water. Rinse the water tank under a cold tap. Wipe the inside of the tank to remove any excess solution or debris.
-
Step 8
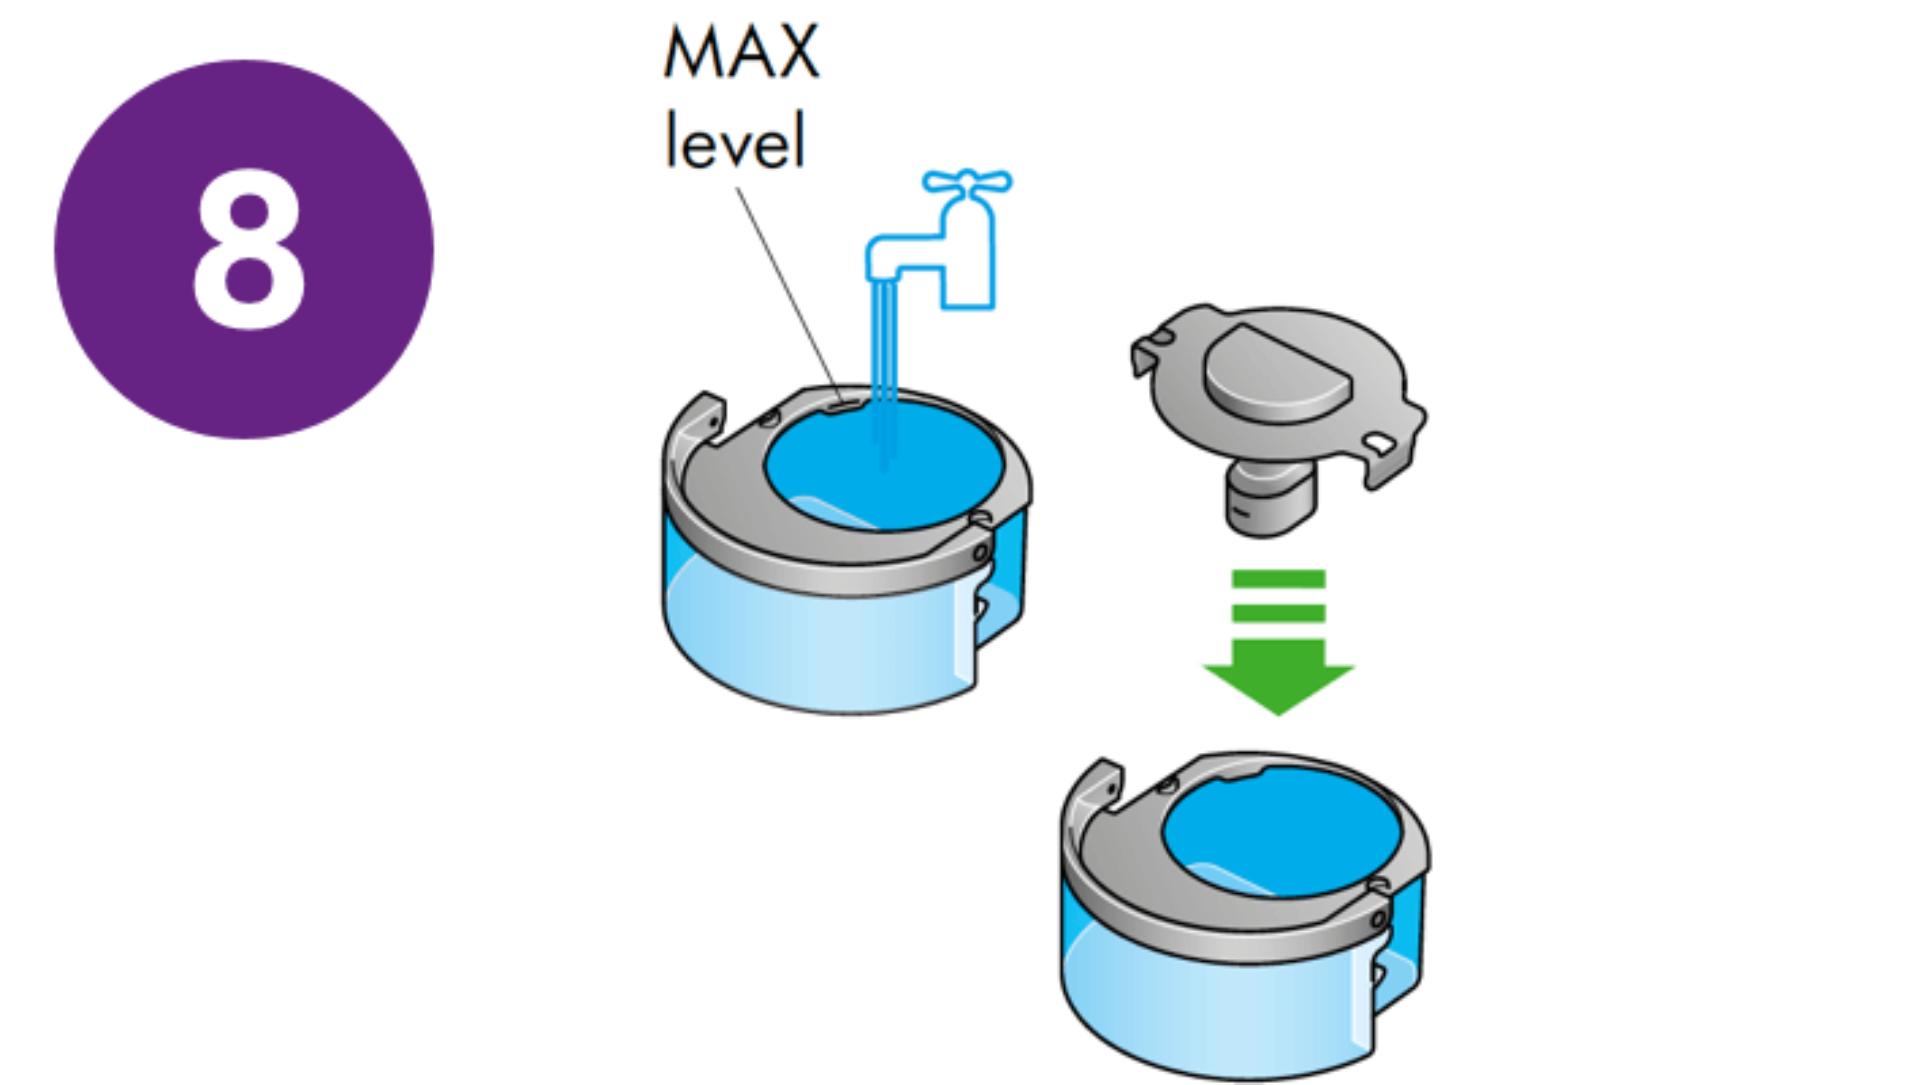
Fill the water tank with cold waterRefill the tank to the Max level, wipe off any excess water and replace the cap.
-
Step 9
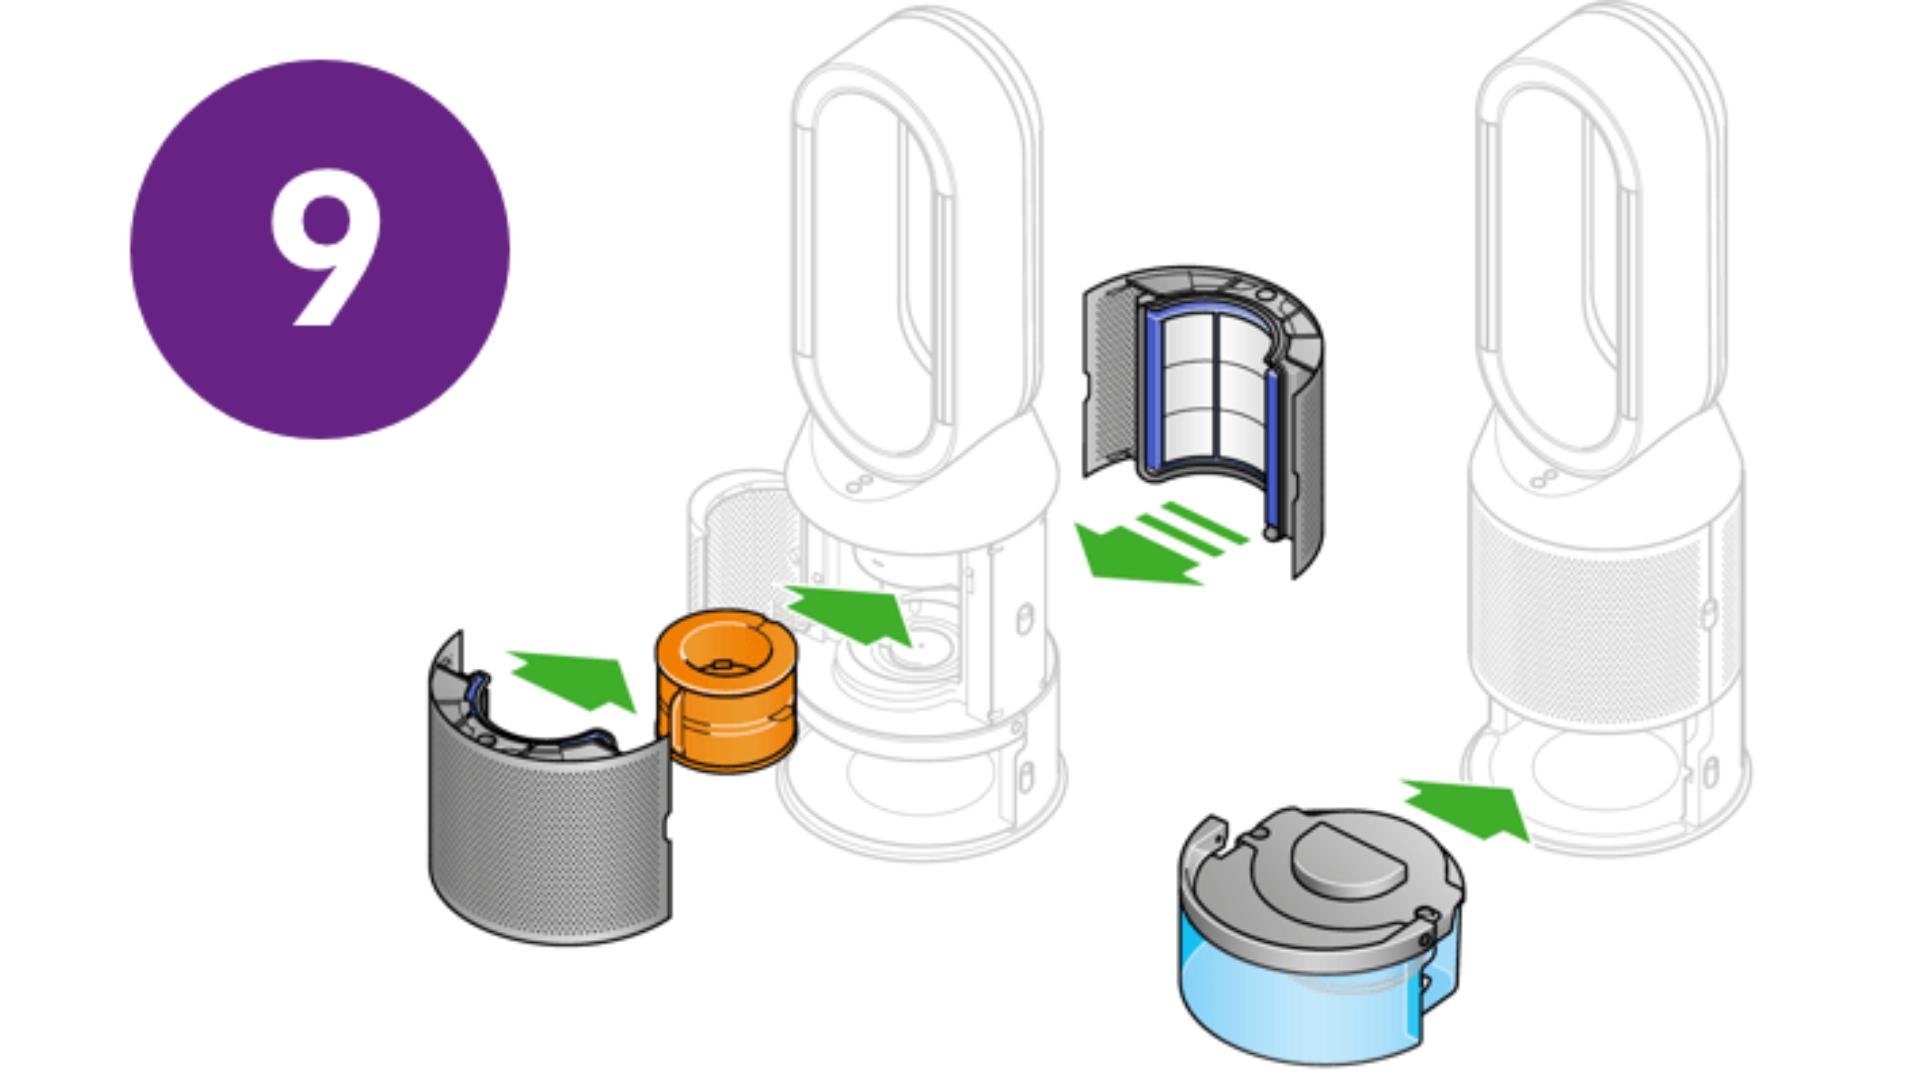
Reinsert the evaporator and water tankMake sure the cap and connections are completely dry. Push the evaporator back into your machine, close the inner door and replace the filter covers. Slide the water tank back into your machine.
-
-
How to change your filter
Find out how to monitor and replace your combination filter in our video guide.
Frequently asked questions
The most comfortable humidity level varies depending on the temperature.3 In Auto mode, your machine constantly monitors air quality, automatically adjusting airflow to reach and maintain the most comfortable humidity level.
The combination filter needs to be changed every 12 months, based on 12 hours’ use a day.
With a full tank, your machine can humidify continuously for up to 36 hours in fan mode 1.
Yes. The machine works as a purifier humidifier fan, or just a purifier fan.
This depends on the water hardness where you live. The machine prompts you to run the cycle once a month in hard water areas. It prompts you less often in softer water areas.
No. It has a sensor to detect if it’s out of water. The screen alerts you to refill your water tank when needed.
Your machine is engineered to purify and humidify single rooms, so you should use it where you spend the majority of your time at home.
When placing the machine, make sure there's at least a few feet of clearance on all sides, so that the air can circulate effectively. Place away from radiators, draughts or air vents. Turn air conditioning off, and keep doors and windows closed during use.
Increasing airflow will create a cooling effect using purified air, so you may find it beneficial to change your purifier's speed settings as the temperature changes. For personal cooling in summer, use settings 4-10. In colder periods, enable Diffused mode. It projects air through the back of the machine, to avoid unwanted cooling.
If you're concerned by the brightness of your purifier's LCD display, consider enabling Night mode using your remote control. During operation, a small moon icon indicates that your purifier is on, but the main display turns off after 10 seconds to help avoid sleep disturbance.
If Auto mode is enabled, AUTO will be illuminated on your machine's LCD display. When purifying the air, AUTO will be in white. When the air in the room is purified, it will turn green and your purifier will remain idle until pollutant levels rise.
Your purifier humidifier fan's auto mode is designed to manage the air quality in your home without you having to operate the machine – so it's only on when it needs to be. If you or someone in your home suffer from allergies or respiratory illnesses, we particularly recommend using Auto mode.
Your purifier works most efficiently in a sealed environment – opening the windows can allow more pollutants to enter the air in your home, which means your machine will take longer to work.
